Introduction

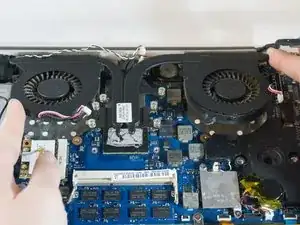
This guide provides details on how to remove a dirty or broken fan from the Samsung device.

  1. b1M6R3P6f4UbILew
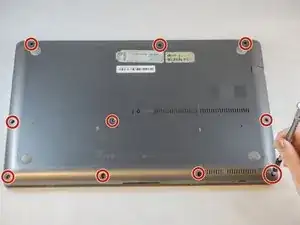
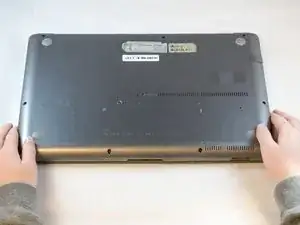
    • Remove the ten 6.6mm Philips#00 screws securing the lower case to the upper case.

  2. yi5OZyFao2IgqXi4
    yi5OZyFao2IgqXi4
    rBxjHebwlSWjkjUj
    eJ2O3TEFdIVHWpgN
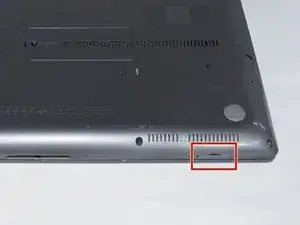
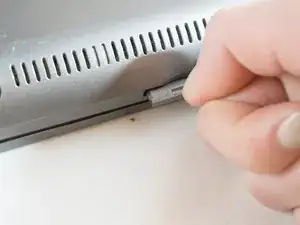
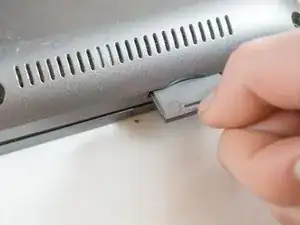
    • Using your fingers, pinch the edge of the SD card and pull to remove it.

  3. 2tOMshnySUWK1Uty
    2tOMshnySUWK1Uty
    qmKMgkL3exXKQlRj
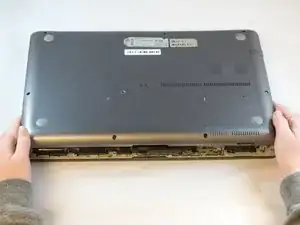
    • Wedge your fingers in between the upper case and the lower case

    • Gently pull the lower case away from the upper case to remove it

  4. QuUnOd6BsfWttyrA
    QuUnOd6BsfWttyrA
    XKkJ3UDyAxutKGrW
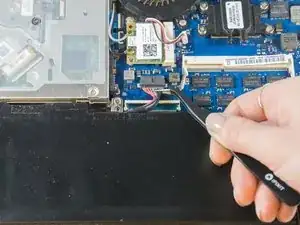
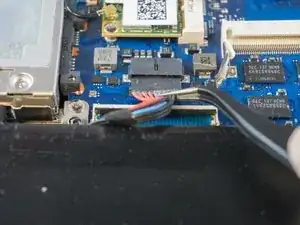
    • Using tweezers or your fingertips, carefully pull on the battery connector to disconnect it from the motherboard.

    • Be sure to pull straight backwards, or you risk damaging the wires.

    I found step 4, 5, 6, and 7 to be unnecessary. In my case removing the battery or the ribbon cable (in step 7) was not required to remove the drive. From here you can just:

    * Do steps 8 and 9

    * From step 10 only remove the 3.4mm screw

    * Finally do step 11

    Gabriel Perren -

  5. rIQd1GU5SAfC4GCQ
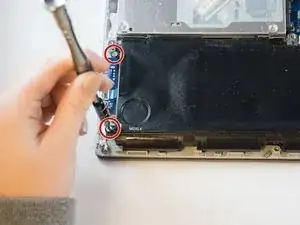
    • Remove the two 4.4mm Phillips#00 screws from the battery case.

  6. mkDfhHsGB2ZqK1uN
    mkDfhHsGB2ZqK1uN
    YNBsBrKcDwgrOIFM
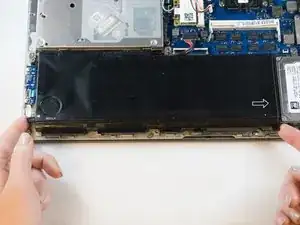
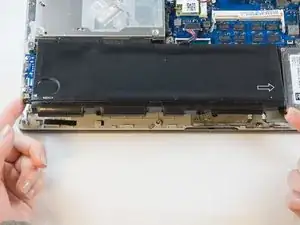
    • Place your fingers on the corner sections of the battery.

    • Lift to remove the battery.

    • If you choose to use tools to remove the battery be careful not to damage it. A damaged lithium-ion battery may leak dangerous chemicals and/or catch fire. Use only plastic pry tools.

    Because the battery is held down by clips at the front, i found it necessary to remove the four screw holding the hard drive to the right so that i could slide the battery to the right (indicated by the arrow on the battery) and out from under the clips.

    Chip McConnaha -

    Hey there Chip! Thanks for the comment! We were probably able to remove the battery without touching the hard drive because the laptop used to make this guide was damaged inside and out. I hope your new battery is running smoothly. Happy fixing!

    -Erik, Hannah and Annissa

    Erik -

    This is what I was looking for. My battery was partially out of the clips as a result of me tossing it, it came out easy but when I went to put it back in place it wouldn't slide in. I kinda “helped” it with out removing the HD. My optical drive isnt working so I have to take it apart again. It will super easy now with the added instruction. Thanks dude!

    Dan -

    What is the Replacement battery number! hard to find

    Avery Jackson -

  7. R3MHctATFgepyB4O
    R3MHctATFgepyB4O
    fxeERLniyI2SMLDL
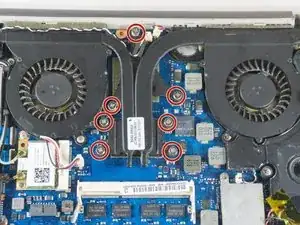
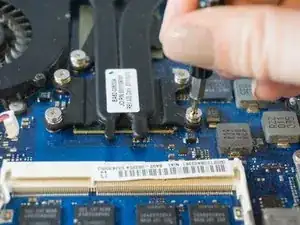
    • Loosen but don't remove the 7 silver Phillips #00 3.5mm screws securing the fan to the motherboard. They should detach from the motherboard and remain attached to the fan assembly.

  8. uFMsFCIXlvY5rYRX
    uFMsFCIXlvY5rYRX
    ot1UZMATdYahZBX6
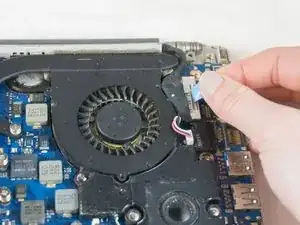
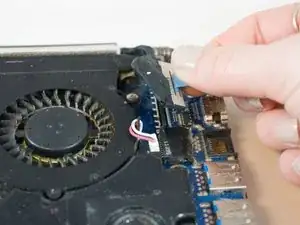
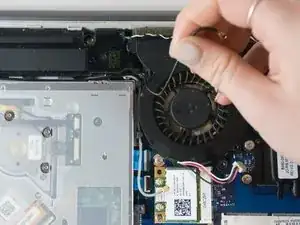
    • Using your fingers, grasp the blue ribbon on the fan connector and pull straight up to disconnect it from the motherboard.

    • To reinstall the cable, hold it near the end and push it straight into the connector, being careful not to kink the cable.

  9. pTPdWiQknTvvjkrj
    pTPdWiQknTvvjkrj
    On2XDYEwIocdiD45
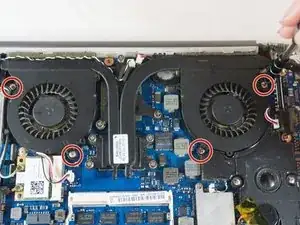
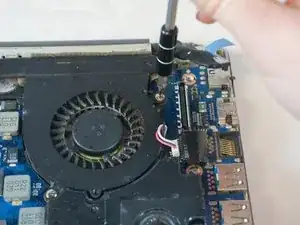
    • Using the Phillips#00 remove the four 3.5mm screws securing the fan to the motherboard.

  10. RMLgmIbCyeZvgVsW
    RMLgmIbCyeZvgVsW
    Ws32MR1PLpFIml62
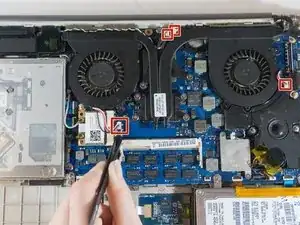
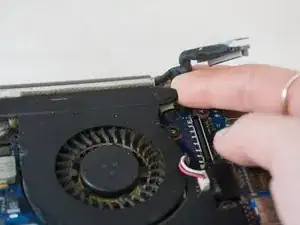
    • Using tweezers, carefully pull up on the four power cable connectors to disconnect them from the motherboard.

    • These connections were originally soldered and will need a small drop of solder to be re-attached. Use this guide to learn How To Solder and Desolder Connections

  11. Jef6ViLJHTOGabxc
    Jef6ViLJHTOGabxc
    GY2koeK2EQaMPhph
    LwO1sQTaIlnP4bga
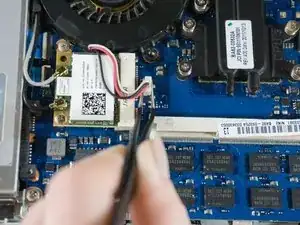
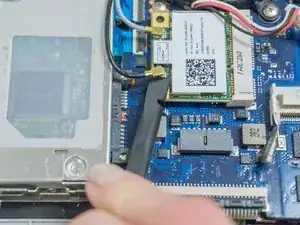
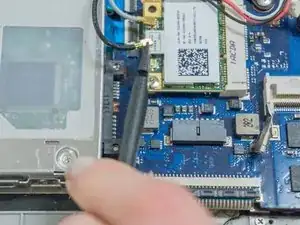
    • Place the tip of the spudger under the metal caps of the black and grey coaxial connectors and pry upwards to disconnect them.

    • After they are disconnected, un-thread them from around the fan.

    • To reinstall, hold the connectors in place and gently press them straight down. The connectors “snap” into their sockets much like the metal snaps on a jacket.

  12. DBqDyZ3PLXrJyCnE
    DBqDyZ3PLXrJyCnE
    tejAlQyEL3FKsK5I
    PMIRfPDu4nXQZQM2
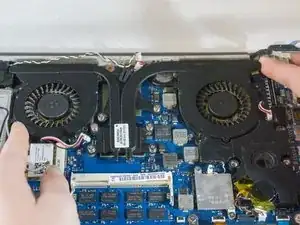
    • Wedge your fingers under opposite corners of the fan and lift to remove it.

Conclusion

To reassemble your device, follow these instructions in reverse order.
Erik

Member since: 27/09/17

871 Reputation

0 comments