Introduction
The back case of the laptop is extremely important as it protects the internal components of the device. If the back case were to become damaged, it should be replaced as soon as possible to maintain a proper functioning device. You can follow this step by step guide in order to properly replace the back case.
Tools
-
-
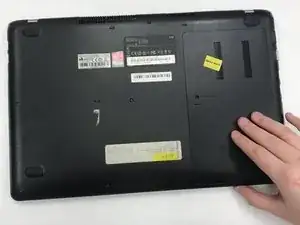
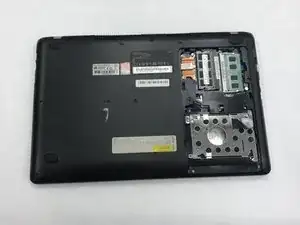
Lightly press down on the the back panel and pull away from the back case. The panel should slide away and detach from the back case.
-
-
-
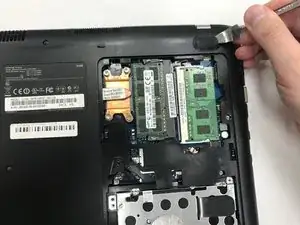
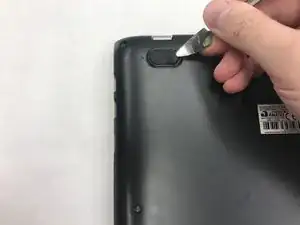
Remove the two rubber feet that have arrows pointing towards them. The rubber feet are very sticky so use the metal spudger to pry them up.
-
-
-
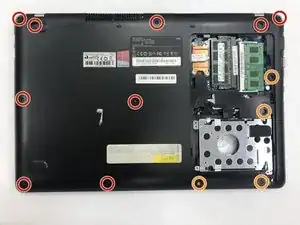
Using the JIS #0 screwdriver, remove all the screws in the back case.
-
Unscrew the 9 black 6.5mm screws.
-
Unscrew the 4 silver 4.4mm screws.
-
-
-
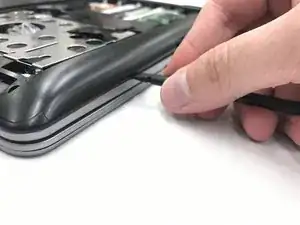
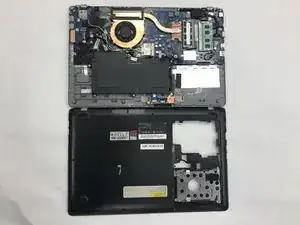
Using the spudger, insert it between the back case and the laptop. Pry up on the back case until the case pops up. Work the spudger all the way around the back case until the back case will lift off freely.
-
To reassemble your device, follow these instructions in reverse order.

Hello, I only need the HD cover and the memories of this housing, do you sell? Or how much do you ask for the whole carcass? Do you ship to Brazil?
claudiomirodcruz -