Introduction
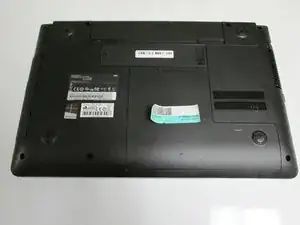
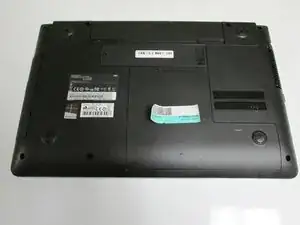
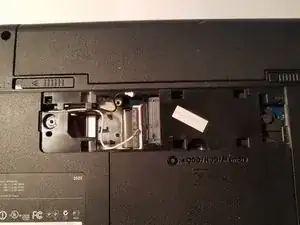
This guide helps users to replace the Wifi card successfully by following these easy steps.
Tools
-
-
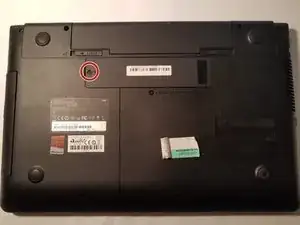
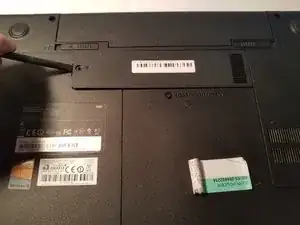
Look for the compartment with the Wifi symbol on it.
-
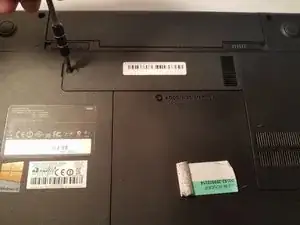
Using the Phillips #1 screwdriver remove the M2.5X5 screw, located beside the Wifi Symbol.
-
Using the plastic spudger, carefully pry the Wifi panel off.
-
-
-
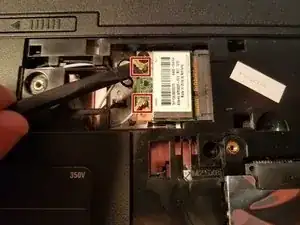
Gently remove the two wires attached to the the Wifi card by using the plastic spudger to pry from underneath the attachment points.
-
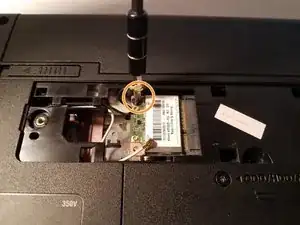
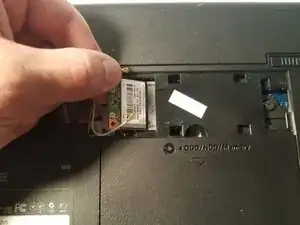
Using the #2 Phillips screwdriver, remove the M2.5X3 mm screw holding in the Wifi card
-
Conclusion
To reassemble your device, follow these instructions in reverse order.
