Introduction

This is a step-by-step guide of how to remove your RAM in order to replace it.

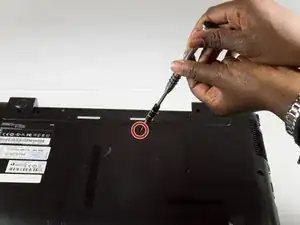
  1. iZHpvQni5SJd2tSX
    • Unscrew the 3.5mm screws using a Phillips J0 Screwdriver by rotating the screwdriver in the counter clockwise direction.

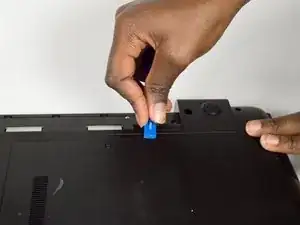
  2. U1OOXaA3h1DAcMTJ
    • Wedge the plastic opening tool between the L-shaped back panel to slide the panel off.

    • Note this may take force. If you have difficulties using the plastic opening tool, try to use your hands to pull the panel off.

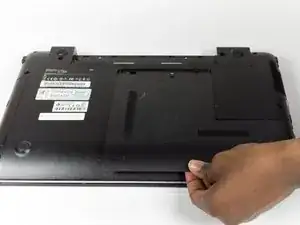
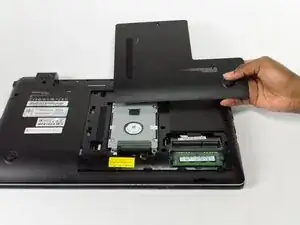
  3. GrgqvbSyHVohLAnu
    GrgqvbSyHVohLAnu
    Mh1sSSFPW3eOKjAp
    • Pull the panel towards you to remove the panel.

  4. pREKOUYFIHqT1sim
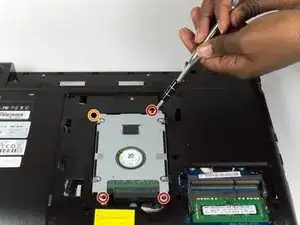
    • Unscrew the three 3.5mm screws using a Phillips J0 Screwdriver by rotating the screwdriver in the counter clockwise direction.

    • Unscrew the one 4.45mm screws using a Phillips J0 Screwdriver by rotating the screwdriver in the counter clockwise direction.

  5. ox2QOkQVopwGTqVA
    ox2QOkQVopwGTqVA
    xBgWpU53Dp1eObFB
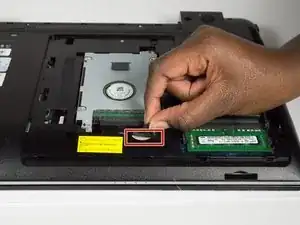
    • Pull the cord that connects the Hard Drive to the Motherboard to disconnect it.

  6. tFbhIkGHRAgFWxYn
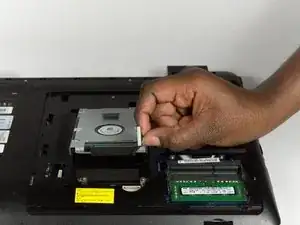
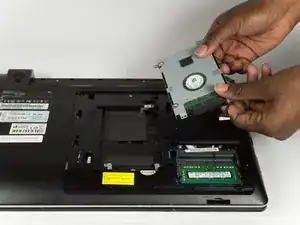
    • Remove the Hard Drive by lifting it towards you.

  7. Vb4gxeHKaOg14tUr
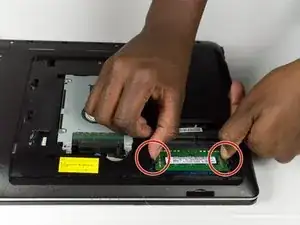
    • Place your thumbs on the metal tabs.

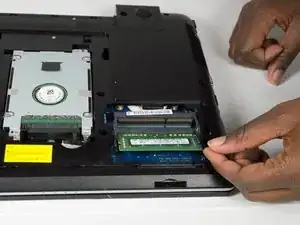
    • Push outwards on the metal tabs to release the RAM.

  8. KwBuxWpV5JtI4SMN
    KwBuxWpV5JtI4SMN
    eYObEWYt5vlhLieH
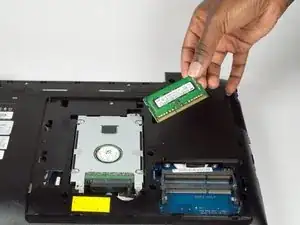
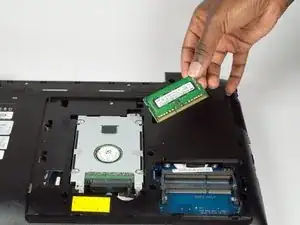
    • Pull out the RAM towards you to remove it from the laptop.

Conclusion

To reassemble your device, follow these instructions in reverse order.
Julia Dotter

Member since: 31/10/16

224 Reputation

0 comments