Introduction

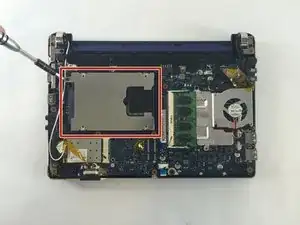
You will need to remove the back plate of the netbook to access the hard drive. This is easily done by following the back removal guide.

  1. 4oPHx1xhdpOMNvdn
    4oPHx1xhdpOMNvdn
    HxdpJlVpjCLBOsDl
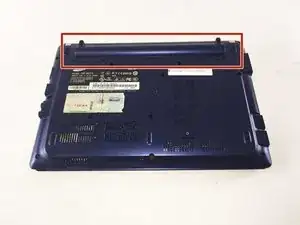
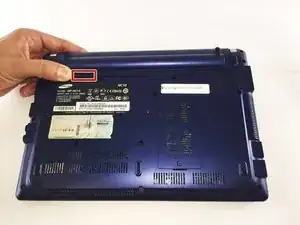
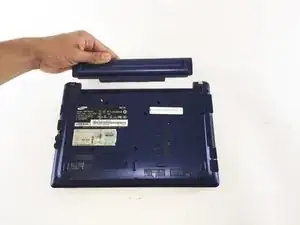
    • Locate the external battery on the bottom side of the device.

    • Locate the tab on the right side of the battery.

    • Shift the tab to the left.

  2. WPomWScYUcTgaATl
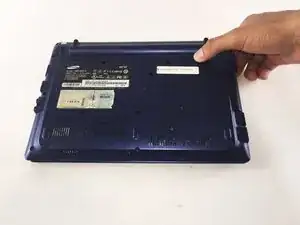
    • Locate the tab on the left side of the device's battery.

    • Push the left tab to the right.

  3. JHhIGZ5Y3qETHqcs
    • Pull the battery up from the device.

  4. Etn6tHSlaFfgjeth
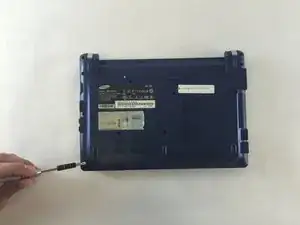
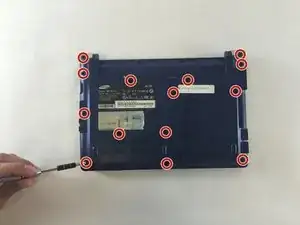
    • Locate the 14, 3.93 mm, screws that need to be removed on the base of the computer.

  5. 1LFklPRAD4VDlNF6
    • Remove all 14 of the 3.93 mm screws using a PH1 screw bit.

  6. REAKNAcNx1TVY1HZ
    REAKNAcNx1TVY1HZ
    SZkbOH6bvBffV4vS
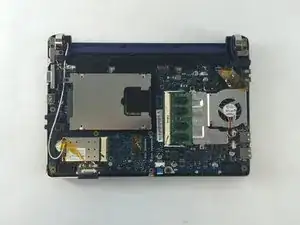
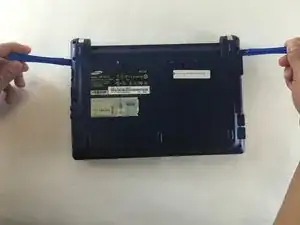
    • Using two plastic opening tools remove the back plate.

    • These plastic opening tools have a flat-head that extends as a wedge which are utilized to separate pressure fit plastic components without causing any damage to them.

    • The back plate is now removed exposing all of the hardware components.

  7. PVmQashLW3OWp6nq
    PVmQashLW3OWp6nq
    4OaHEesQUOvBileE
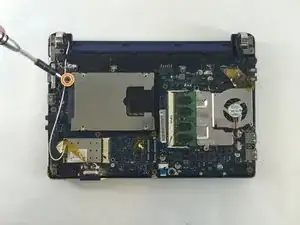
    • Locate the hard drive.

    • Remove the one 3.93 mm screw holding the hard drive in place using a PH1 screw bit.

  8. Ud2UFZOAC4mZ2dAP
    Ud2UFZOAC4mZ2dAP
    DapJa56xl1pQpeRB
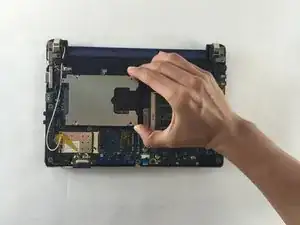
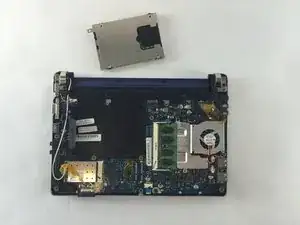
    • Hold the end of the hard drive farthest from where it is connected to the netbook. Then gently pull in the opposite direction of where the hard drive is connected.

    • Your hard drive is now removed.

Conclusion

To reassemble your device, follow these instructions in reverse order.

Brian Smith

Member since: 04/10/16

405 Reputation

2 comments

Thanks for your kindness.

นพไกร ใจดี -

Where can I get the screws from
Lucky Jacob -