Introduction

The screen is one of the more difficult parts of this laptop to replace, but it also is exposed and fairly fragile. Replacing the screen rather than the laptop could make an accidental drop into a much smaller problem.

  1. FORCFyIIB33qdFDK
    FORCFyIIB33qdFDK
    fYBIGriHM2iLhdLJ
    JhkViflHr2hXZdHO
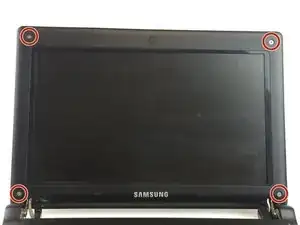
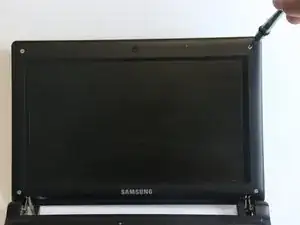
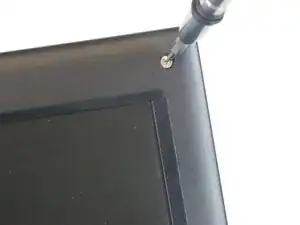
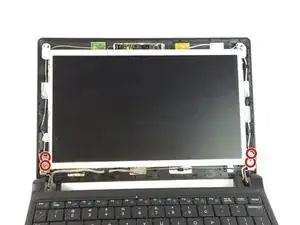
    • Take out the four 4.5mm Phillips #0 screws located at the corners of the screen.

  2. HHQZWGKar6fPJTFJ
    HHQZWGKar6fPJTFJ
    VV2N5aYu3NTDcYf1
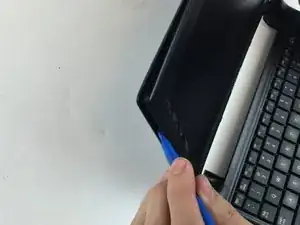
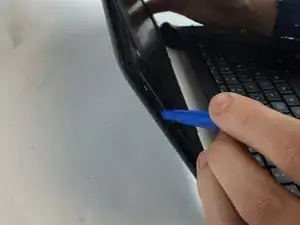
    • Now, use the blue opening tool to gently pry the front bezel off.

  3. WwvWwIOJpbyW6hZ2
    WwvWwIOJpbyW6hZ2
    F1AuKPvqoZcIOKFG
    i44nNVmyJNJRavKm
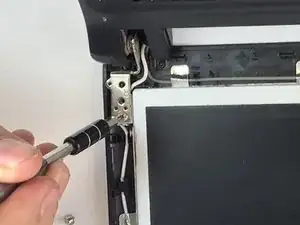
    • Unscrew each of the four 6.5mm Phillips #0 screws securing the screen to the case.

  4. A5qpqu2tglwhQBva
    A5qpqu2tglwhQBva
    4S315g2YPy6f3DW5
    6pWcaAMXmKoQkDIK
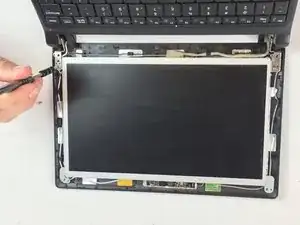
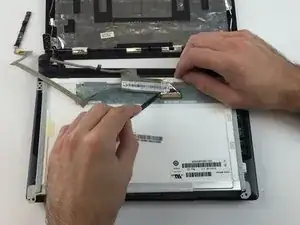
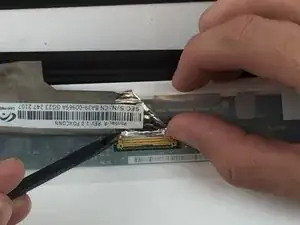
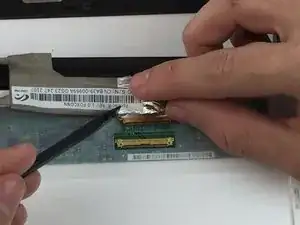
    • Using the black spudger tool and your fingertip, gently push on the ends of the ribbon cable to pop it out of the socket.

  5. KkliUNbSkgQMWmlt
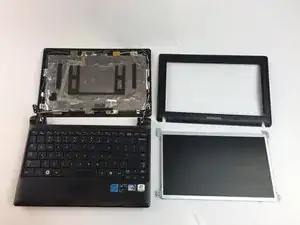
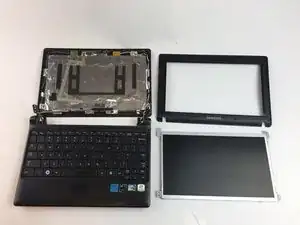
    • The screen is can now be lifted away from the laptop.

Conclusion

To reassemble your device, follow these instructions in reverse order.
Daniel Rudzik

Member since: 04/10/16

349 Reputation

0 comments