Introduction

We will be replacing the hard drive from the NP-130 Samsung computer. With Increasing the speed the computer will run programs much smoother without running into firewalls or malware. Finding a Hard Drive for this computer is inexpensive.

  1. LXUBqRFyOMj1oRPG
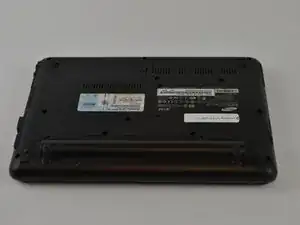
    • Turn off the computer.

    • Disconnect the charger cable from the computer.

    • Failure to disconnect the charger cable from the computer could result in an electric shock.

    • Flip the computer over so the underside is facing up.

  2. AfkxdQWVakkYXIXq
    AfkxdQWVakkYXIXq
    PudOrIpPlnUK6KUU
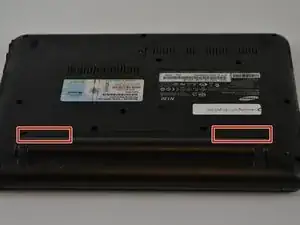
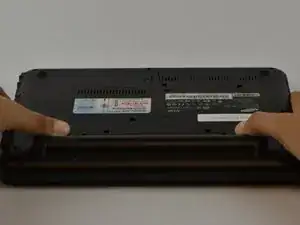
    • Slide the left and right slider buttons fully away from each other.

  3. DvMX4AcpUruEJMqe
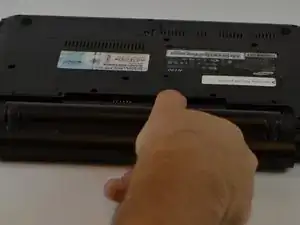
    • Pull the battery out of the computer.

  4. 5QJdSMF2fbDrVPjH
    5QJdSMF2fbDrVPjH
    TMPE3RtCSYbceWSw
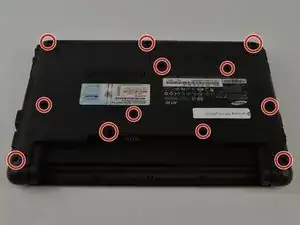
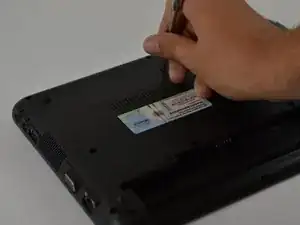
    • Using a Philips 1 screwdriver carefully remove all 12 screws of the back cover.

    • The screws are Phillips 1 (PH 1) with a length of 60 millimeters (mm)

    • Do not force the screwdriver as you might damage the screws.

  5. EenCtgVTJYyaXG2X
    EenCtgVTJYyaXG2X
    52mPTHXOyVEBmvXL
    o21KoVjwSYFVAvBi
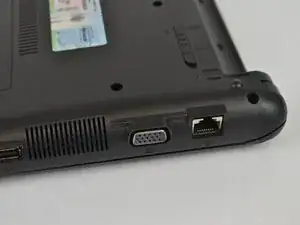
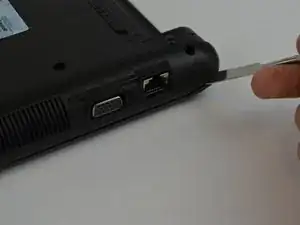
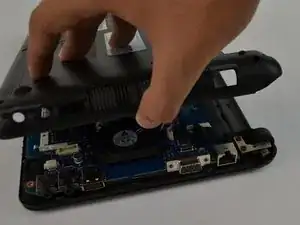
    • With the plastic opening tool, carefully separate the back cover from the computer frame.

    • Starting at one of the corners of the computer, work your way around the edge until you reach the other corner.

    • Do not attempt to pry it open, putting too much force into one location might damage the computer.

    • As you go around the sides of the computer, free the inside latches with the plastic opening tool.

    • Once you have an opening, carefully use your hands to separate the back cover.

  6. LmmQw4qM3vbOiibn
    LmmQw4qM3vbOiibn
    L6GXXpaNY2kOi2yL
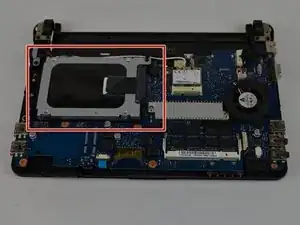
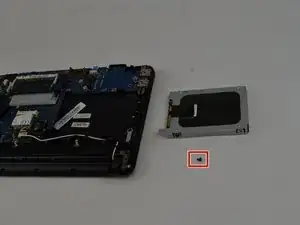
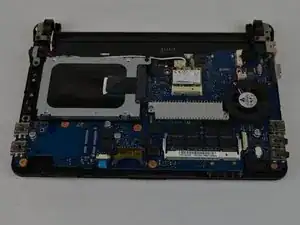
    • Locate Hard Drive (red square)

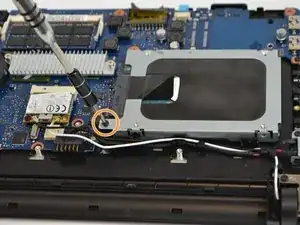
    • Using a Phillips 1 screw driver, remove the screw marked in the red circle.

    • The screw is a Phillips 1 (PH 1) with a length of 40 millimeters (mm)

    • Unscrew carefully to prevent losing or breaking pieces.

  7. SSFfdtMSO6xZtZCw
    SSFfdtMSO6xZtZCw
    W55CpMlIdq11EuuG
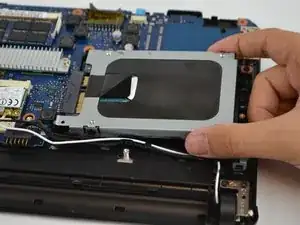
    • Gently remove the hard drive.

Conclusion

To reassemble your device, follow these instructions in reverse order.
Jorge Quintana

Member since: 05/10/16

260 Reputation

0 comments