Introduction
This guide will show you how to replace your microphone.
Tools
-
-
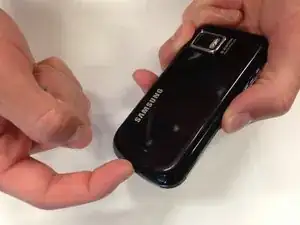
To remove the phone's back cover, slide your fingernail into the slit at the bottom of your phone.
-
-
-
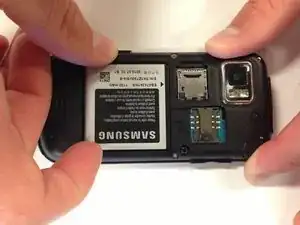
Place your finger on either bottom corner of the battery slot and lift to remove the battery.
-
-
-
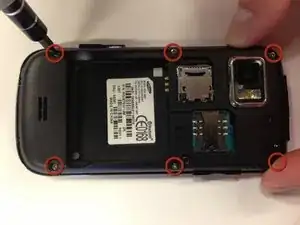
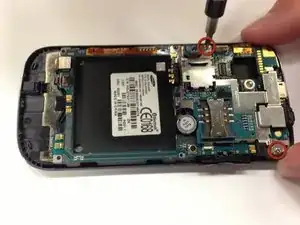
Using a Phillips #00 Screwdriver, remove the six 5 mm screws from the back casing of the phone.
-
-
-
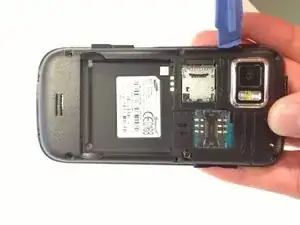
Using the iFixit Opening Tool, insert the tool into the seam between the back case and the rest of the phone.
-
Working along the seam, pry the back casing from the phone.
-
-
-
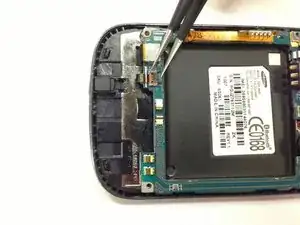
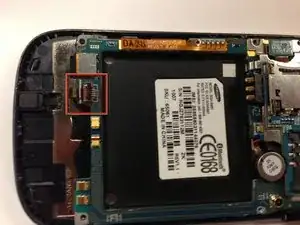
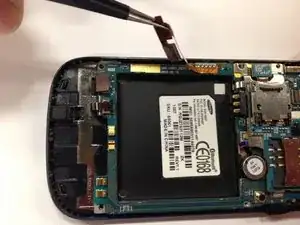
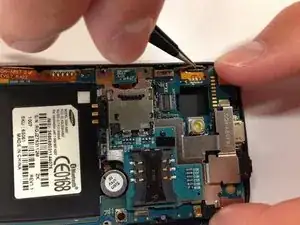
Using tweezers, firmly grip the black lever at the bottom of the motherboard.
-
Use the tweezers to flip the black lever up so that it is upright from the motherboard.
-
-
-
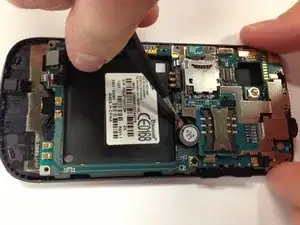
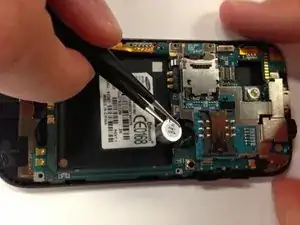
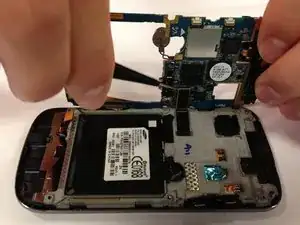
Using either side of the tweezers, slide a side of the tweezer underneath the red and blue wires and the capacitor.
-
Carefully lift the capacitor away from the phone.
-
-
-
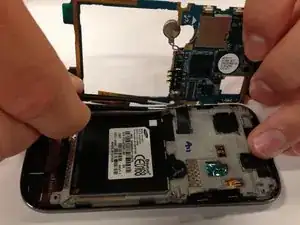
Carefully tilt the motherboard up from the back of the phone.
-
Use tweezers to unclip the black connector.
-
-
-
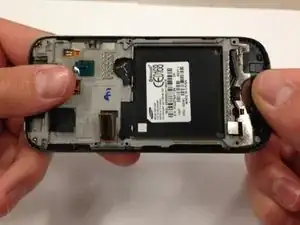
Hold the phone by the black plastic at the ends and gently bend them down so that the middle of the phone is the highest point. Apply pressure slowly until the grey portion pops off.
-
-
-
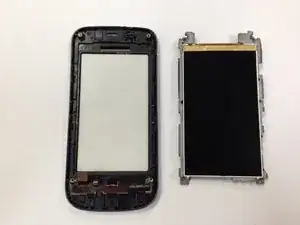
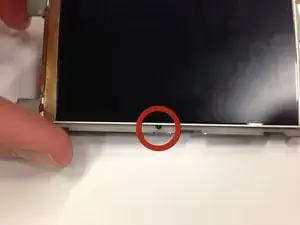
Insert the tweezers into the hole to wedge them between the LCD and grey plastic.
-
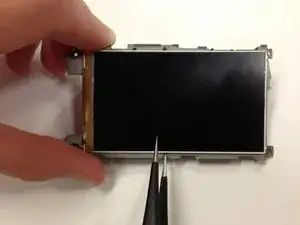
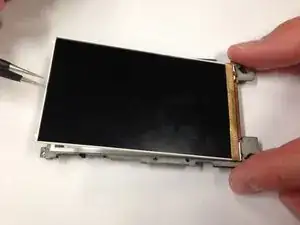
Once under the LCD, slide the tweezers around the three silver edges until the entire display lifts from the grey plastic.
-
-
-
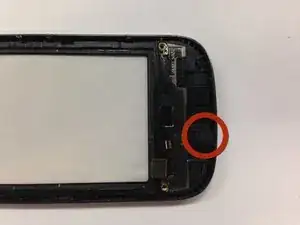
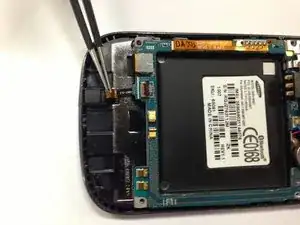
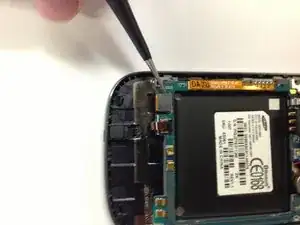
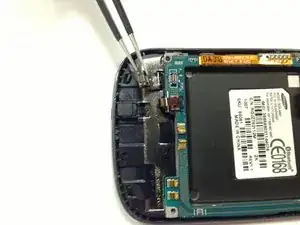
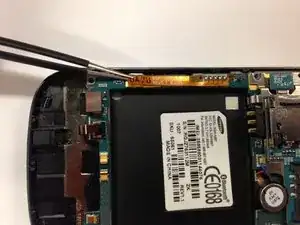
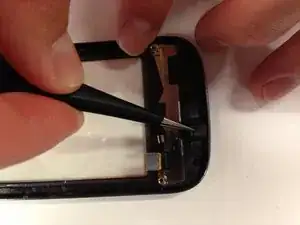
Find the rubber microphone backing on the bottom of the back of the front cover as shown in the picture. Use tweezers to pluck the microphone from the casing.
-
To reassemble your device, follow these instructions in reverse order.
Could the iFixit opening tool also be used to remove the back cover?
Rachelle Russell -
Hi Rachelle, yes an iFixit opening tool or our Spudger would work great to remove the back of the phone. We also have a Prying and Opening Tool Assortment that has a number of items to get into devices safely. Hope this helps!
Sarah Westberg -