Introduction
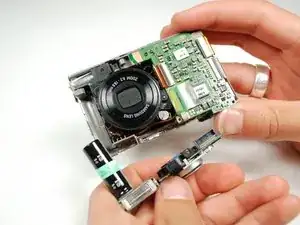
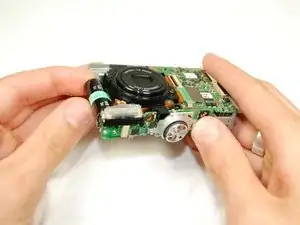
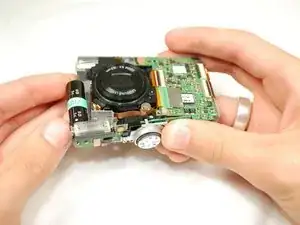
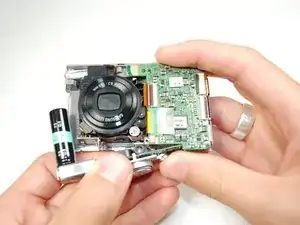
Flash bulb soldered to circuit board with capacitor, so it is not possible to only replace flash bulbs.
Tools
Parts
-
-
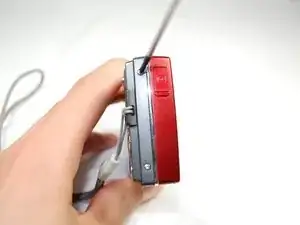
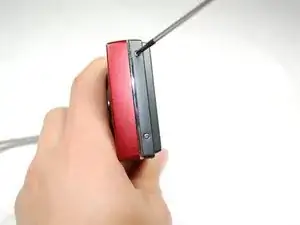
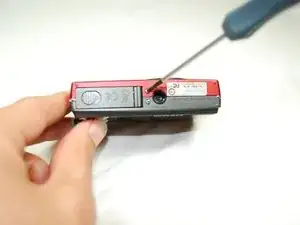
Remove the six external screws from the camera using a Phillips #0 screwdriver.
-
After the screws has been removed, the bottom of the back half of the external case should be loosened from the camera.
-
-
-
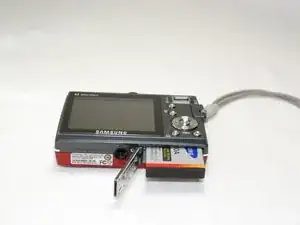
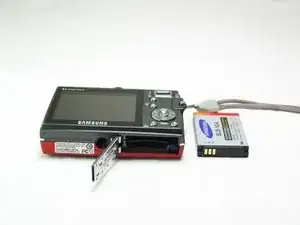
Open the battery cover that's located on the bottom right side of the camera and carefully remove the battery.
-
-
-
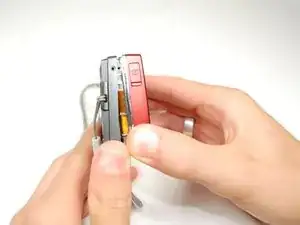
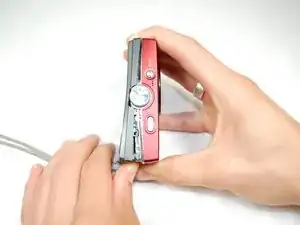
Slide your fingernail or a plastic spudger in the groove from the bottom to the top right side of the camera.
-
-
-
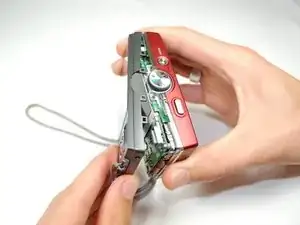
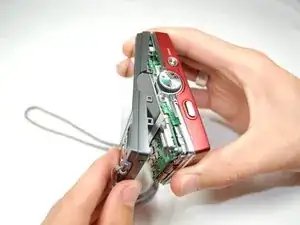
Carefully squeeze the top right corner of the camera and pry off the external cover.
-
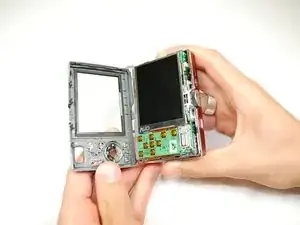
Continue to pull the external cover and it will come off cleanly.
-
-
-
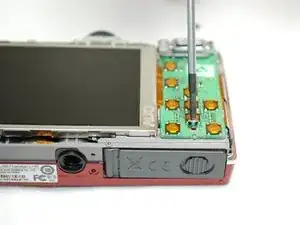
Remove the screws holding the circuit board.
-
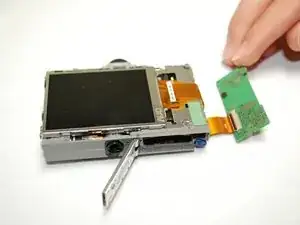
After you remove the screws, carefully remove the circuit board.
-
-
-
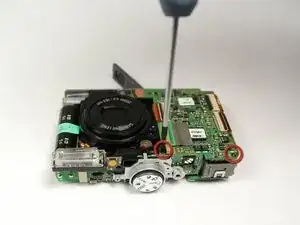
Face camera towards you.
-
Remove the two screws from circuit board on the left side of the lens.
-
-
-
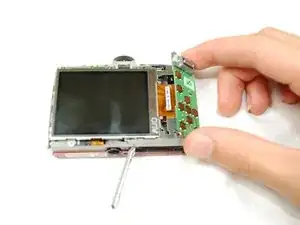
Carefully hold up the circuit board, while it's still connected to the camera.
-
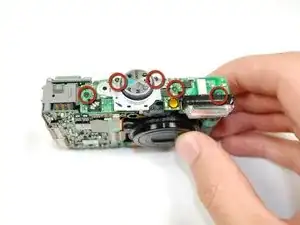
Remove all five screws that's on top of the camera.
-
-
-
Carefully push up the top of the circuit board.
-
Pull up flash circuit board from top of camera.
-
To reassemble your device, follow these instructions in reverse order.
