Introduction
Tools
Parts
-
-
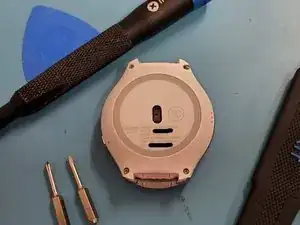
Remove the four screws that surround the back housing of the device.
-
Removing the back housing requires a Y00 tri-wing screw head.
-
-
-
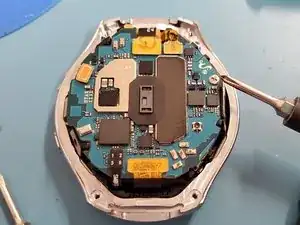
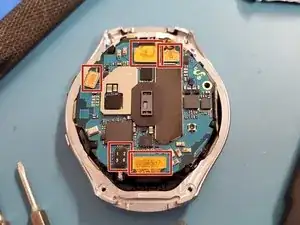
Remove one J00 phillips-head screw from the mainboard, freeing the board from the frame. The board still has 5 connectors and adhesive, do not begin the removal of the board.
-
-
-
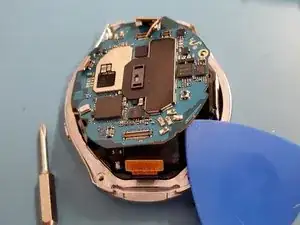
Easily pry the mainboard from the frame, being careful not to rip the vibrate motor flex on the top of the mainboard, it is curled around the top.
-
The vibrate motor is not secured by any adhesive, it should lift from it's housing without ripping the flex, but be careful.
-
-
-
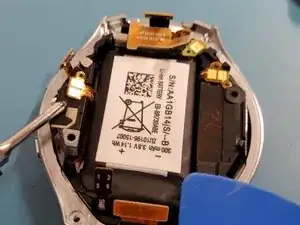
After removing the mainboard, the battery should be in full display.
-
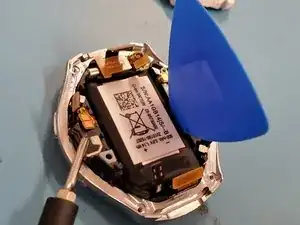
Easily pry the battery from the right hand side, careful not to insert the prytool too far, the device's LCD is directly underneath the battery.
-
Seat in the new battery, if it doesn't fit perfectly, do not bend, pinch or puncture the battery to make it fit, some corners may need to be pressed in, be careful.
-
Reseat the battery connector, using adhesive if the part does not have it behind the connector.
-
To reassemble your device, follow these instructions in reverse order.
