Introduction
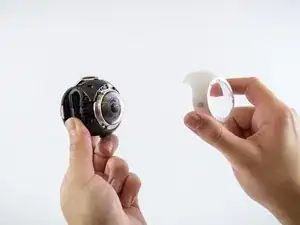
Use this guide to replace a broken front camera on your Samsung Gear 360.
Like most other components in the Samsung Gear 360, you can get to the front camera module by completing an almost full tear-down of the device.
-
-
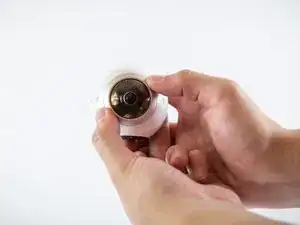
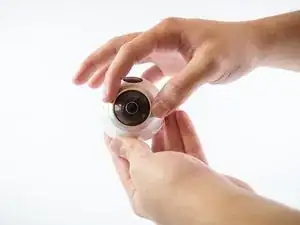
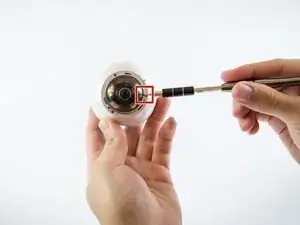
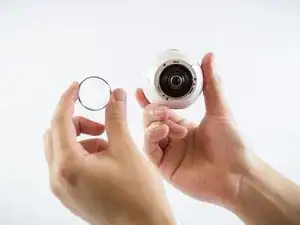
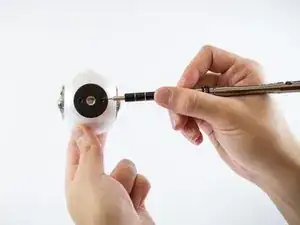
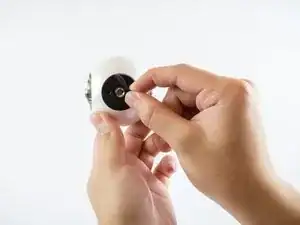
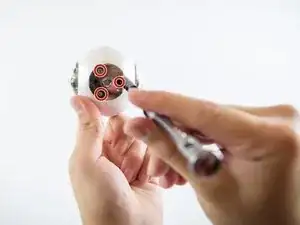
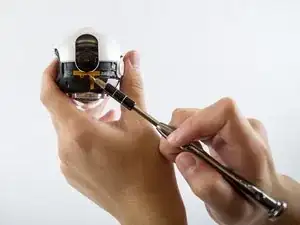
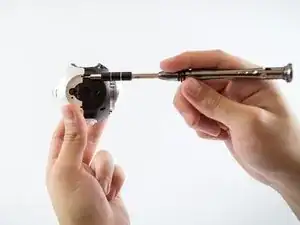
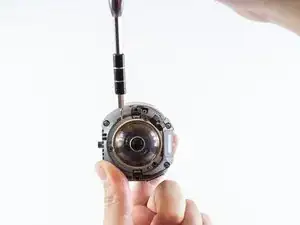
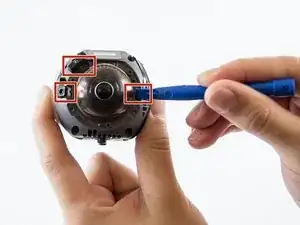
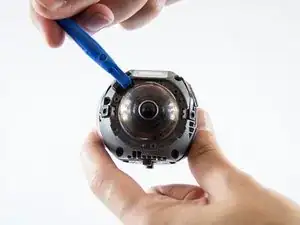
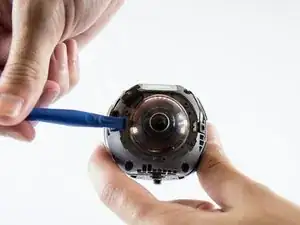
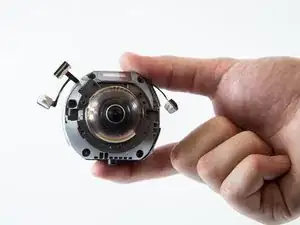
Insert a small flathead screwdriver into marked slot on camera lens and pry off camera lens cover.
-
-
-
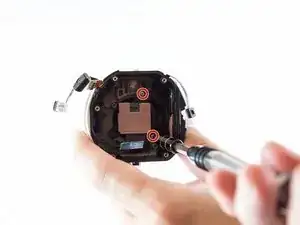
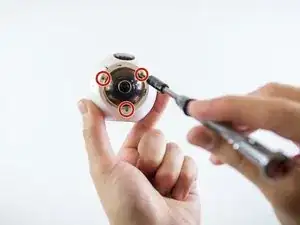
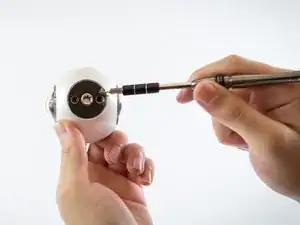
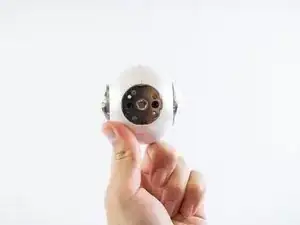
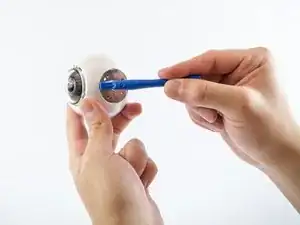
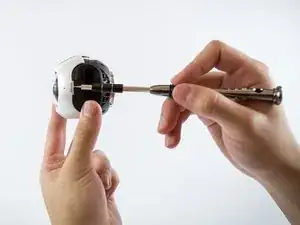
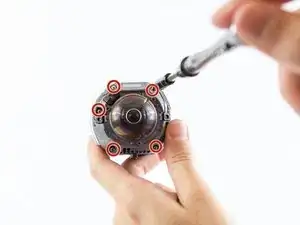
Using a PH00 screwdriver head, remove all Phillips #00 0.75 mm screws on the front of the camera.
-
Repeat for the back side of the camera.
-
-
-
Peel off the black rubber located on the bottom of the device using your hand or a small flathead screwdriver.
-
-
-
Once the black rubber has been removed, unscrew all Phillips #00 0.75 mm screws on the bottom of the device using a PH00 screwdriver head.
-
-
-
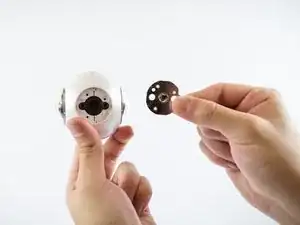
To remove the left cover of the camera body, lift the left cover using a small flathead screwdriver and pull it off.
-
-
-
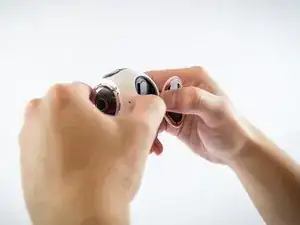
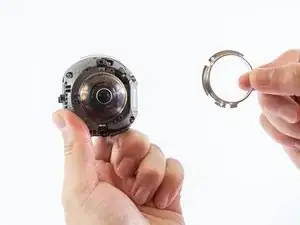
Once the camera body has been removed, lift and pull off the metal support ring using a small flathead screwdriver.
-
Repeat for both sides of the camera.
-
-
-
Remove all Phillips #00 0.75 mm screws from the body of the camera using a PH00 screwdriver head.
-
-
-
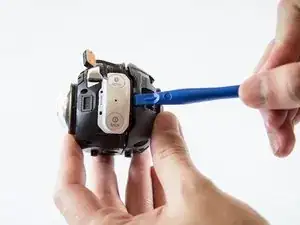
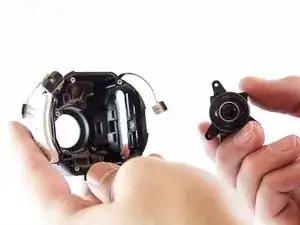
Carefully use a plastic opening tool to separate the gray case from the black case on the device.
-
-
-
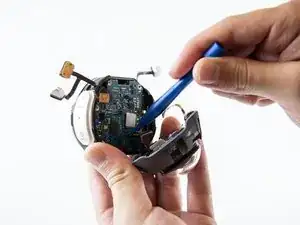
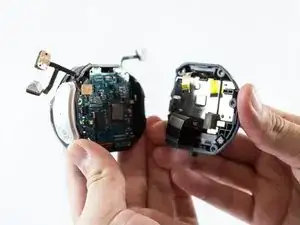
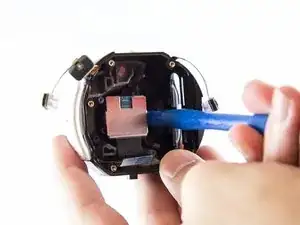
Insert a plastic removal tool underneath the four sensors on the motherboard to fully separate the camera case.
-
-
-
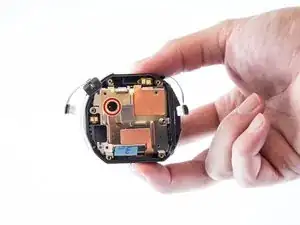
Within gold metal half of the case, unscrew the Phillips #00 0.75 mm screw located on the metal plate using a PH00 screwdriver.
-
Using a plastic opening tool, remove the metal cover.
-
-
-
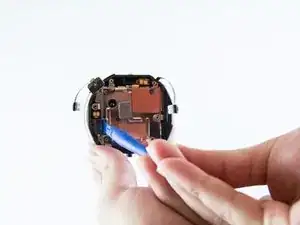
Using a PH000 screwdriver head, unscrew all Phillips #00 0.75 mm screws.
-
To remove the speaker from the device, use a plastic opening tool on the edge and gently lift it up.
-
-
-
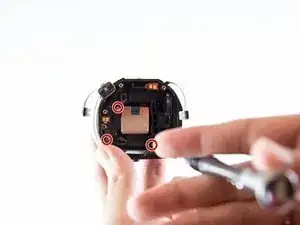
Using a PH000 screwdriver head, unscrew both screws on the remaining case.
-
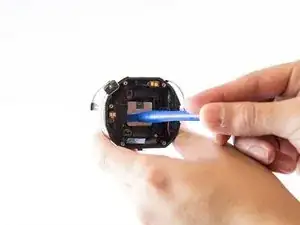
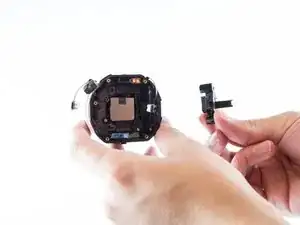
Use a plastic opening tool to lift the front camera module from the case.
-


To reassemble your device, follow these instructions in reverse order.