Introduction

The Galaxy Tab S3 has four speakers which provide stereo sound. Two of the speakers are located on the top of the device, and the other two are located on the bottom. If the tablet won’t play audio correctly through the built-in speakers, you may need to replace some or all of the modules. This guide will show you how to remove and replace them properly.

  1. 3t4QN2TFGdIxTdPD
    • To soften the adhesive holding the tablet together, heat up the edges of the glass panel using a heated iOpener on the edge of the device. Alternatively you can use a heat gun to loosen the adhesive.

    • Leave the iOpener on edge for two minutes.

    • Be careful not to burn yourself while handling the hot iOpener. For more information on the iOpener, use the iOpener Instructions Guide.

    There is no reason to remove the screen while replacing a battery.

    Nick Youngstrom -

    Agreed , just remove back and warm up. Dont remove screen, is $220 to replace off ebay.

    Phenix City -

  2. DAZYkFYPtNtOtkYR
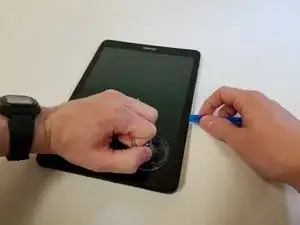
    • Place a suction cup near edge that you heated up with the iOpener.

    • Press down on the suction cup to create a seal, and pull up with force to create a separation between the display and the midframe.

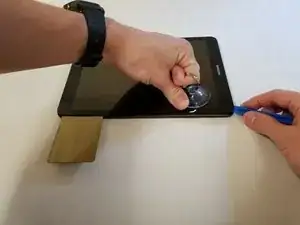
    • Use an opening tool to split apart the glass panel from the midframe.

    • Be careful to not break the glass when prying from the frame.

    Bonjour, pour moi il est IMPÉRATIF d’opérer l’ouverture par le bord droit comme indiqué sur le tuto car de l’autre coté les nappes du LCD ne sont qu’à 3mm du bord et peuvent etre abimée comme je l’ai fait lors du décollage.

    Jacques Barreau -

  3. 5WVnDtgLFQ2aBkvn
    • As you continue along the edge using the opening tool, use a plastic card to keep the glass separate from the midframe.

    • You can also use multiple opening picks instead of a plastic card.

    For this part I recommend to insert the tools only on top, bottom and right side. Then lift the screen as shown in the pictures in step 4. The left side has the light ribbons for the display too close to the edge and they are really thin. I just broke the four of them in my screen :(

    Moisés Jover -

  4. aUgOL1dHjfry2fNP
    aUgOL1dHjfry2fNP
    vXPQQ3E1TCOKLxRR
    WXS1SPnjyHFo5fOU
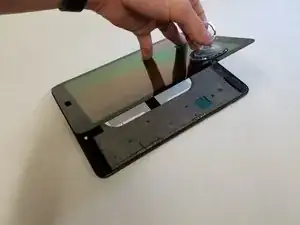
    • Pull off the glass panel using the suction cup.

    • As you remove the glass panel, be careful not to tear the ribbon connecting the motherboard to the display.

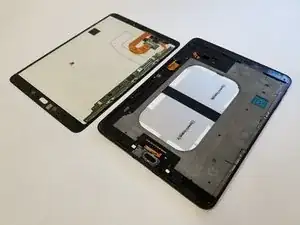
    • Carefully disconnect the ribbon cable connecting the display assembly to the motherboard. You can disconnect this ribbon from either end.

  5. 3YxOlJbYmibLYPcL
    3YxOlJbYmibLYPcL
    uWHbvyCwhtluYkUS
    • Repeat steps 3 through 7 to remove the rear glass panel on the opposite side of the device.

  6. AHWIsRQQCASFTBQi
    AHWIsRQQCASFTBQi
    iTX1V4OueUQQBgZm
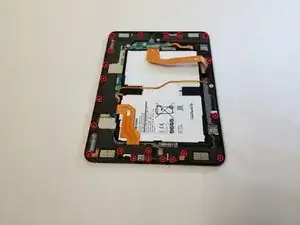
    • Use a Phillips #000 screwdriver to unscrew the five screws securing the battery, and the twenty-two screws surrounding the midframe.

  7. XwhP12OqaTTPosdE
    • The midframe should snap off from the device’s motherboard.

  8. hgG1UXji15kFE5tL
    hgG1UXji15kFE5tL
    qBJ1RMUNhhKOtFFA
    ReQ51gsyGj3gVaKG
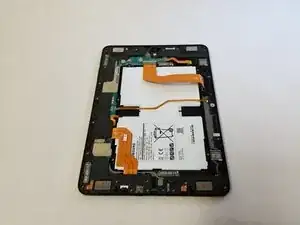
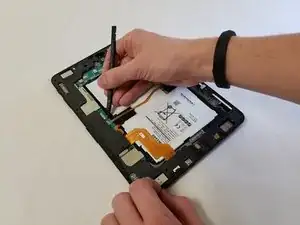
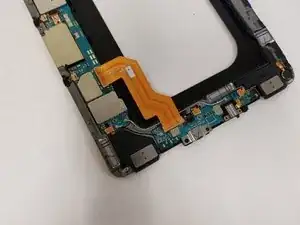
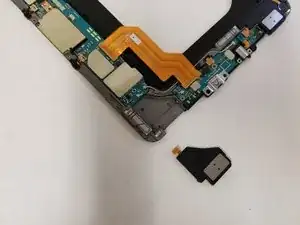
    • Locate the ribbon running from the midframe and disconnect it from the motherboard with the flat end of a spudger.

  9. 1nnfDTSMJJlXNdrY
    1nnfDTSMJJlXNdrY
    2fOvSSqTqqUts5KF
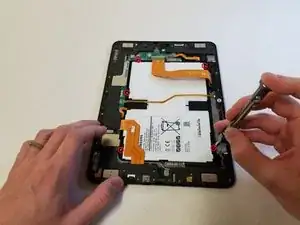
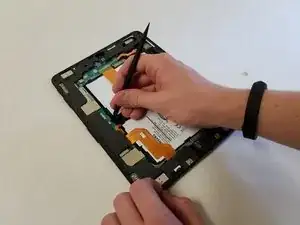
    • Use the flat end of the spudger to pop off the connector between the battery and the motherboard.

  10. 4EdLM4DbCvJgmVd4
    4EdLM4DbCvJgmVd4
    jylIxtEgIxNBMeYe
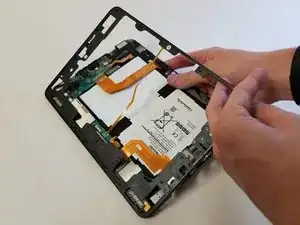
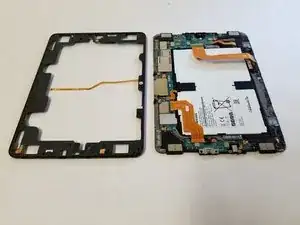
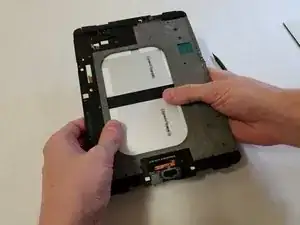
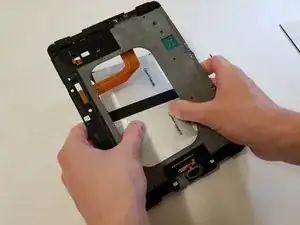
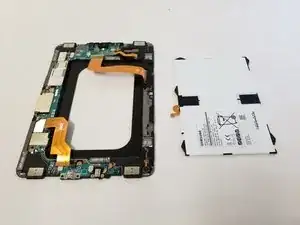
    • Flip the midframe over and pop the battery out, making sure to slide it out from underneath the ribbon cables.

  11. fBO1qGDKmcUPfToY
    • The battery should now be removed and detached from the device.

  12. GEDpusExww3onxPt
    • The Tab S3 has four speakers, one located on each corner.

    • Each of the speakers is a different shape and size.

  13. TCmZTptAyMNH55CJ
    TCmZTptAyMNH55CJ
    xOVTdDb4ZTyy2BSW
    fVv422TqNApUdryv
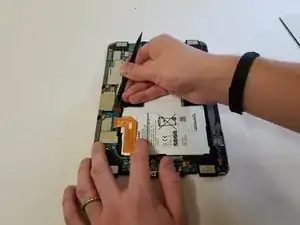
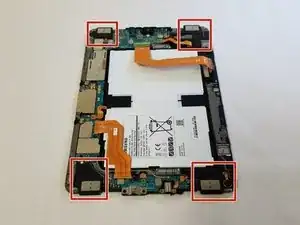
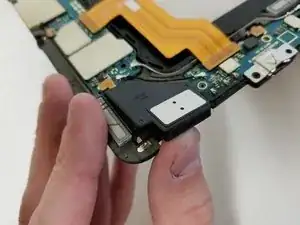
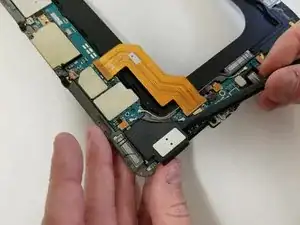
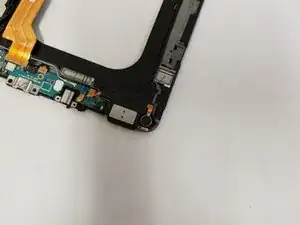
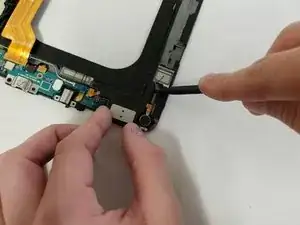
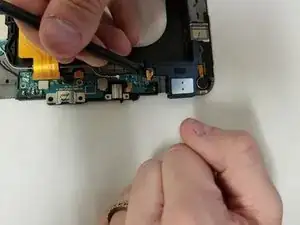
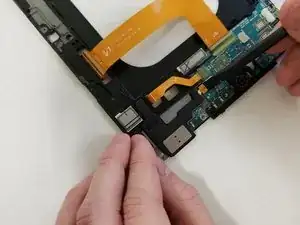
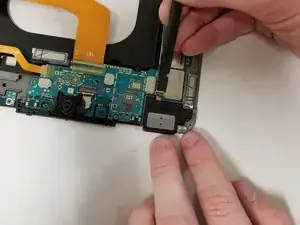
    • Use your finger to snap one side of the speaker module off of the motherboard. Use the flat end of a spudger to snap off the other side.

  14. kBdxDR5VkDTsSMVx
    kBdxDR5VkDTsSMVx
    gPMCPoSAokpsJcnF
    6WItb4yeiJqXOEwE
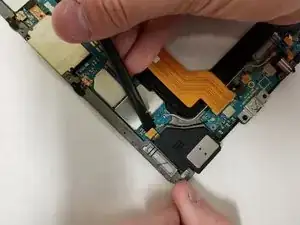
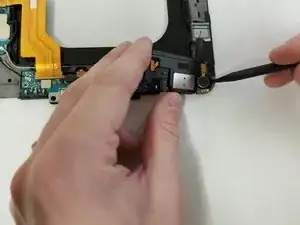
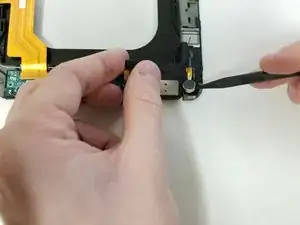
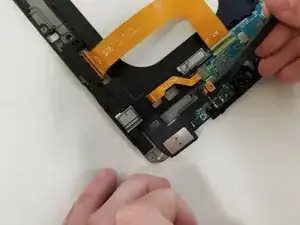
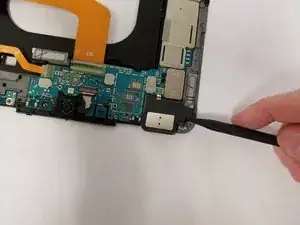
    • Use the flat end of the spudger to disconnect the ribbon connector from the motherboard.

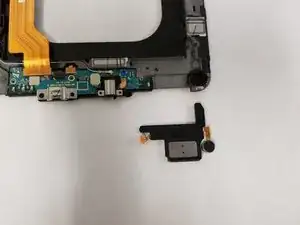
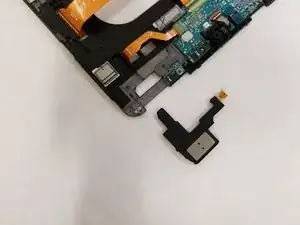
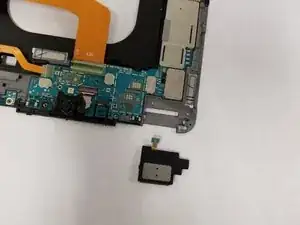
    • Remove the speaker from the device.

  15. HQLbU3rgdmdZILVu
    HQLbU3rgdmdZILVu
    5mcWBbIujPIQ4mWt
    • The second speaker module is located on the bottom right of the device. This speaker module is attached to the vibration motor, which is what provides haptic feedback for the tablet.

    • Use the flat end of the spudger to snap the speaker module off of the motherboard.

  16. FJuhEEODjDFbDKQb
    FJuhEEODjDFbDKQb
    BCUCsRhPhhFOQham
    • Use the flat end of the spudger to snap the ribbon connector off of the motherboard.

    • Be careful not to tear the cable connecting the vibration motor to the speaker module. You will not be able to remove the speaker completely until you unstick the vibration motor.

  17. BAfDNMTkFSZve4HW
    BAfDNMTkFSZve4HW
    nMkIpTTOUW1vRyAh
    4yUFmFxYBVWtjfwc
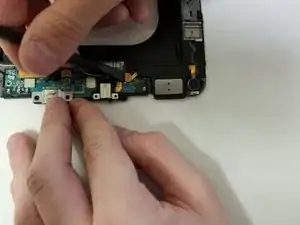
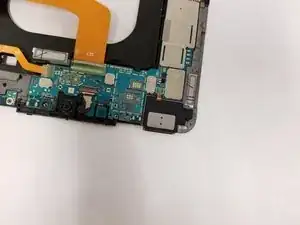
    • Use the pointy end of the spudger to remove the vibration motor from the motherboard.

    • Much like the display assembly, the vibration motor is attached to the device with a good amount of adhesive, and may require some force to remove.

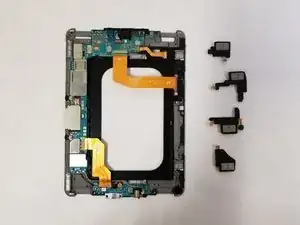
    • Remove the speaker and the vibration motor from the device.

  18. 1uW1iQ2lx5qeFupR
    1uW1iQ2lx5qeFupR
    1bQmTL2UnhZUmgTv
    j5eSRZtRuwZhSyKK
    • The third speaker module on the top right corner comes off a bit easier than the rest.

    • Use the flat end of the spudger to snap the ribbon connector off of the motherboard and remove the speaker from the device.

  19. XCdnRXn1RRjkoFyX
    XCdnRXn1RRjkoFyX
    cdsNwBHHfRxTFXx1
    KvuaALPl21luxxNY
    • Only one more speaker module to go. This one is located on the top left corner.

    • Use the flat end of the spudger to snap the ribbon connector off of the motherboard.

  20. LnKWSYSRWROewqOU
    LnKWSYSRWROewqOU
    j5Cr4VQuqWxRLBse
    kOBcitVnd5b5u3vE
    • Use the pointy end of the spudger to snap the speaker module off of the motherboard.

Conclusion

To reassemble your device, follow these instructions in reverse order. If you have removed too much adhesive, you may need to apply more during the reassembly process.

Mimi Fucini

Member since: 19/04/18

684 Reputation

2 comments

This repair can be done without removing the screen!

hansderaedt -

Is removal of the screen and battery really necessary for this repair? You show how to remove them, but in subsequent pictures, the battery remains in.

Steets -