Introduction
The battery is essential to the function of your device. Replace the life of your device by following these simple steps.
Tools
Parts
-
-
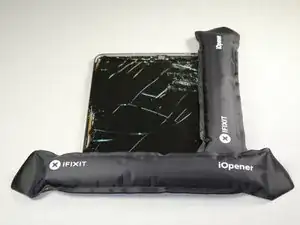
Heat the iOpeners in a microwave for 1-2 minutes.
-
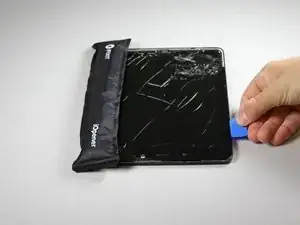
Place heated iOpeners on screen edges to heat the adhesive.
-
-
-
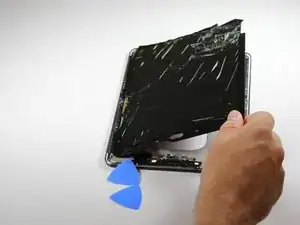
Separate the screen assembly from the back by wedging the picks between the two components.
-
Slide the picks along the edge and leave them holding the device open all around the edges.
-
-
-
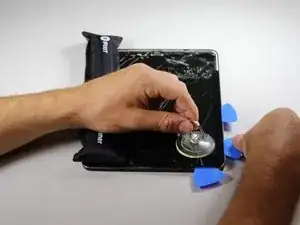
Place suctioning device near the corner of the screen and gently lift up to create a gap between the front panel assembly and the back.
-
Insert the picks to hold the two components apart once a gap is created.
-
-
-
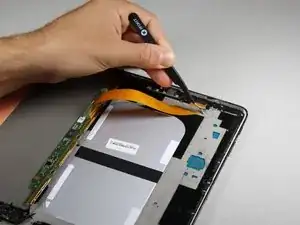
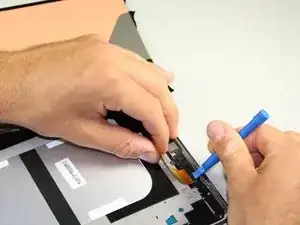
Use the plastic opening tool to get under the connector piece. This will allow you to remove the front panel assembly from the rest of the device.
-
-
-
Detach the connecter from the inside of the device.
-
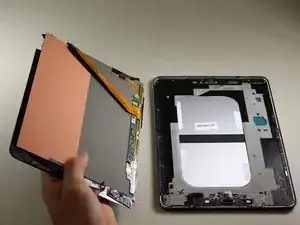
Lift the screen to separate the front panel assembly from the rest of the device.
-
-
-
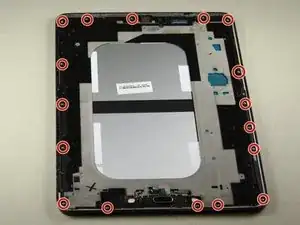
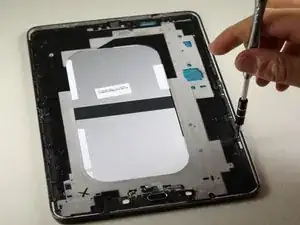
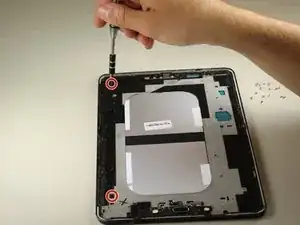
Remove the 17 silver 3.0 mm Phillips head screws located around the edge of the device using the screwdriver.
-
-
-
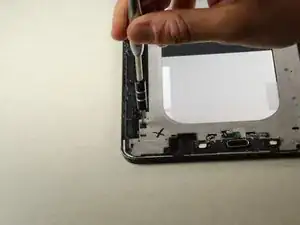
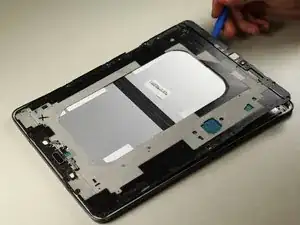
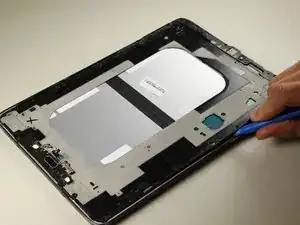
Use the plastic opening tools to gently separate the middle panel from the rest of the device.
-
Move the tool around under the edges until you can remove the panel by hand.
-
-
-
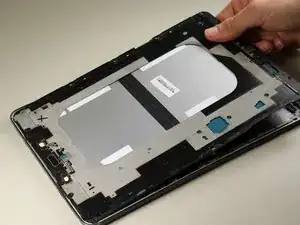
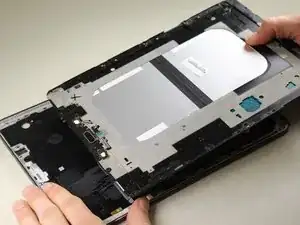
Lift up the central panel starting from one corner to separate it from the rest of the device.
-
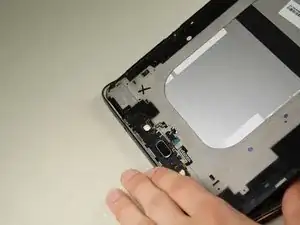
Pull towards the top of the device as you lift out to ensure that the charging port connection is not damaged.
-
-
-
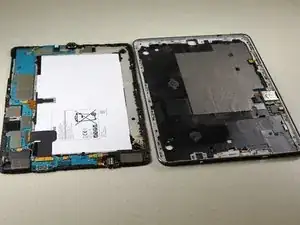
Position the central panel so the battery logo is facing up.
-
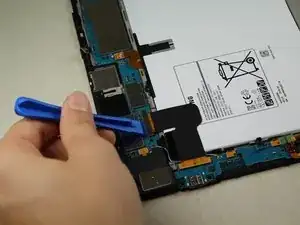
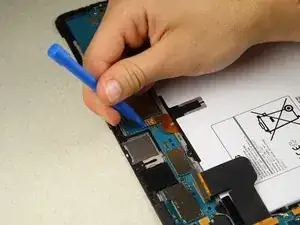
Gently place the larger plastic opening tool under the ZIF connector on the bottom left of the device.
-
Lift up to detach this connector from the panel.
-
-
-
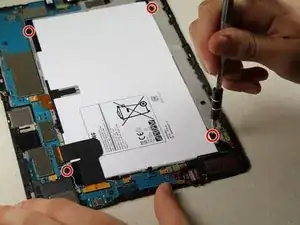
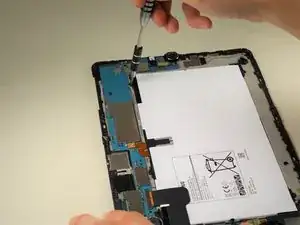
Remove the 4 black 3.0 mm Phillips head screws from the corners of the battery housing using the screwdriver.
-
-
-
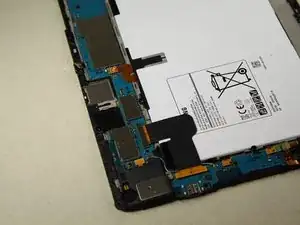
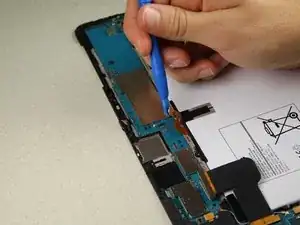
Gently place the larger plastic opening tool under the cable connector and lift up to detach the connector from the panel.
-
-
-
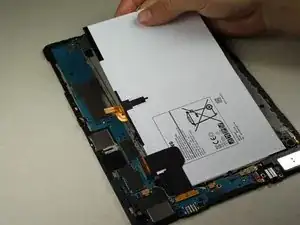
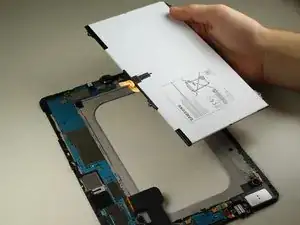
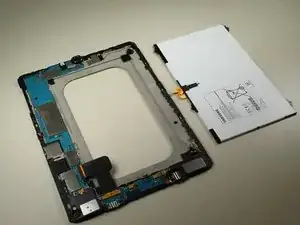
Gently lift the battery up from one corner using your hands to remove it from the rest of the central panel.
-
To reassemble your device, follow these instructions in reverse order.
7 comments
Merci pour c’est instructions! Je vais essayer, mais comment acheter une batterie ou une nappe de connecteur de charge? J’ai cherché sur internet mais je n’ai pas trouvé mon modèle qui est T813…
Opening the back of the Samsung Galaxy Tab S2 (SM-T813) with a cutter knife e.g. is a LOT easier than removing the front, and you can also take out the battery
Agreed! Use caution per my next comment below.
Very nice and detailed. Most battery replacement videos for this model suggest removing the back cover instead of the screen. Then follow steps 13 onward. Use caution when removing the back cover so flex cable near power and volume button does not get broken (the connect is wedged into the cover). Suggest removing back cover from non-connector side first (the one with the two mini-posts). Right side when looking with rear camera on top. Once this side is loose, gently lift to expose flex cable for button side. Then pop that out of the cover (GENTLY) before lifting the cover the rest of the way off. This flex cable must remain attached to the mother board. If broken, the mother board and screen need to be separated to replace it!

Do not remove the screen if you’re replacing the battery, much easier to heat up and pry off the back. Plus no chance of damaging your screen.
Joseph Watson -