Introduction
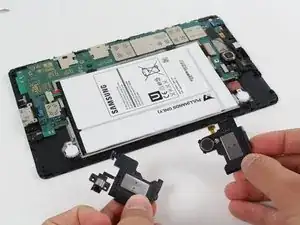
Over time a speaker may become damaged and the audio sound quality may become poor. If this is to occur, replacing the speaker can fix this issues. This guide will show you how to replace the headphone jack and speakers.
Tools
Parts
-
-
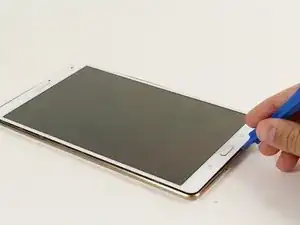
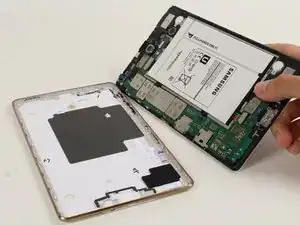
Place the plastic opening tool between the face of the display and rim of the back cover of the device.
-
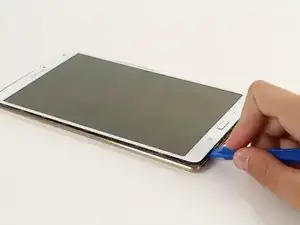
Move the plastic opening tool in a downward motion until you see separation between the tablet and back cover.
-
-
-
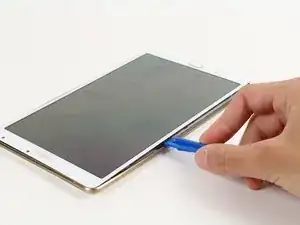
By sliding the plastic opening tool around the rim of the device, carefully continue to pry apart the screen and back cover.
-
-
-
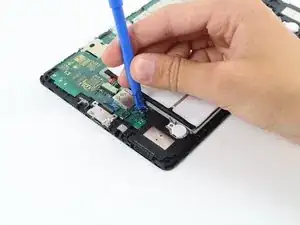
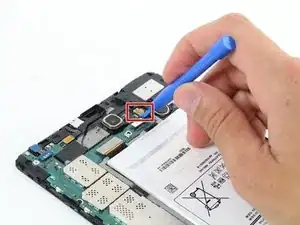
Disconnect the blue connector by gently popping it off of the motherboard with a plastic opening tool.
-
-
-
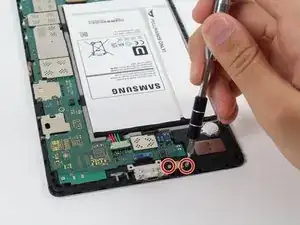
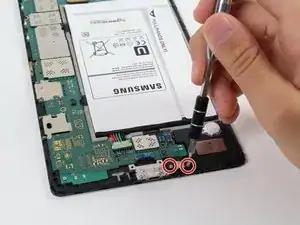
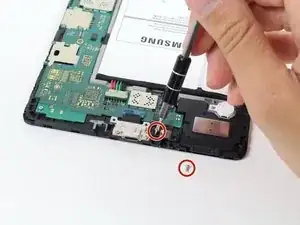
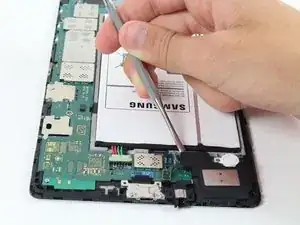
Use the metal spudger to pry from the top left corner of the headphone jack/lower speaker assembly.
-
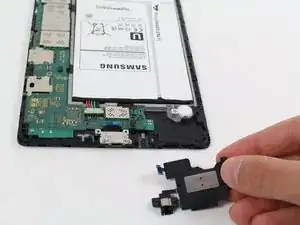
Gently lift the headphone jack/lower speaker assembly free of the device.
-
-
-
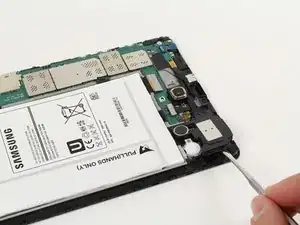
Locate the top speaker.
-
Use a plastic opening tool to disconnect the green-gold upper speaker connector from the motherboard.
-
To reassemble your device, follow these instructions in reverse order.
Will a butter knife work?
Team Diamond (DrDiamond53) -
You could try a credit card, avoid metal tools.
Isaac Pettis -
The battery is still connected at this stage so, yes, avoid metal tools.
Once the outer frame was mostly unclipped with the opening tool, I found the ifixit triangle plastic picks useful. As well as clips around the 4 edges there are maybe 4 more clips in the centre of the back cover that are a challenge.
Make sure the display screen and logic boards and battery all come out in one bundle, just leaving a bare plastic back shell. Others have reported that if you separate the screen from the boards you’ll invariably break a ribbon cable and lose touch sensitivity.
Michael Morjanoff -