Introduction
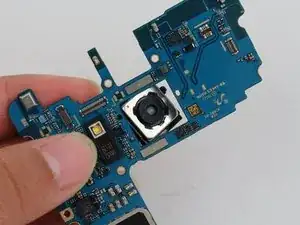
Use this guide to replace or remove the rear-facing camera in your Samsung Galaxy S8 Active.
This guide involves removing the back cover of the device, so you will need replacement adhesive to reattach the back cover to the phone.
Before disassembling your device, be sure the battery is charged below 25%. If accidentally punctured or damaged, the battery can catch fire and/or explode; if discharged below 25%, the chances of fire/explosion is decreased.
Tools
-
-
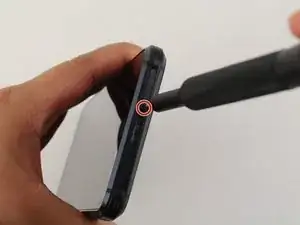
Insert and gently push the SIM card ejector tool (or an unfolded paperclip) into the small hole on the left side of the top edge of the phone.
-
Press gently to eject the SIM tray.
-
Remove the SIM card tray from the device.
-
-
-
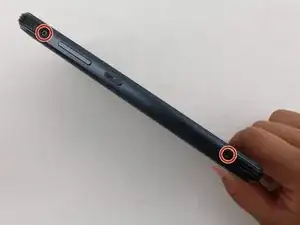
Remove four black 3mm screws from the outside edges of the device that hold the rubber bumpers in place using the TR6 Torx Security Screwdriver.
-
Take off the rubber bumpers from the top and bottom edges of the device.
-
-
-
Use a heat gun to lightly heat the edges of the back to soften the adhesive that connects the back cover to the rest of the frame.
-
-
-
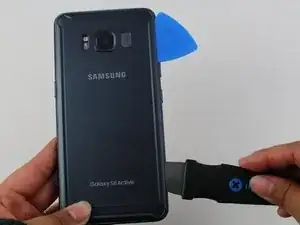
Insert the Jimmy tool under the edge of the back cover.
-
Once the Jimmy tool is under the edge of the cover, insert an opening pick into the seam to prevent the seam from closing if the Jimmy tool slips or is accidentally removed.
-
Cut slowly around the top section of the device and be careful to avoid damaging the cables for the fingerprint sensor and camera. Avoid prying too far into the top of the device to protect the fingerprint sensor.
-
Slide the Jimmy tool down the sides of the device, separating the adhesive.
-
-
-
Use the opening pick to slice through any remaining adhesive.
-
Open the back cover slightly to the point that you can see the fingerprint sensor flex cable connector.
-
-
-
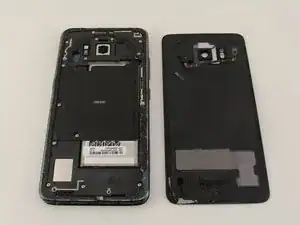
Slowly flip the cover over and set it down on top of the rest of the device.
-
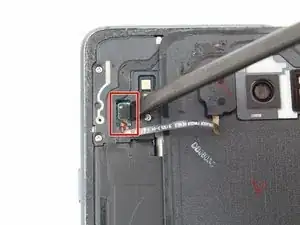
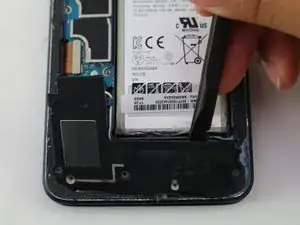
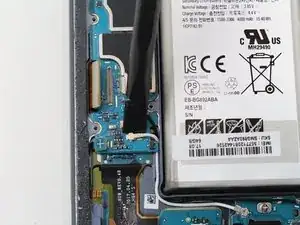
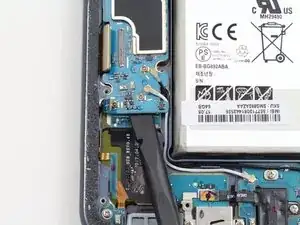
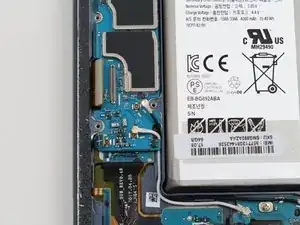
Disconnect the fingerprint flex cable using the flat end of a spudger.
-
Remove the back cover.
-
-
-
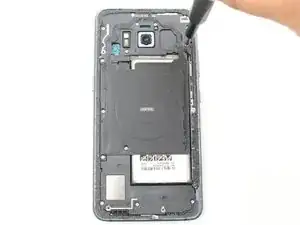
Remove eleven 3.5 mm screws using a Phillips #00 Screwdriver.
-
Remove two 2mm screws using a Phillips #00 Screwdriver.
-
-
-
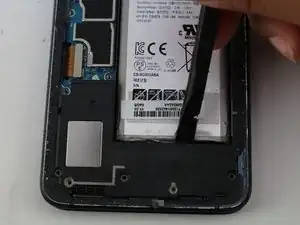
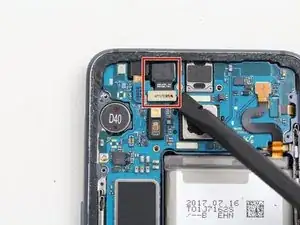
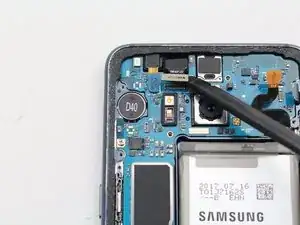
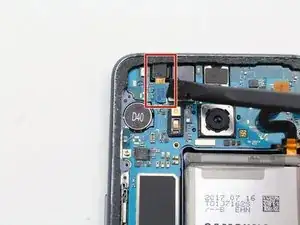
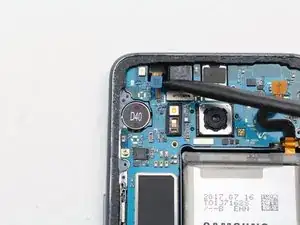
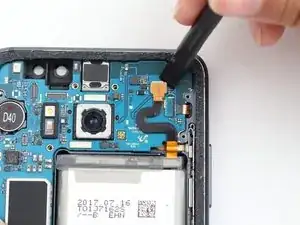
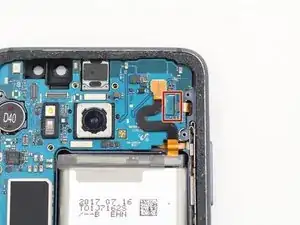
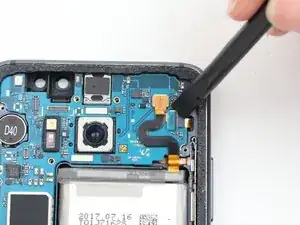
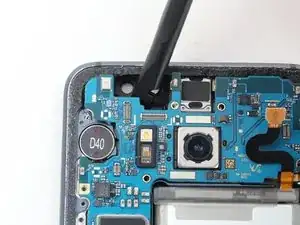
Disconnect the front-facing camera flex cable from the motherboard using the flat end of a spudger.
-
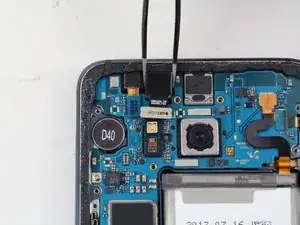
Use tweezers to gently lift the camera from its slot.
-
-
-
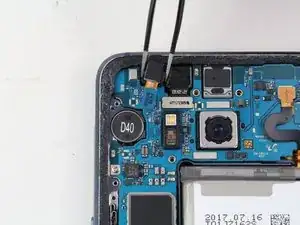
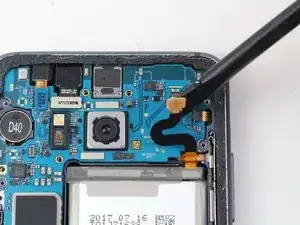
Disconnect the iris scanner flex cable from the motherboard using the flat end of a spudger.
-
Use tweezers to gently lift the iris scanner from its slot.
-
-
-
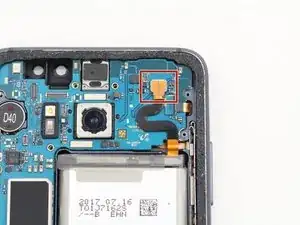
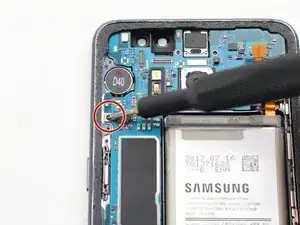
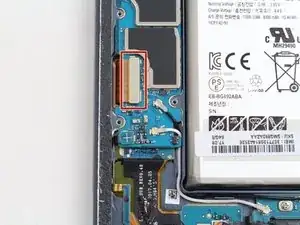
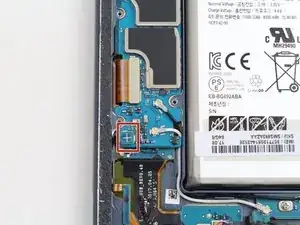
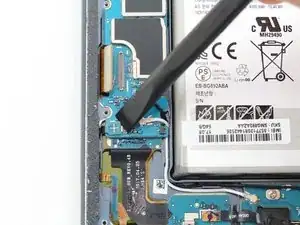
Disconnect the Volume Up, Volume Down, and Bixby button flex cable using the flat end of a spudger.
-
-
-
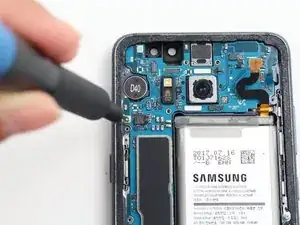
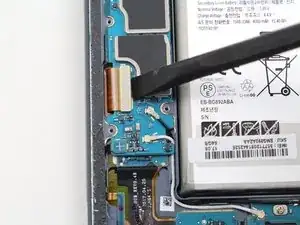
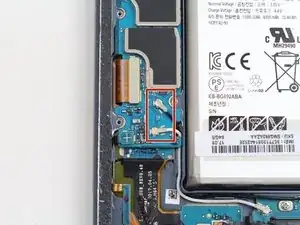
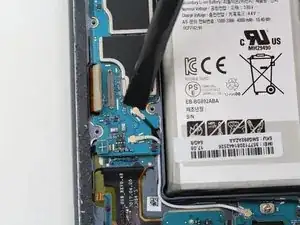
The motherboard rests on top of the daughterboard, and there is a flex cable connecting them. Disconnect the flex cable that connects the motherboard to the daughterboard using the flat end of a spudger.
-
-
-
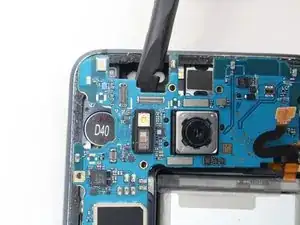
Position the flat end of a spudger at the top edge of the motherboard.
-
Carefully pry up and remove the motherboard.
-
-
-
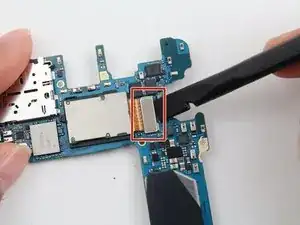
Turn the motherboard over so that the rear-facing camera is face down.
-
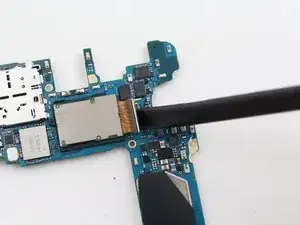
Disconnect the camera's flex cable using the spudger.
-
-
-
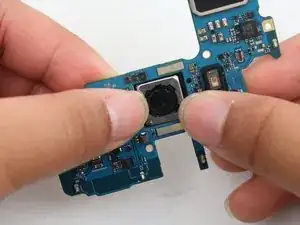
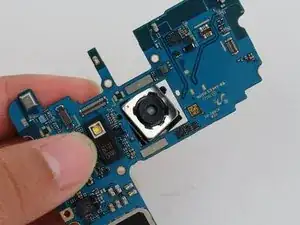
Flip the motherboard back over.
-
Pop the camera out of its socket using your fingers or the flat end of a spudger.
-
To reassemble your device, follow these instructions in reverse order.
3 comments
I need a rear facing camera for my samsung galaxy s8 active. Sm-g892a. Do you sell the camera or do you know where I can buy a new one?
So I took this apart and either the camera is shot itself (unsure how to determine) or is it possible a ripped finger print scanner ribbon could somehow disable the camera from working? I can't imagine so but I was curious and wanted to ask since your site has helped me TONS on repairs at home. Thanks!
I dont have a fingerprint sensor and my cam works perfectly fine. G892A
i broke it by opening backdoor and breaking ribbon










not needed as near as I can tell
jason davis -