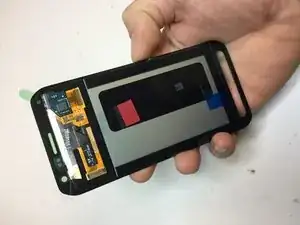
Introduction
Tools
-
-
Gather all tools needed.
-
This is a perfect opportunity for us to test out our iOpener Kit and our 64-Bit Driver Kit.
-
-
-
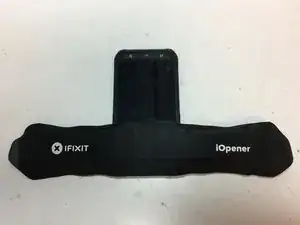
Lay the iOpener pad across the phone. We'll start near the top since the bottom is cracked more.
-
Once the screen is heated up, use a suction cup and carefully pull up on the screen.
-
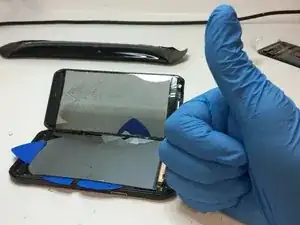
Gently work an opening pick into the gap between the screen and the phone.
-
Keep working around the edges by inserting more opening picks and applying more heat if needed.
-
-
-
After creating enough of a gap between the screen and the phone, you will see that the LCD is held to the housing with very strong adhesive, a Samsung favorite.
-
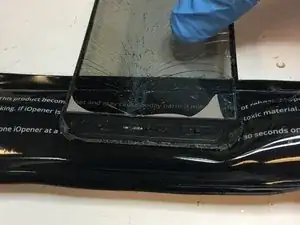
As much as we tried, we could not prevent the already cracked screen from cracking further. It is possible to separate the screen assembly from the phone, but you'll need some heat and patience to slowly work it loose (proven by @cclarkcarroll, http://pixady.com/image/sm9/) These screens are EXTREMELY thin and fragile!
-
Gloves are advised as these thin LCDs can be nasty when they start to shatter.
-
The digitizer will likely separate from the LCD during removal so do not panic.
-
-
-
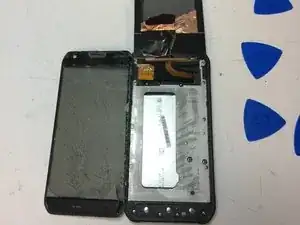
Once the screen is separated from the phone, you will need to flip it vertically to gain access to the screen connector.
-
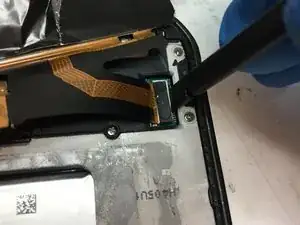
The connector is hidden under a plastic cover that can be popped off with a plastic pry tool.
-
After removing the cover, you can carefully remove the screen connector from the phone board.
-
-
-
After you've removed the cracked screen assembly, you will need to apply heat to the buttons to transplant them to the new assembly.
-
Remove the adhesive from the new assembly and carefully line up the buttons. They won't move easily once they're adhered.
-
Connect the new screen assembly to the board and install the plastic cover.
-
At this point, we recommend testing the phone before adhering the new screen into place.
-
-
-
After testing that the new screen assembly works properly, peel off the adhesive cover and carefully line up the screen.
-
Gently press around the screen to ensure a proper seal.
-
Enjoy your phone once more!
-
To reassemble your device, follow these instructions in reverse order.
10 comments
I run a cell phone repair business in the Midwest. Just did this repair without breaking the LCD using nothing more than heat, razorblades, and a playing card in less than 20 minutes. Your claim "it isn't possible without cracking the LCD" is false. Don't discourage other places like mine from trying it!
Proof from above comment
Proof: http://pixady.com/image/sm9/
Agreed, compared to other Samsung glass only repairs this one isn't too hard!
That's awesome! To this day I have not been able to successfully separate the two without the LCD cracking slightly no matter how carefully I try. I guess I'm too worried about overheating the screen and causing damage. Great job!!
I have updated the guide to inform shops that it is possible. Thank you Chris!
Where does one source this digitizer? Sorry, ifixit, I would buy from you but you dont seem to stock it.
We sourced a replacement screen from ebay. Sorry iFixit, but ebay has just about everything! The replacement worked and felt like OEM quality. The only advice I have is to make sure you're buying from a reputable seller that offers returns. We have had several screens arrive defective or broken from shipping. Happy fixing!
Hi there,
I am fixing one of these from the United Kingdom, and was wondering if you may be able to share with me where on Ebay did you source the LCD and Screen Digitizer please?
Many thanks!
Vim
Vim -
Good tutorial. Armed with this and watching a Youtube video, I had the screen off within 4 minutes. I cheated though, and instead just used a box cutter, a business card (rarely), and my fingers. Made a little bit of a mess with the digitizer, but if its junk why fart around with it? :)

