Introduction
Use this guide to replace a faulty rear-facing camera.
Tools
Parts
-
-
Insert a fingernail or plastic opening tool into the divot to the left of the rear-facing camera.
-
Gently pry and twist the flexible rear cover off the back of the phone.
-
-
-
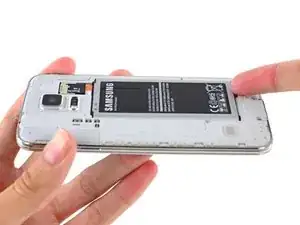
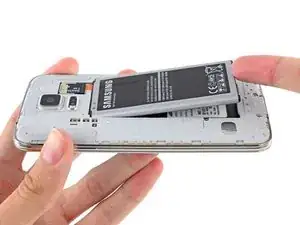
Insert a fingernail or plastic opening tool into the recess in the bottom right corner of the battery and lift upward.
-
Remove the battery away from the phone.
-
-
-
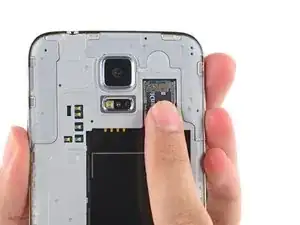
Using a fingertip, pull the microSD card straight down out of its slot.
-
Remove the microSD card from the phone.
-
-
-
Use a plastic opening tool to pry up the plastic midframe connector panel.
-
Remove the connector panel with a pair of tweezers.
-
-
-
Use the sharp tip of a spudger to pry the home button cable connector straight up off its socket.
-
-
-
Place a heated iOpener on the left side of the phone for at least 90 seconds.
-
Reheat the iOpener and place it on the right half of the phone.
-
-
-
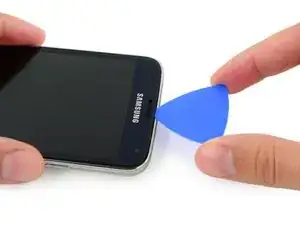
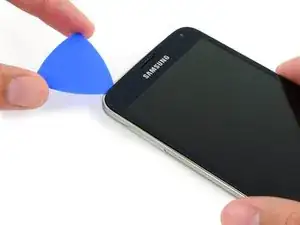
Carefully slide the pick around the corner, stopping before the speaker grille at the top of the phone.
-
-
-
Slide the opening pick across the top of the phone, being very careful not to insert the pick too deeply.
-
-
-
Slide the opening pick down along the left half of the phone stopping at the lower left corner.
-
-
-
Slide the opening pick all the way to the bottom left corner of the phone, making sure it is securely placed.
-
-
-
Slide the very end of the opening pick across the bottom edge of the display to separate the last of the remaining adhesive.
-
-
-
Insert an opening pick under the soft button icons on the display and pry the button cables down off the inside of the front panel.
-
-
-
Use the sharp tip of a spudger to lift the front panel assembly cable connector straight up off its socket on the motherboard.
-
Safely remove the front panel assembly from phone.
-
-
-
Two 4.4 mm Phillips #000 screws near the USB port on the battery side of the phone
-
One 4.4 mm Phillips #000 screw
-
-
-
Gently run a plastic opening tool down along the left inner side of the interior frame to separate the three white plastic clips.
-
-
-
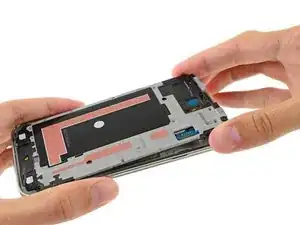
Gently pull the long sides of the silver bezel out away from the phone to separate the two halves of the midframe.
-
-
-
Continue on to the right side of the silver bezel, pulling away from the interior section of the midframe to separate the two halves.
-
-
-
Pull, but do not remove, the motherboard away from the midframe to allow access to the connectors on the rear.
-
Lay the motherboard on a clean flat surface and support the interior midframe with one hand, leaving the other hand free to work on the motherboard assembly.
-
-
-
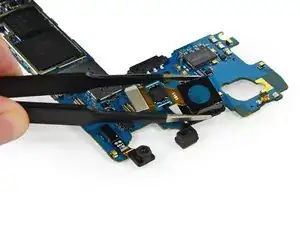
Use the flat end of a spudger to disconnect the rear-facing camera connector straight up from its socket on the motherboard.
-
Remove the rear-facing camera from the motherboard using a pair of tweezers.
-
To reassemble your device, follow these instructions in reverse order.
11 comments
has any one replaced the camera and now you get the warning camera filled and the led light fails each time you click the app?
Aaron -
did you ever figure out how to fix that, i have the same problem
Outstanding guide!! My rear facing camera got smashed in a bike accident (key in the same pocket as phone - dumb...) and the impact didn't totally disable it, but it lost the ability to properly focus at any but really close distances. This guide made the replacement process completely straightforward and if not "easy" at least a whole lot less daunting. Especially helpful were all the warnings and advice about dealing with the little itty bitty cables at the touch and home buttons at the bottom of the screen.
One item that I might add to this guide - I found it helpful to use multiple opening picks to keep the already cut adhesive around the edges of the display from re-sticking itself as I continued to slowly heat and cut and heat and cut. It's very tenacious adhesive and it really likes to cling back to itself, cool and re-solidify before you get done cutting it all.
Most importantly, after doing this repair, my phone is back to 100% with a perfectly working camera and all functions normal. YAY!!!
... and, here's the actual repair - https://youtu.be/Q2oj6zpJmTQ compressed to just under two minutes
I got a phone from someone and the camera was broken, so I replaced it. After that it still doesn't worked, so I wiped the cache, made a factory reset, etc, still nothing. Does this happened to someone else here? What else can affect the proper function of the camera?
