Introduction
Use this guide to replace the motherboard.
Tools
Parts
-
-
Insert a fingernail or plastic opening tool into the divot to the left of the rear-facing camera.
-
Gently pry and twist the flexible rear cover off the back of the phone.
-
-
-
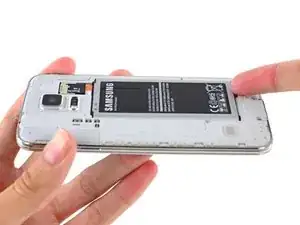
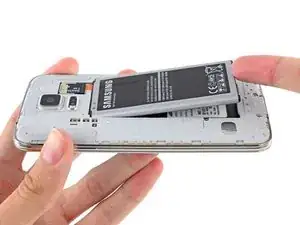
Insert a fingernail or plastic opening tool into the recess in the bottom right corner of the battery and lift upward.
-
Remove the battery away from the phone.
-
-
-
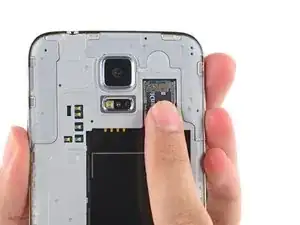
Using a fingertip, pull the microSD card straight down out of its slot.
-
Remove the microSD card from the phone.
-
-
-
Use a plastic opening tool to pry up the plastic midframe connector panel.
-
Remove the connector panel with a pair of tweezers.
-
-
-
Use the sharp tip of a spudger to pry the home button cable connector straight up off its socket.
-
-
-
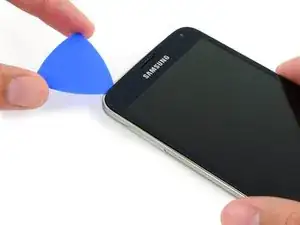
Place a heated iOpener on the left side of the phone for at least 90 seconds.
-
Reheat the iOpener and place it on the right half of the phone.
-
-
-
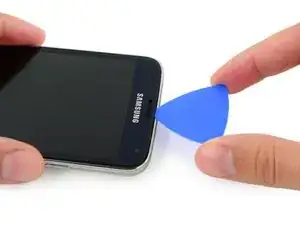
Carefully slide the pick around the corner, stopping before the speaker grille at the top of the phone.
-
-
-
Slide the opening pick across the top of the phone, being very careful not to insert the pick too deeply.
-
-
-
Slide the opening pick down along the left half of the phone stopping at the lower left corner.
-
-
-
Slide the opening pick all the way to the bottom left corner of the phone, making sure it is securely placed.
-
-
-
Slide the very end of the opening pick across the bottom edge of the display to separate the last of the remaining adhesive.
-
-
-
Insert an opening pick under the soft button icons on the display and pry the button cables down off the inside of the front panel.
-
-
-
Use the sharp tip of a spudger to lift the front panel assembly cable connector straight up off its socket on the motherboard.
-
Safely remove the front panel assembly from phone.
-
-
-
Two 4.4 mm Phillips #000 screws near the USB port on the battery side of the phone
-
One 4.4 mm Phillips #000 screw
-
-
-
Gently run a plastic opening tool down along the left inner side of the interior frame to separate the three white plastic clips.
-
-
-
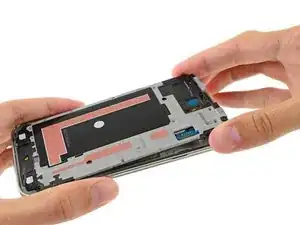
Gently pull the long sides of the silver bezel out away from the phone to separate the two halves of the midframe.
-
-
-
Continue on to the right side of the silver bezel, pulling away from the interior section of the midframe to separate the two halves.
-
-
-
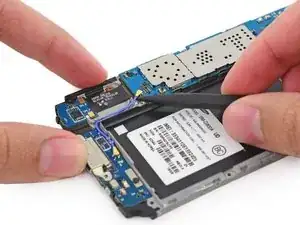
Carefully wedge the tip of a spudger underneath the antenna cable connector.
-
Delicately lift the spudger directly upwards to disconnect the antenna connector off its socket on the motherboard.
-
-
-
Pull, but do not remove, the camera end of the motherboard up from the midframe to allow access to the connectors on the rear.
-
-
-
Use the flat end of a spudger to pry the daughterboard connector straight up off its socket on the motherboard.
-
-
-
Use the flat end of a spudger to disconnect the front-facing camera connector off its socket on the motherboard.
-
Remove the front-facing camera from the motherboard.
-
-
-
Use the flat end of a spudger to disengage the rear-facing camera connector straight up off its socket on the motherboard.
-
Remove the rear-facing camera from the motherboard.
-
To reassemble your device, follow these instructions in reverse order.
25 comments
Do you know if I can put a g900p motherboard in the G900I in order to get FM radio. Cheers.
In Step 28 you will figure out that there is a second antenna cable that is brown and needs to be detached as well. It is alligned in one row with the blue antenna cable.
I want to use the motherboard from a T-Mobile galaxy s5 on an AT&T galaxy s5 I just wanted to know if it fits inside the att version because my SIM card reader is broken so I wanted to know if I could use one from T-Mobile and that it would fix and work
It would fit and work


