Introduction
Use this guide to replace the rear-facing camera in your Samsung Galaxy S4.
If you are getting a "Camera failed" error message, first open Camera app from the Application manager and select "Clear data," then restart the phone. If this doesn't solve the issue, try a factory reset of the phone (be sure to back up your data beforehand). If these options still don't help, try reinstalling Android OS, otherwise you will need to replace the hardware itself.
You can also test the camera from the Hidden/Test menu, dial *#0*# to access the service menu.
Tools
Parts
-
-
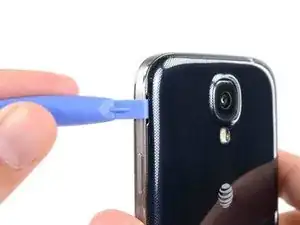
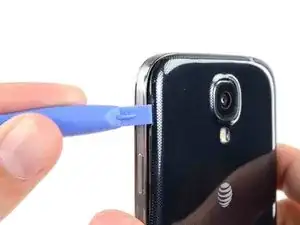
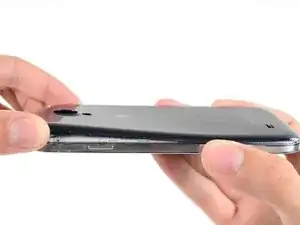
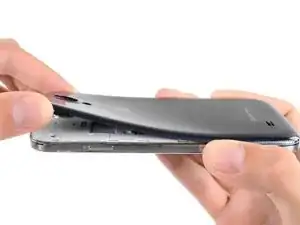
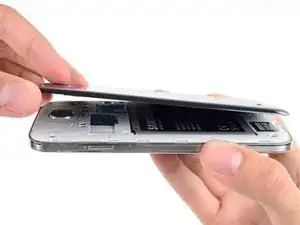
Pry with a plastic opening tool, or your fingernail, in the divot to the left of the rear-facing camera, near the power button.
-
-
-
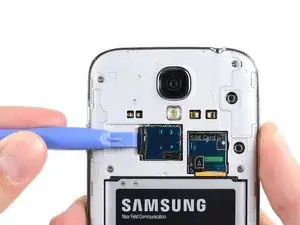
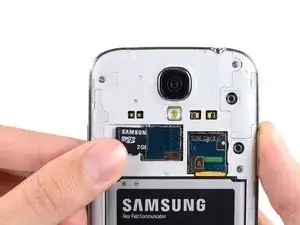
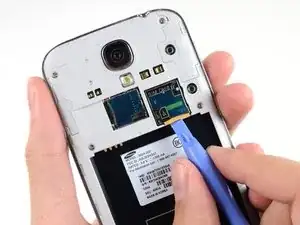
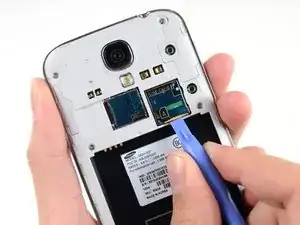
Use the flat end of a spudger, or your fingernail, to press the microSD card slightly deeper into its slot until you hear a click.
-
After the click, release the card and it will pop out of its slot.
-
Remove the microSD card.
-
-
-
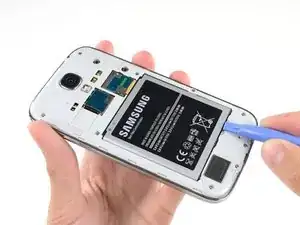
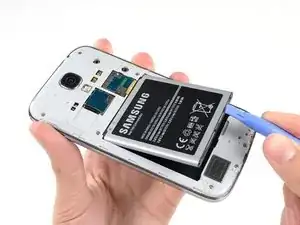
Insert a plastic opening tool, or your finger, into the notch of the battery compartment and lift the battery upward.
-
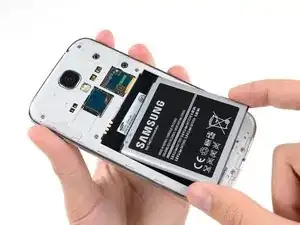
Remove the battery from your phone.
-
-
-
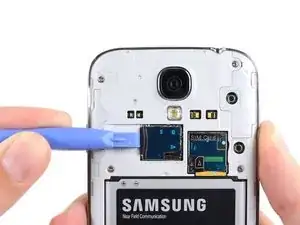
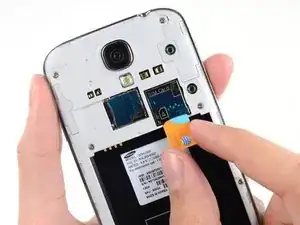
Use a plastic opening tool, or your fingernail, to press the SIM card slightly deeper into its slot until you hear a click.
-
After the click, release the card and it will pop out of its slot.
-
Remove the SIM card.
-
-
-
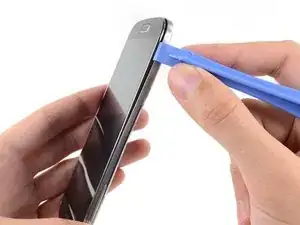
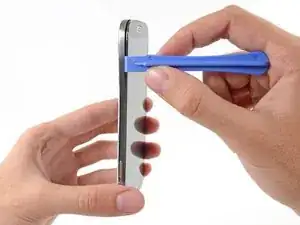
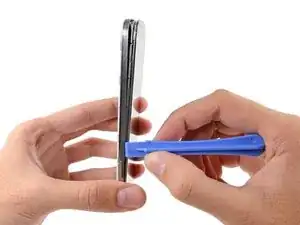
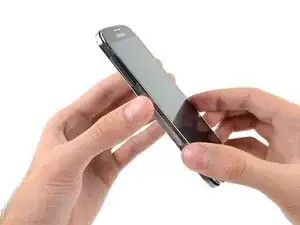
Starting on the volume button side of the phone, insert your plastic opening tool between the chrome bezel around the display glass and the larger chrome border piece. Look for the seam between the two.
-
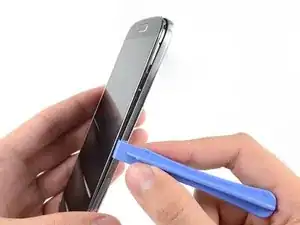
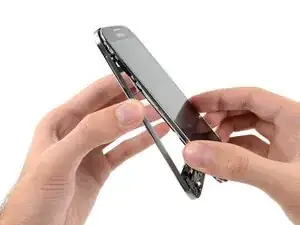
Slide the opening tool along the seam, separating the plastic clips as you go.
-
-
-
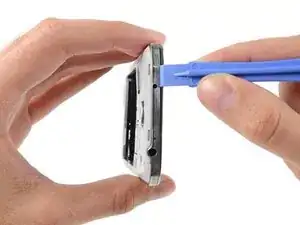
Continue prying around the corner of the phone.
-
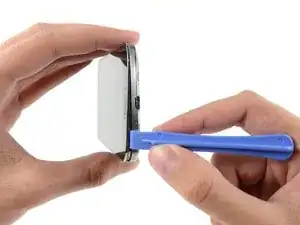
Slide your opening tool along the seam between the midframe and display along the bottom of the device, releasing more of the plastic clips.
-
-
-
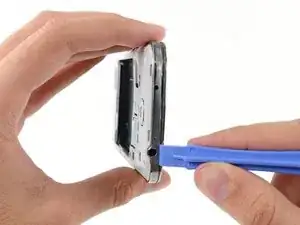
Again, pry around the corner, to the power button side.
-
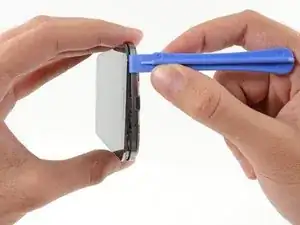
Slide the opening tool along the seam.
-
-
-
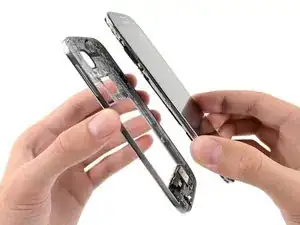
Continue sliding the opening tool around the top of the phone, releasing the last of the clips and freeing the midframe from the display assembly.
-
-
-
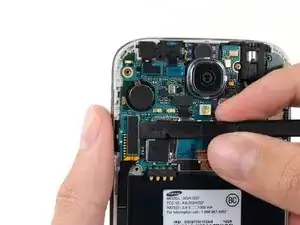
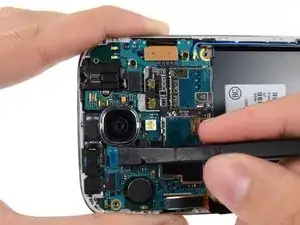
Use the flat end of a spudger to disconnect the USB board connector.
-
Disconnect the front-facing camera cable connector.
-
Disconnect the earpiece speaker assembly cable connector.
-
-
-
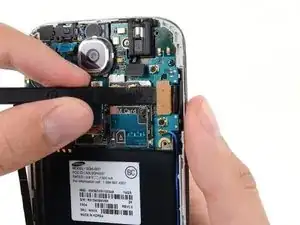
Disconnect the headphone jack assembly cable connector.
-
Disconnect the display/digitizer cable connector.
-
Disconnect the antenna cable connector.
-
-
-
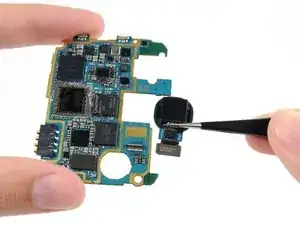
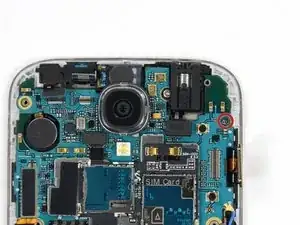
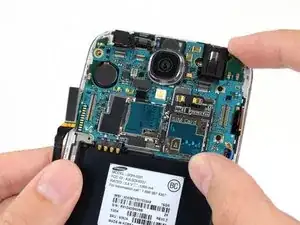
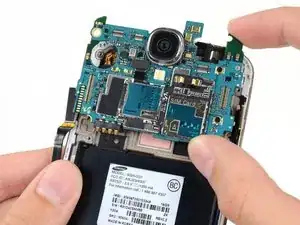
Using tweezers, or your fingers, slide the rear-facing camera out of its notch in the motherboard.
-
To reassemble your device, follow these instructions in reverse order.
11 comments
Where do you recommend getting the new rear facing camera from?
Justin -
where do you recommend to buy a new rear camera?
sujatha -
Useful step by step guide, I was able to replace the cracked lens on the camera following the instructions here. Without them I wouldn't have had a clue where to start and what to unclip. The kit I used was purchased from ebay and was straight forward enough to complete that part without the need for further instruction. For a few pounds I have increased the value of my phone for trade in at next upgrade. Very pleased with this result. Thank you for the comprehensive instructions.





Where is the divot? Please let me know that
James -
I purchased a blue plastic opening tool(AKA: Spudge) like the one used in the above Step 1 rear cover pic and found the divot and was able to take off the rear cover as per the “Step 2 “ instructions.
Terry Crawford, Jr. -