Introduction

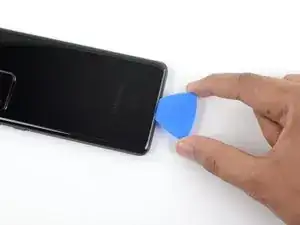
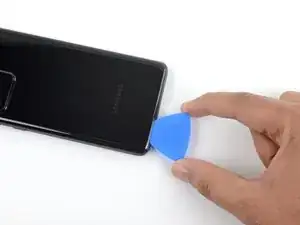
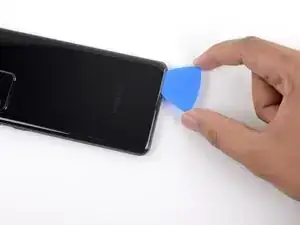
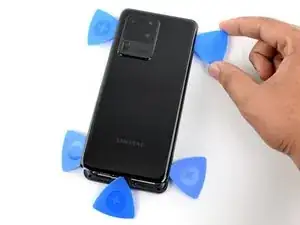
This pre-req guide demonstrates how to remove the back panel on your Galaxy S20 Ultra.

  1. ST1dkpYDnCsXWFS5
    • Unplug and power off your phone before you begin.

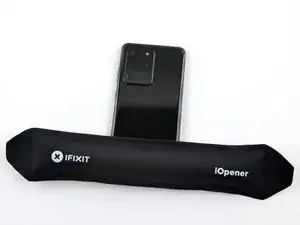
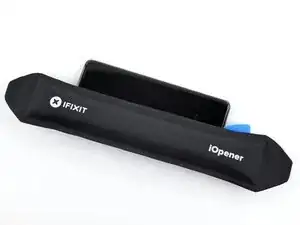
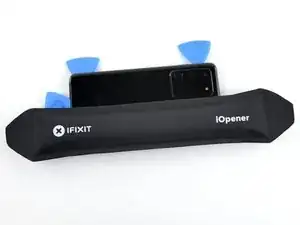
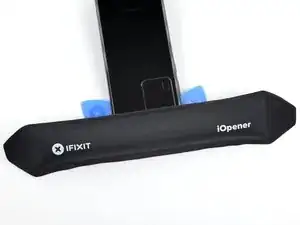
    • Heat an iOpener and apply it to the back cover's bottom edge for two minutes.

    • A hair dryer, heat gun, or hot plate may also be used, but be careful not to overheat the phone—the display and internal battery are both susceptible to heat damage.

  2. pSgJGWjYUSZwyYPk
    pSgJGWjYUSZwyYPk
    oU56TXSbYIx16Y3e
    3bNeiMO1ofeKSTPo
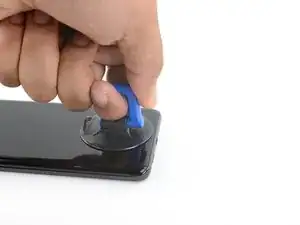
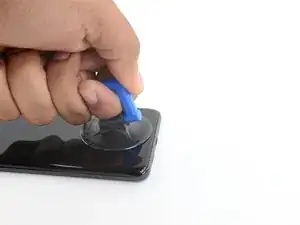
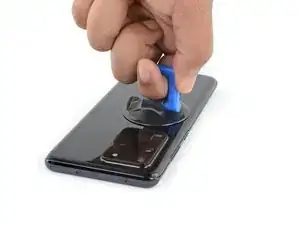
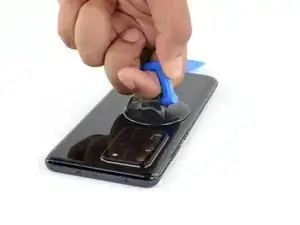
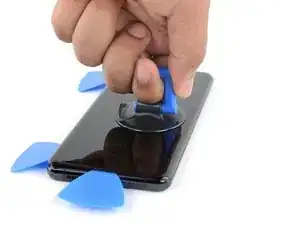
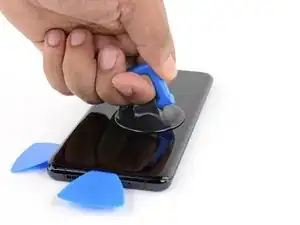
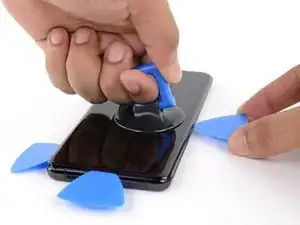
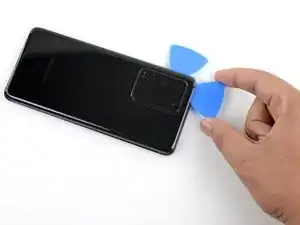
    • Apply a suction cup to the back of the phone, as close to the center of the bottom edge as possible.

    • If the back cover is badly cracked, covering it with a layer of clear packing tape may allow the suction cup to adhere. Alternatively, very strong tape may be used instead of the suction cup. If all else fails, you can superglue the suction cup to the broken cover.

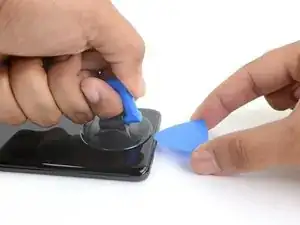
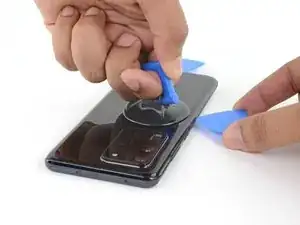
    • Pull on the suction cup with strong, steady force to create a gap between the back cover and the frame.

    • Insert the point of an opening pick into the gap.

    • Due to tight tolerances, this may take multiple attempts of reheating with the iOpener and separating with the suction cup before you get it right.

    • If you are having trouble creating a gap, apply more heat to the edge and try again.

    • Do not apply excessive force with the pick, or you risk cracking the back cover glass.

  3. GCmKajnPTTtjeUcw
    GCmKajnPTTtjeUcw
    1ISqIMMTDQmtGmAp
    14CWVqVVQs3XDTkA
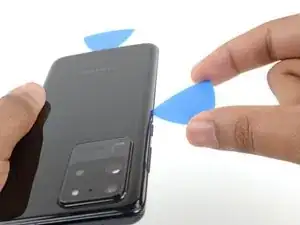
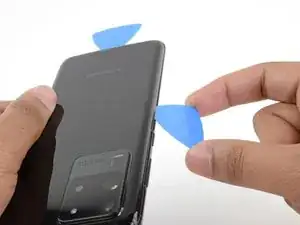
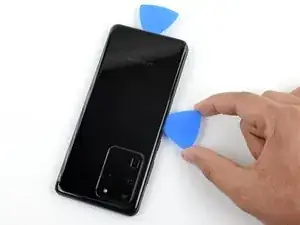
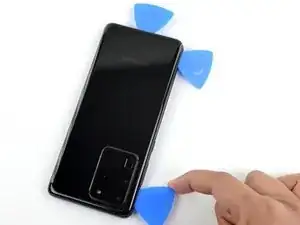
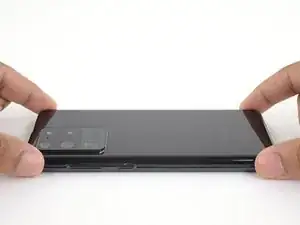
    • Slide the pick back and forth along the bottom edge to slice through the adhesive.

    • Do not attempt to cut the adhesive near the corners of the phone where the glass is curved or you risk cracking the glass panel.

    • Leave your opening pick in the seam to prevent the adhesive from resealing.

  4. rqIxWbI6mPb51BqG
    • Apply a heated iOpener to the left edge of the back cover for two minutes.

  5. MocplEE4PKC25iH2
    MocplEE4PKC25iH2
    ce2fXM4ljgdToYqN
    SgJDCk6QLtoDLxen
    • Apply a suction cup to the back of the phone, as close to the center of the left edge as possible.

    • Pull on the suction cup with strong, steady force to create a gap between the back cover and the frame.

    • Insert the point of an opening pick into the gap.

    • As the glass on this edge is curved, you won't be able to insert this pick very far. As long as the very tip of the pick is underneath the glass's edge, you will be able to proceed.

    • Due to tight tolerances, this may take multiple attempts.

    • If you are having trouble creating a gap, apply more heat to the edge and try again.

    • You can try also applying a few drops of high concentration (over 90%) isopropyl alcohol into the seam to help loosen the adhesive.

    • Do not apply excessive force with the pick, or you risk cracking the back cover glass.

  6. M5jmDMKAT4hIbjNK
    M5jmDMKAT4hIbjNK
    xA6kurqliImgQceY
    • Once the pick is underneath the glass's edge, tilt it downward and insert it further to fully separate the back cover's adhesive.

  7. s6NppDMTZJoLTERY
    s6NppDMTZJoLTERY
    mKbmFKGPgHKQqvvC
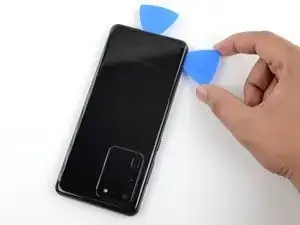
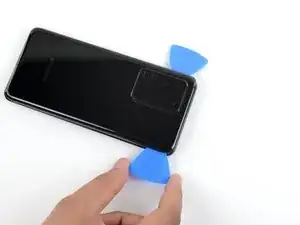
    • Slide the pick towards the bottom edge of the phone to separate the back cover's adhesive.

    • Leave your pick under the left edge of the glass near the bottom of the device to prevent the adhesive from resealing.

  8. VVloGOODRaLyEwjq
    VVloGOODRaLyEwjq
    aaHytSnJWb3NUN5G
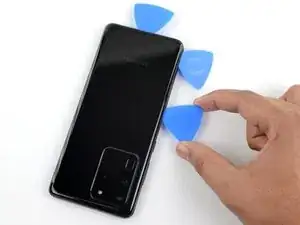
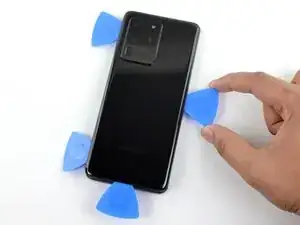
    • Insert another pick under the center of the left edge of the back cover.

    • Gradually slide the pick towards the top of the device to separate the back cover's adhesive.

    • Take care when sliding across the ridge in the frame surrounding the volume and power buttons—the cutout in the glass may make it more prone to cracking.

    • Leave your pick under the left edge of the glass near the top of the device to prevent the adhesive from resealing.

  9. IVl1P4giou3iUhlI
    • Apply a heated iOpener to the right edge of the back cover for two minutes.

    • A hair dryer, heat gun, or hot plate may also be used, but be careful not to overheat the phone—the display and internal battery are both susceptible to heat damage.

  10. IQHBwycaPSuWXQRr
    IQHBwycaPSuWXQRr
    pP1yibbjZWCrWQHc
    RGiplsJ4EC1rCryf
    • Apply a suction cup to the back of the phone, as close to the center of the right edge as possible.

    • Pull on the suction cup with strong, steady force to create a gap between the back cover and the frame.

    • Insert the point of an opening pick into the gap.

    • Like with the previous edge, you will need to tilt the opening pick downward to fully insert it underneath the back cover.

  11. Phb5OXQUPHgFsmGV
    Phb5OXQUPHgFsmGV
    hSIpLSMtWVjHH5x1
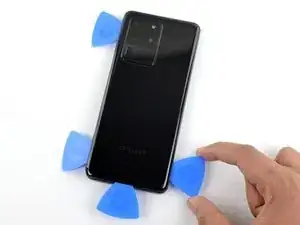
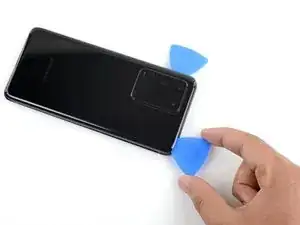
    • Slide the pick towards the bottom edge of the phone to separate the back cover's adhesive.

    • Leave your pick under the right edge of the glass near the bottom of the device to prevent the adhesive from resealing.

  12. XungoAhdZOHKAbEW
    XungoAhdZOHKAbEW
    ND3UgtTGoOFZxRnW
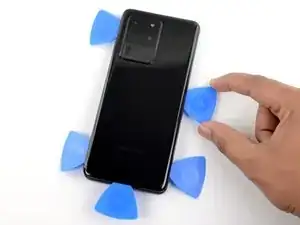
    • Insert another pick underneath the center of the right edge of the back cover.

    • Gradually slide the pick towards the top of the device to separate the back cover's adhesive.

    • As you do this, the bottom edge of the back cover may release the three picks located there. If this occurs, set these picks aside as the bottom edge shouldn't reseal from this point onward.

  13. bygJCxmQewfvmvRN
    • Apply a heated iOpener to the top edge of the back cover for two minutes.

  14. WkLTuWHS6YkYZ5Xs
    WkLTuWHS6YkYZ5Xs
    v3GkkhTPOFxYv3BC
    T4R4TcvTT2QvKC5S
    • The glass near the corners of the back cover is curved and very susceptible to cracking. Be gentle during this step to prevent damaging your back cover.

    • Gradually slide the pick from the right edge of the device around the top right corner.

    • Continue slicing along the top edge to fully separate the back cover adhesive.

    • If the slicing becomes difficult at any point, stop and reapply heat before continuing.

  15. gIxCrlv4vNtwEpXF
    gIxCrlv4vNtwEpXF
    DeSL1IUlU2fIdWlP
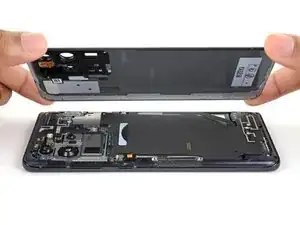
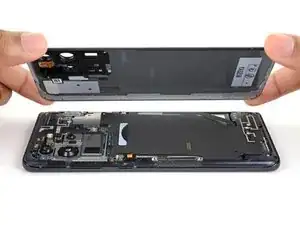
    • Lift the back cover slowly. Use opening picks to slice any remaining adhesive.

    • Remove the back cover.

    • During reassembly:

    • This is a good point to power on your phone and test all functions before sealing it up.

    • Remove any adhesive chunks with a pair of tweezers or your fingers. Apply heat if you're having trouble separating the adhesive.

    • If you're using Samsung custom-cut adhesives, follow this guide.

    • If you're using double-sided tape, follow this guide.

Conclusion

To reassemble your device, follow these instructions in reverse order.
Tarun Thiruma

Member since: 20/11/19

35226 Reputation

0 comments