Introduction

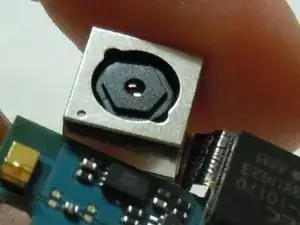
If your camera stops working or there are constant smudges or discoloration spots in your pictures, your camera lens may be broken or malfunctioning. Replace it by following these steps.

  1. UikZogRNCMwpwYq4
    UikZogRNCMwpwYq4
    SCBfUteKAXbJSmJP
    4Ddoo2VoV4BoGPaf
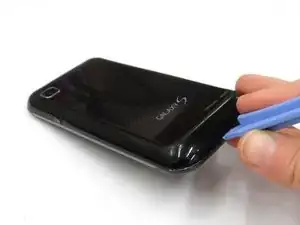
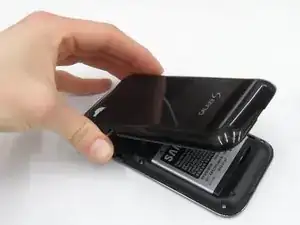
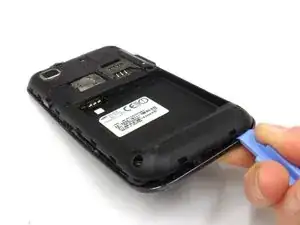
    • Locate the small slit on the bottom edge of the device between the back and front cases.

    • Pop the back case off by inserting your finger and pulling the case away from the phone.

    • If necessary (it shouldn't be), use the Plastic Opening Tools to pry the back case off.

  2. Qd1RTweupSHDICUD
    Qd1RTweupSHDICUD
    WPx1lBaLrOSgJgDt
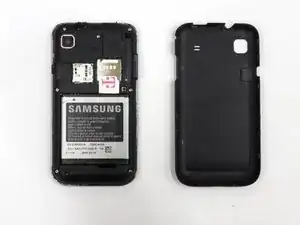
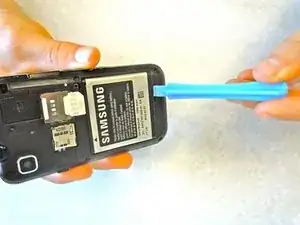
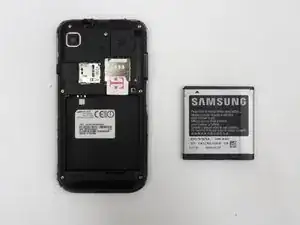
    • Remove the battery by pushing the bottom edge of the battery up and away from the phone

    • If you would prefer, you may use the Plastic Opening Tools for this step as well.

  3. FPwZVFJUnjxWcBV2
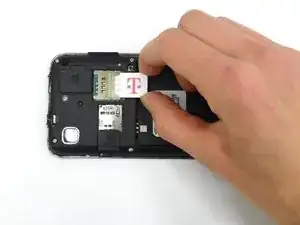
    • Remove SIM card by pushing down and away from the slot, then pulling it out toward the bottom edge of the phone.

  4. Np3AdaYVFgrEK3iU
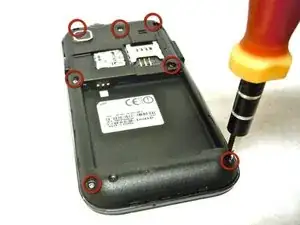
    • Remove the seven 4.5 mm Phillips #00 screws along the perimeter of the phone.

  5. 5pCHnh1Z4AIS6Zxy
    5pCHnh1Z4AIS6Zxy
    dHYoaBb5yisSbhxs
    ptAAU6FpVeEo5wmD
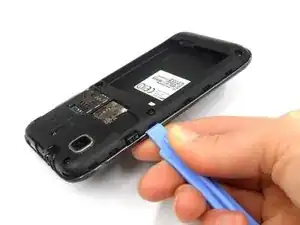
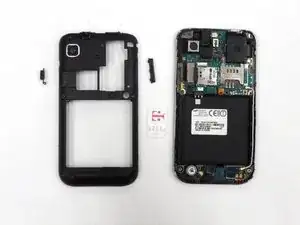
    • Staring near the power button, use a plastic opening tool to disengage the plastic clips securing the midframe.

    • Work carefully, and disengage all of the clips before removing the midframe.

    • The power button and the volume control button on the sides of the phone will fall out when the midframe is removed.

  6. QOFEA2lvXGFRaYJa
    QOFEA2lvXGFRaYJa
    WBAVreYi1VHGhhdi
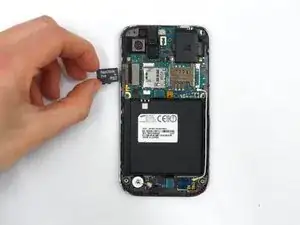
    • Slide the SD card out of its slot.

  7. TgGfFhg5XjNRC1Ym
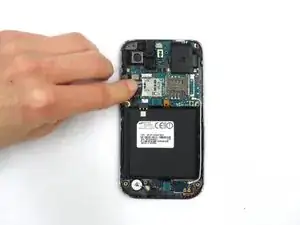
    • Disconnect the ribbon cable and camera lens by tugging gently at the base of the ribbon cable either by pinching with fingers or with the Tweezers.

    • Only use the pinching method when the camera lens is already broken so as to avoid damage.

Conclusion

To reassemble your device, follow these instructions in reverse order.
Taylor Catlin

Member since: 16/01/13

79 Reputation

0 comments