Introduction
Tools
-
-
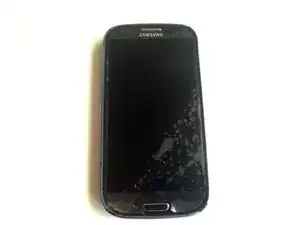
If your phone already has a screen protector, proceed to the next step.
-
If not, just cut a piece of tape to size and stick it on the glass. This will help you remove the broken glass later.
-
-
-
Now you can move on to the next step, where the hair dryer will be used. I thought it would be safer to get the motherboard out.
-
If you want to get the motherboard too, you can follow theSamsung Galaxy S III Motherboard Replacement Instructions. All the details are there.
-
-
-
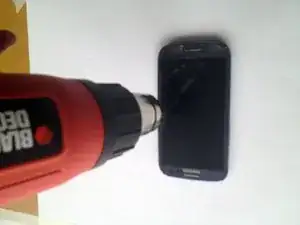
Using an infrared thermometer, heat the surface to 70-80oC. This will weaken the glue, but will not damage the electronics.
-
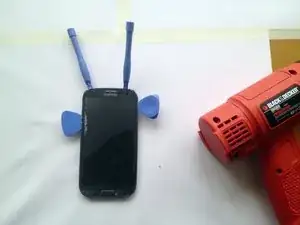
Hold the hair dryer at a distance of 7-8 centimeters from the phone (approximately as in the picture). After setting a weak hair dryer mode, heat the frame for three to five minutes, depending on the strength of your hair dryer.
-
Be careful! If you overheat the matrix, you can cause color distortion. If you notice the slightest color distortion, turn off the hair dryer immediately.
-
If you work with a hair dryer, it may take up to an hour.
-
-
-
Using a mediator or plastic spatula, start separating the edges of the glass very carefully.
-
Start from above, and continue moving down.
-
You will need a hair dryer several times while you separate the glass. If your glass is badly damaged, be very careful, otherwise you risk damaging the matrix with fragments.
-
-
-
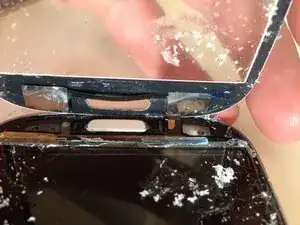
Be extremely careful with the bottom edge, the touch buttons are glued to the glass
-
Do not remove the glass yet, you may damage the cables. Start removing the glass from the top until you see the button cables.
-
-
-
At this step, you need to be very careful not to damage the buttons or cable! Using a spudger, separate the buttons from the inside of the glass. It may need to be warmed up a bit. Perhaps the best option is to start in the middle, under the middle cable connecting the two buttons, then separate each button.
-
-
-
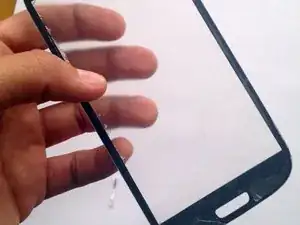
Remove broken glass. I managed to remove it in one piece.
-
If your glass is badly broken, remove all fragments with tweezers, or glue with tape before removing the glass.
-
-
-
Remove this little piece of metal from your old glass, it will need to be inserted into the new one.
-
-
-
Remove any remaining adhesive remaining on the frame. A small microfiber with a little WD-40 can help remove the adhesive.
-
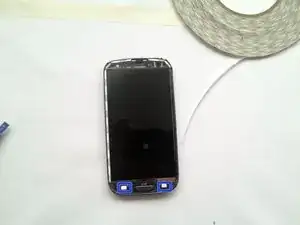
Cut out two small pieces of thin double-sided tape and glue the buttons to the case.
-
-
-
Stick strips of double-sided tape on the frame.
-
Wipe the sensor with a clean cloth. I used a lens cleaner for best results.
-
-
-
Remove the protective film from both sides of the new glass. Do not touch the inside of the glass.
-
-
-
Peel off the film from the double-sided tape and insert a new glass. For reliability, press on the edges.
-
To reassemble your device, follow these instructions in reverse order.
