Introduction

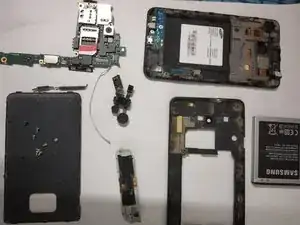
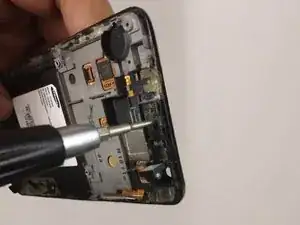
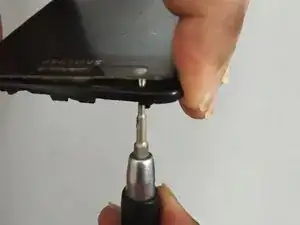
Damaged touch screen of a mobile phone may render the device useless as it disables the touch function in the affected zone or at times the entire screen. Using this guide, damaged touch screen of a Samsung galaxy S2 mobile phone can be easily replaced at home using standard tools. This guide also provides information about the major components used in a mobile phone and the handling precautions to be taken during disassembly. Replacement of screen must be carried out extremely carefully to avoid damage to other delicate components.

  1. mOdREDP4flnCRmTT
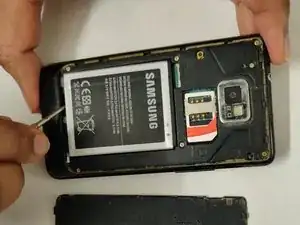
    • Gently remove the back cover starting from the slot given on the right side.

  2. 3sJ6JFWeMYPnKDXX
    • Use a Phillips #00 screwdriver to remove the battery from the slot.

    • Carefully place the battery away from some hot object or fire.

  3. unBkXTfwHmphcOIV
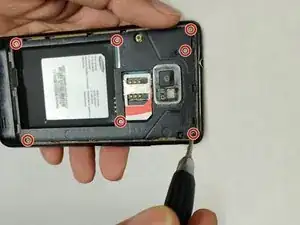
    • Use a magnetic philips #0 head screw driver to open the 7 x 1/16 in (1.6 mm) philips head screws shown in the image.

    • Place the screws carefully in a box.

  4. h2GwC1HgPHufnPY2
    h2GwC1HgPHufnPY2
    FdwhnqQatCHOVFfP
    GcWMOGGPapnLKFbT
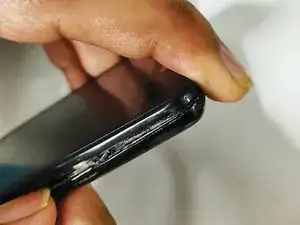
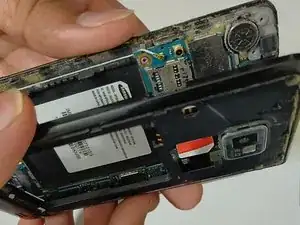
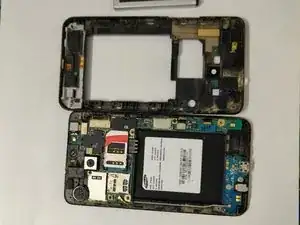
    • Gently unlock the snap locks starting from the top left corner and progressing along the perimeter to remove the back case.

    • To unlock the snaps, apply force close to the snap in order to avoid cracking of the plastic cover.

    • Remove the plastic cover carefully and place on the white paper.

  5. eaAMCRvwJfPAsGFS
    eaAMCRvwJfPAsGFS
    WwdtXDkyZ54Cra5h
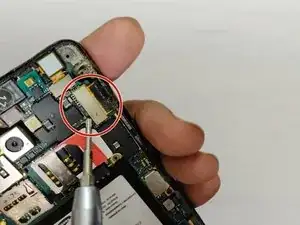
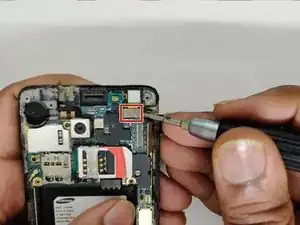
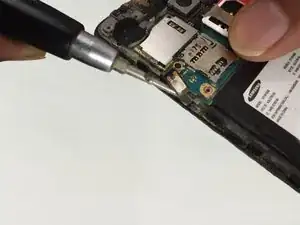
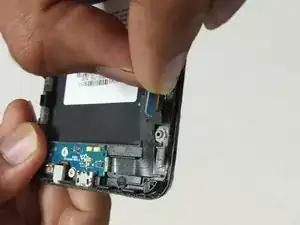
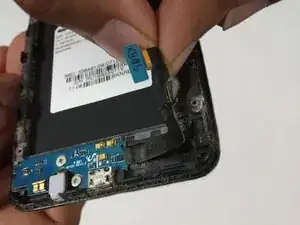
    • Use a screwdriver or another pointed tool to disconnect the screen connector.

    • Lift the cable out of the slot.

    • Gently handle the cable to avoid damage to the cable or the connector.

  6. E4qViMHLTnRtH2bc
    E4qViMHLTnRtH2bc
    hyOl3Hom4fEpswYY
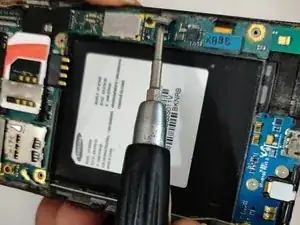
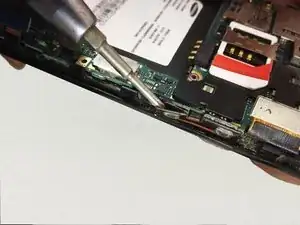
    • Remove the connector for the speaker and audio jack carefully.

    • Gently lift the cable to avoid damage to the cable or the connector.

  7. F3kIqrAURZhdGOkK
    F3kIqrAURZhdGOkK
    Cyg3DAn6jatUj3NV
    QSEHo1cPJC1BYMFJ
    • Use a screwdriver to gently lift the speaker which is fixed to the base with double side tape.

    • Gently lift the earpiece using a flat screwdriver.

  8. swiMUWm2FHZgtXOL
    swiMUWm2FHZgtXOL
    lh56FDjc5UQGh6ne
    OZE42uZSki4ioyjg
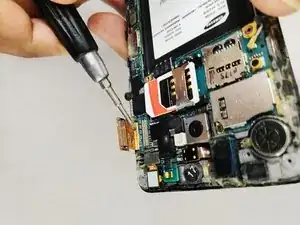
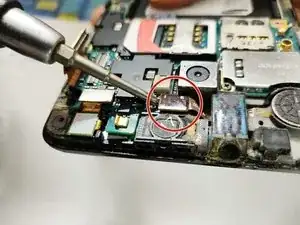
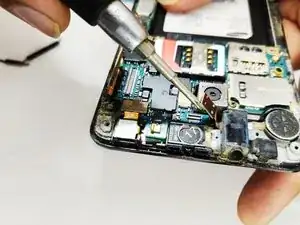
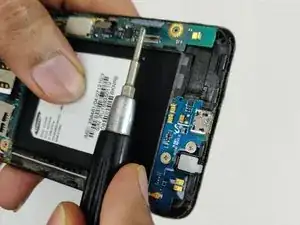
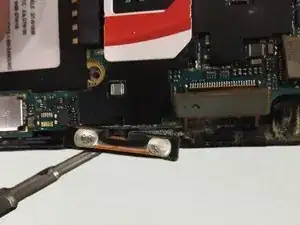
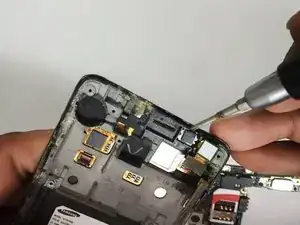
    • Unplug the secondary camera connector carefully and lift the cable.

    • Then unplug the connector that receives the input from the screen.

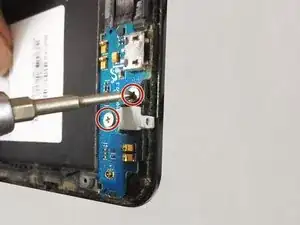
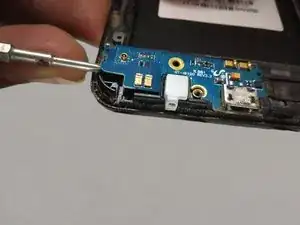
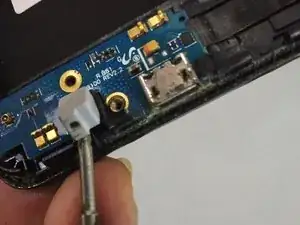
    • Remove the connection for the charging port using a screw driver.

    • Handle carefully to avoid tearing off the cable.

  9. TrG1iNpZwLCpCM44
    TrG1iNpZwLCpCM44
    JmdTkSLXlAi5Irrp
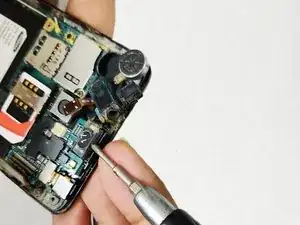
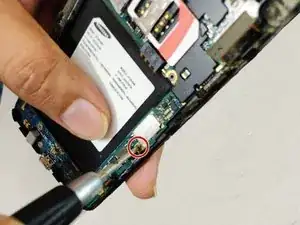
    • Remove the two 1.6 mm black head screws using the Phillips #00 screwdriver.

  10. gPSKeG3mLhV13VBP
    gPSKeG3mLhV13VBP
    IRiQsZssuv6RdyIA
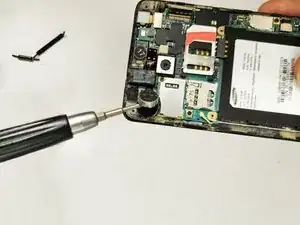
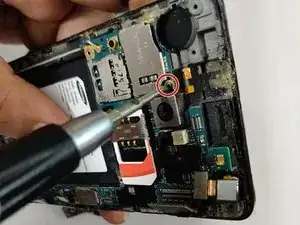
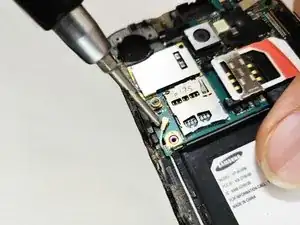
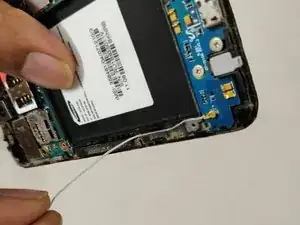
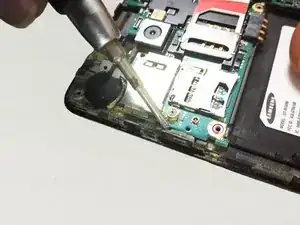
    • Disconnect the antennae from both the ends by removing the connections using flat screwdriver.

    • Carefully pull out the antennae cable from the slot.

  11. 1AU3ZXDXVI4QCGN6
    1AU3ZXDXVI4QCGN6
    lDeLivaXALpxBNqf
    • Gently peel off the power button fixed with double adhesive tape.

    • Carefully lift the button out of the slot.

    • Try to keep the double side tape on the button and handle the cable carefully to avoid tearing the ribbon.

  12. emGOIy4QddOCT2Ik
    emGOIy4QddOCT2Ik
    PQ6keYowCTX4UZUl
    • Repeat the same procedure from step 15 to remove the volume up down button.

  13. KQNWXRKS1HIKfhvb
    KQNWXRKS1HIKfhvb
    m4TeOoYJDQGlfCDX
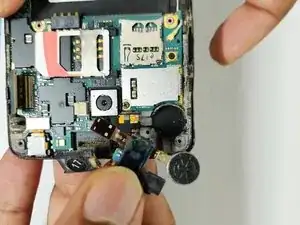
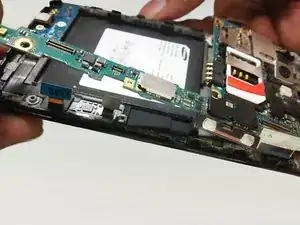
    • Now the main board is free. Carefully lift it up and place on the workbench gently.

  14. fL4yyi2kDYi4MEqv
    fL4yyi2kDYi4MEqv
    mrjHQQcEMmupjNcE
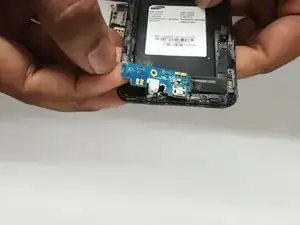
    • Peel off the ribbon cable connecting the charging port and microphone by hand.

  15. nyFOYrQJdIJf4GZF
    • Remove the two 2.0 mm screws using the Phillips #0 screwdriver.

  16. GETyRBqXHZEw3Uho
    GETyRBqXHZEw3Uho
    mtADbdeM4hxVxwNQ
    B2cytTkBn3IlE4xo
    • Lift the microphone gently.

    • Lift the board out from the metal casing and place on the workbench.

  17. VDIrjBHfHsPySlyJ
    VDIrjBHfHsPySlyJ
    FjqrpSFK6RsGPJYR
    qb6JKMtRlJFxVj5I
    • Finally push the screen out applying force through the screwdriver at the highlighted locations.

    • Take out the screen, clean the remaining double side tape and adhesive.

    • Install the new screen and follow the same steps in reverse order to re assemble the phone.

Conclusion

To reassemble your device, follow these instructions in reverse order.

Bader

Member since: 16/04/20

337 Reputation

One comment

My Samsung Galaxy s2 is an AT&T phone

Anthony Godoy -