Introduction
Your Samsung Galaxy Note Edge boasts a 16 megapixel rear facing camera. If your camera does not take pictures on par with the quality it is capable of, you need to replace it. To access your rear facing camera, you will need to remove the back plate, mid-frame, and motherboard.
Tools
-
-
Power down your device and make sure that it is turned off.
-
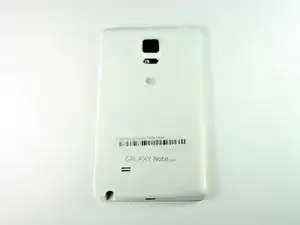
Place the phone with the screen facing down on a clean flat surface.
-
-
-
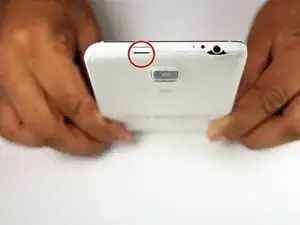
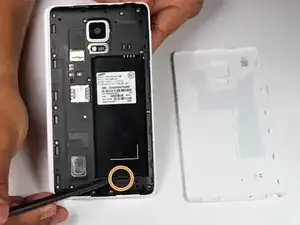
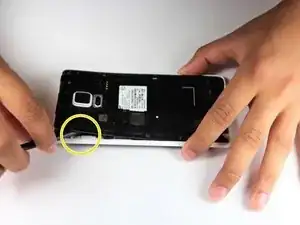
Use your Supdger to remove the back cover of the phone using notch located in the top left corner of the phone.
-
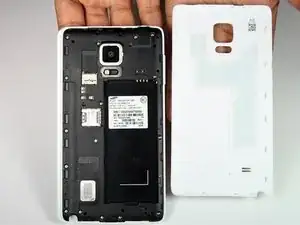
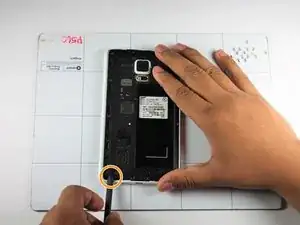
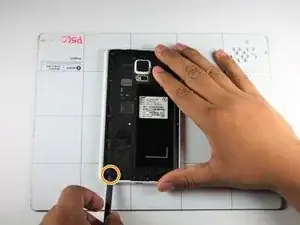
Remove battery by using your Supdger on the notch located directly underneath battery location.
-
-
-
Remove the SIM Card from the SIM Card holder by gently sliding the SIM Card horizontally.
-
Remove the stylus from the stylus holder.
-
-
-
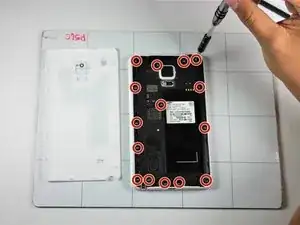
Using a Phillips #000 Screwdriver, remove the fifteen 4mm screws that secure the rear chassis.
-
Insert your spudger into the stylus socket and pry the midframe from the phone.
-
Move the spudger around edge of phone, carefully prying the midframe from the phone until midframe is entirely separated.
-
-
-
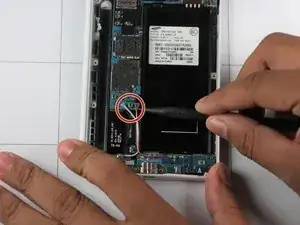
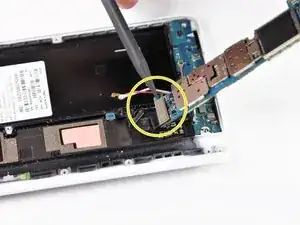
With the pointed end of your spudger, disconnect the two wires (pink and white) located near the bottom of the phone.
-
Using pointed end of your dpudger, disconnect the finger print scanner cable- it is located directly above the pink and white cables.
-
-
-
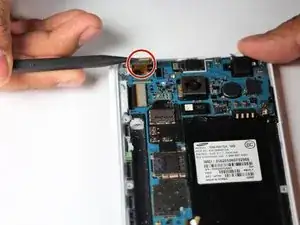
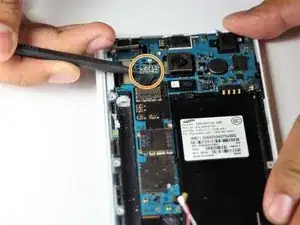
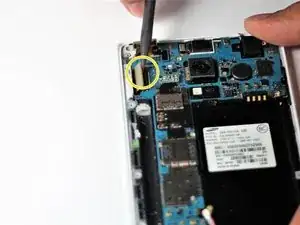
Using your Spudger's pointed end, pry off the following leads that connect these parts to the logic board in the top left hand corner:
-
Front Facing Camera
-
AMOLED Display Screen
-
AMOLED Capacitive Screen
-
-
-
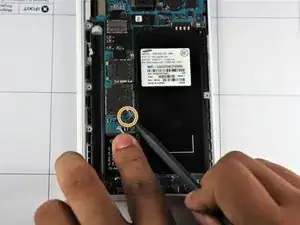
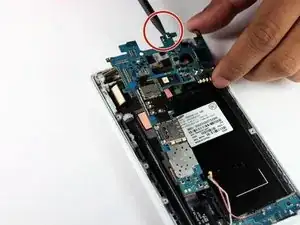
At the top end, gently insert pointed end of spudger underneath the motherboard.
-
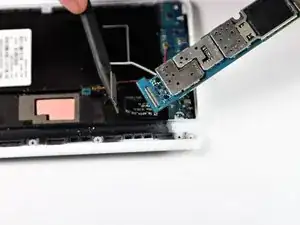
Lift the motherboard up gently. Disconnect the cable connecting the daughter board. It is attached to the underside of the motherboard.
-
Remove the motherboard from the device.
-
-
-
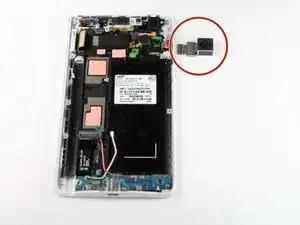
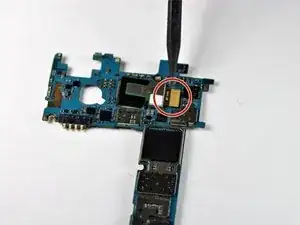
The rear facing camera will be attached to the motherboard.
-
Using the pointed end of spudger, disconnect cable located to the right of the camera.
-
Remove the rear-facing camera from the device.
-
To reassemble your device, follow steps in reverse order.
