Introduction
Use this guide to replace a cracked or broken display on your Samsung Galaxy Note8.
Before disassembling your phone, discharge the battery below 25%. The battery can catch fire and/or explode if accidentally punctured, but the chances of that happening are much lower if discharged.
Note: This guide instructs you to replace only the display while leaving the original frame, logic board, and battery in place. However, some replacement screens for this phone come pre-installed in a new frame (a.k.a. chassis), which requires a very different procedure—transplanting your phone's internals and installing a new battery. Make sure you have the correct part before starting this guide.
This guide involves removing the rear glass cover, you will need replacement adhesive to reattach the back cover to the phone. If your replacement display does not come with adhesive, you will need to use tape to secure it. Opening the Samsung Galaxy Note8 will damage the waterproof sealing on the device. If you do not replace the adhesive seals, your phone will function normally, but will loose its water-protection.
If the frame is damaged or bent, it's important to replace it, or else the new screen may not mount correctly and can suffer damage from uneven pressure.
The process of separating the display from the frame usually destroys the display, so don't follow this guide unless you intend to replace the display.
Tools
Parts
-
-
Switch off your phone.
-
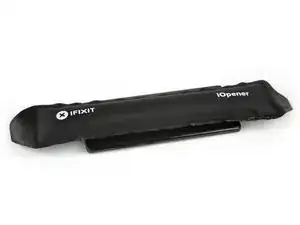
Prepare an iOpener for softening the adhesive on the back of the Note8.
-
Apply the iOpener on the back of the Note8 along the side with the power button.
-
-
-
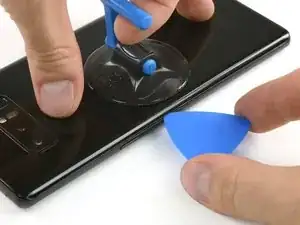
Use a suction handle to lift the back cover and create an opening pick to get in the gap.
-
Start at the middle of the side and cut the adhesive while pulling up with the suction handle.
-
Move the pick towards the bottom corner and leave it there to keep the adhesive from resealing to the case.
-
Use another pick and move it to the top corner.
-
-
-
Again take another opening pick and carefully move it around the corner and along the top edge.
-
Reheat with an iOpener if necessary.
-
Leave the pick at the top right corner to keep the adhesive from resealing.
-
-
-
Rotate the device and start to separate the adhesive at the bottom with another opening pick.
-
Leave the pick at the bottom right corner to keep the adhesive from resealing.
-
-
-
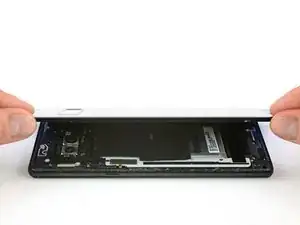
When the adhesive has been separated on all three sides properly you will be able to slowly lift the back cover.
-
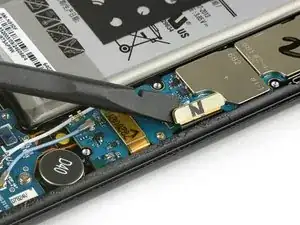
Pay attention to the fingerprint sensor connector when flipping the back cover open. You might need to disconnect it as described in the next step.
-
-
-
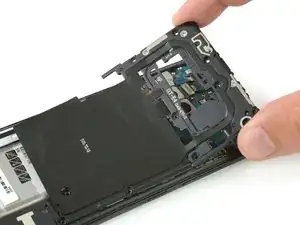
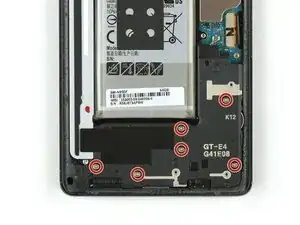
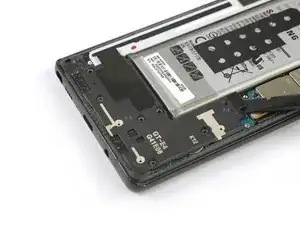
Use an opening pick at the top edge to get between the NFC antenna and charging coil assembly and the case.
-
Lever the top of the assembly out of the case.
-
-
-
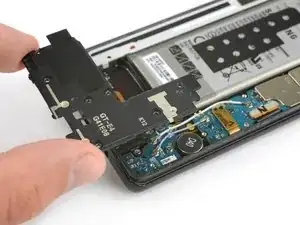
Use the flat end of a spudger to pry up the loudspeaker assembly.
-
Remove the loudspeaker assembly.
-
-
-
Prepare an iOpener and apply it to the display for at least two minutes to loosen the adhesive beneath.
-
Lay overlapping strips of clear packing tape over the Note8's display until the whole face is covered.
-
This will keep glass shards contained and provide structural integrity when prying and lifting the display.
-
-
-
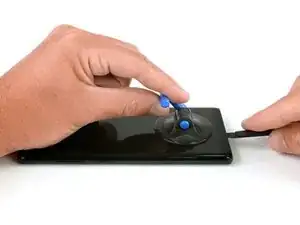
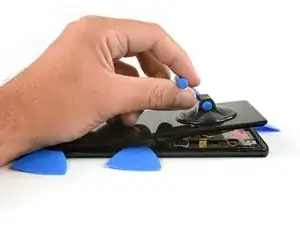
Once the screen is warm to the touch, apply a suction cup to the lower edge of the phone.
-
If the phone's screen is cracked, the suction cup may not stick. Try lifting it with strong tape, or superglue the suction cup in place and allow it to cure so you can proceed.
-
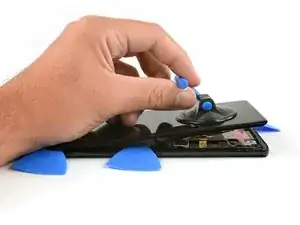
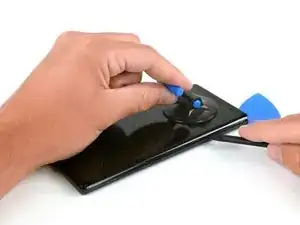
Lift on the suction cup, and insert a halberd spudger or an opening pick under the display assembly.
-
Start to slide the halberd spudger/opening pick along the lower edge of the phone to cut the adhesive. Leave an opening pick at the corner to prevent the adhesive from resealing.
-
Continue to slide the halberd spudger/opening pick along the side of the phone and insert another opening pick.
-
-
-
Slide the halberd spudger/opening pick to the upper corner of the phone to cut the adhesive and insert and opening pick to prevent the adhesive from sticking to the display.
-
Repeat the previous heating and cutting procedure for the remaining sides of the phone. Insert an opening pick on every corner and on both sides of the Note8.
-
-
-
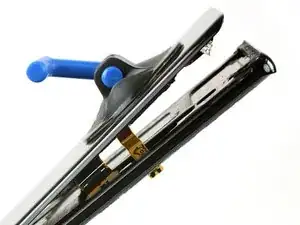
Once you cut the adhesive on all sides of the phone you can use the small suction cup to slowly lift it upwards.
-
-
-
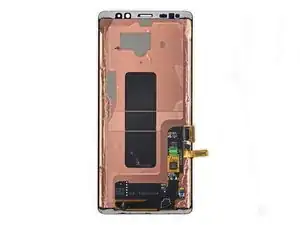
Remove any remaining adhesive from the phone, and clean the glued areas with isopropyl alcohol (90+%) and a lint-free cloth.
-
If possible, turn on your phone and test your repair before installing new adhesive and resealing the phone.
After reapplying adhesive, follow these instructions in reverse order to reassemble your device.
The best way to secure the new screen is with a sheet of custom-cut double-sided tape. Apply the tape to the back of the screen, then carefully feed the display cable through the frame. Align the screen and press it into place.
21 comments
I’m sorry, but this is just a preview question. When the guide says display, does it mean only the glass screen or the LCD and digetizer as well?
Hello Adrian Gomez. Here “display” refers to the glass, digitizer and LCD combo—those are fused together.
For this repair, do I need to buy the 230 dollar screen part as well?
This guide here is for replacing only the screen without the frame (which we currently don’t have in store). The 230 dollar part includes the frame and the according guide can be found here: Samsung Galaxy Note8 Display Assembly with Frame Replacement
Hi
I replace the new disply the camera ( front is working ) is not working I tried many things such as factory settings put it didn’t work
now I orderd a new camera hope it works or there is another way to solve it
nasser






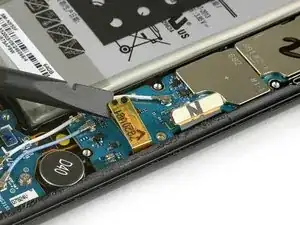
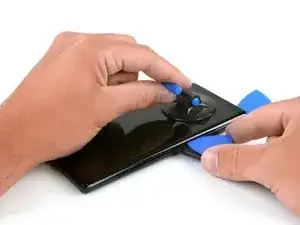
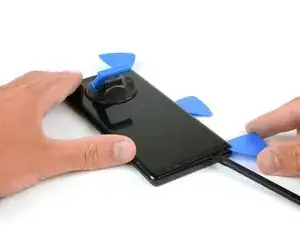
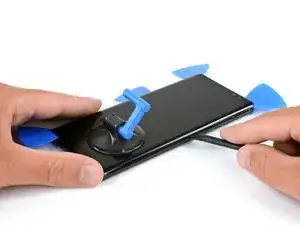
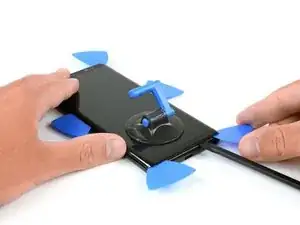

I used a heat gun to soften the glue - worked it around the edges, moving the heat gun quickly. As this is my first attempt, I’m still calibrating on this - but other guides mention getting the back cover hot enough so as it’s just too hot to touch. I also have a temp probe on my multi-meter, and I measured appx. 75 deg. C.
One of the other guides showed using a electronics hot plate set to 105 deg C for 60 sec.
Phil Brooks -