Introduction
Use this guide to replace a cracked or broken screen on your Samsung Galaxy M31.
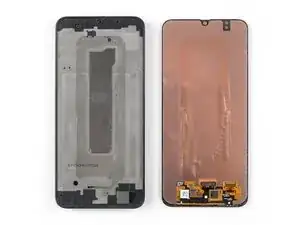
If the frame is deformed, it's important to replace it to make sure the new screen will mount correctly and won’t suffer damage from uneven pressure.
Before disassembling your phone, discharge the battery below 25%. The battery can catch fire and/or explode if accidentally punctured, but the chances of that happening are much lower if discharged.
Note: This guide instructs you to replace only the screen while leaving the original frame and motherboard in place. However, some replacement screens for this phone come pre-installed in a new frame (a.k.a. chassis), which requires a very different procedure. Make sure you have the correct part before starting this guide.
You’ll need replacement adhesive to reattach components when reassembling the device.
Tools
-
-
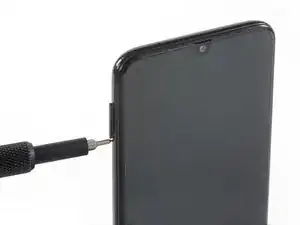
Insert a SIM card eject tool, a SIM eject bit or a straightened paper clip into the hole on the SIM tray located at the left side of the phone.
-
Press firmly to eject the tray.
-
-
-
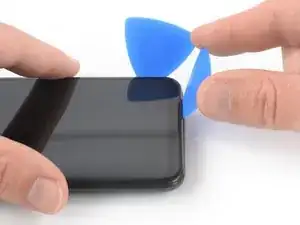
Insert an opening pick between the phone assembly and the back cover at the bottom edge of the phone.
-
Slide the opening pick around the bottom right corner to release the clips holding the back cover in place.
-
-
-
Insert a second opening pick between back cover and the phone assembly at the bottom edge of the phone.
-
Slide the opening pick around the bottom left corner to release the plastic clips holding the back cover in place.
-
-
-
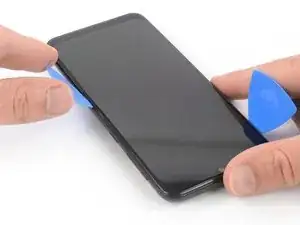
Slide the opening pick along the left side of the phone to release the plastic clips on the left side of the back cover.
-
-
-
Slide the opening pick along the right side of the phone to release the plastic clips on the right side of the back cover.
-
-
-
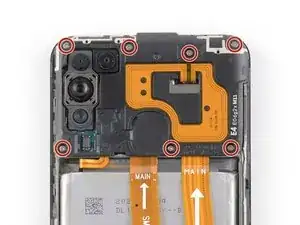
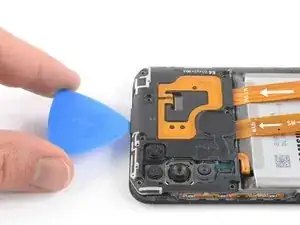
Insert the tip of an opening pick underneath the top edge of the motherboard cover.
-
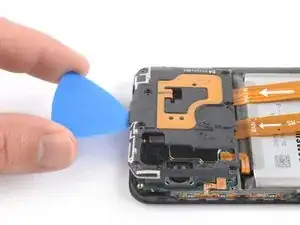
Use the opening pick to pry up the motherboard cover.
-
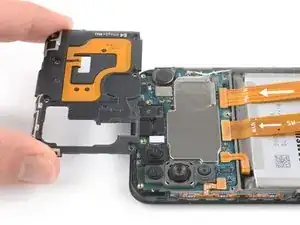
Remove the motherboard cover.
-
-
-
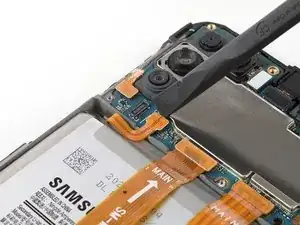
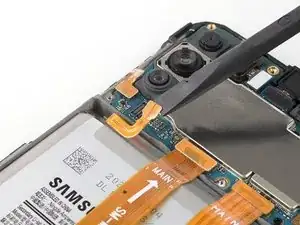
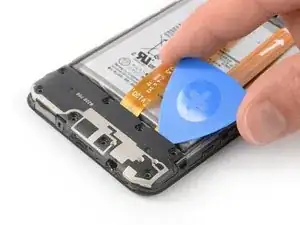
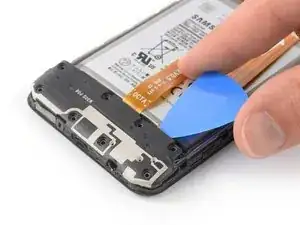
Slide an opening pick underneath the top edge of the loudspeaker where the interconnect flex cable is located.
-
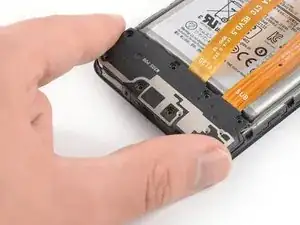
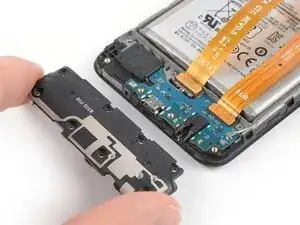
Use the opening pick to pry up the loudspeaker.
-
-
-
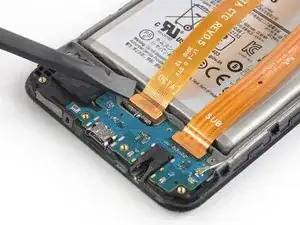
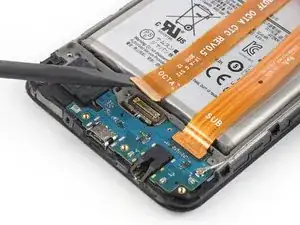
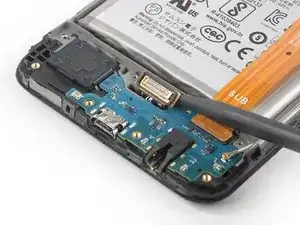
Use the flat end of a spudger to pry up and disconnect the extension of the display flex cable.
-
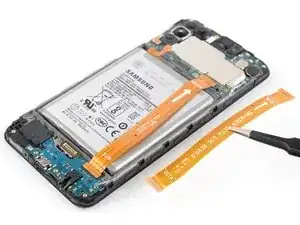
Remove the extension of the display flex cable.
-
-
-
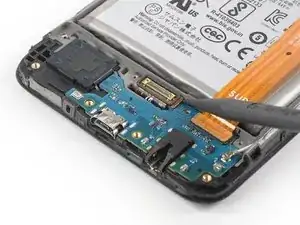
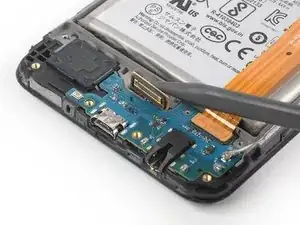
Use the pointed end of a spudger to carefully pry up the display flex connector from the midframe.
-
-
-
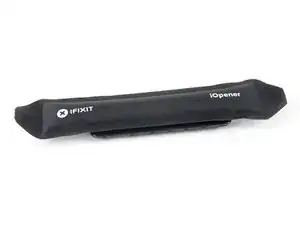
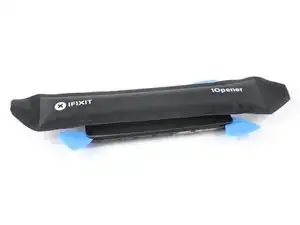
Apply a heated iOpener to the screen to loosen the adhesive underneath. Apply the iOpener for at least two minutes.
-
-
-
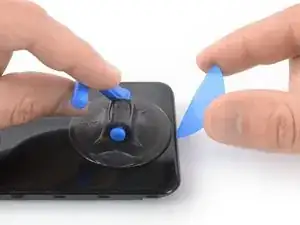
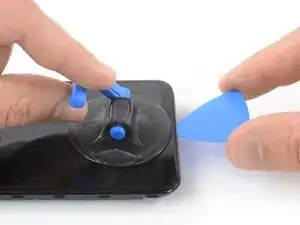
Once the screen is warm to the touch, apply a suction handle to the bottom edge of the phone.
-
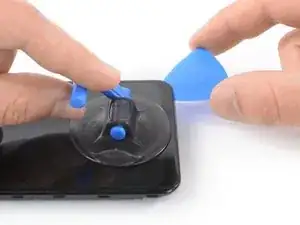
Lift the screen with the suction handle to create a small gap between the screen and the frame.
-
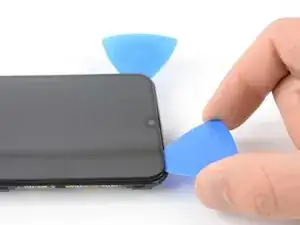
Insert the tip of an opening pick in the gap between the midframe and the screen.
-
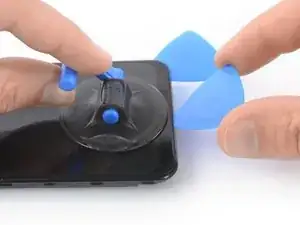
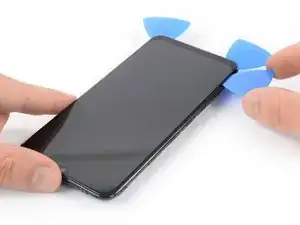
Slide the opening pick to the bottom right corner to cut the adhesive. Leave it in its place to prevent the adhesive from resealing.
-
-
-
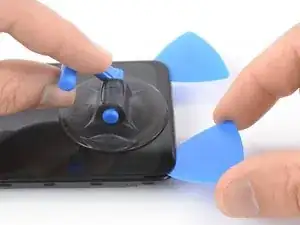
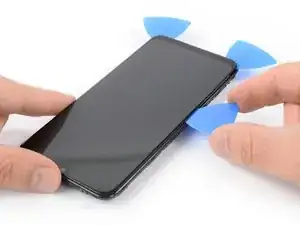
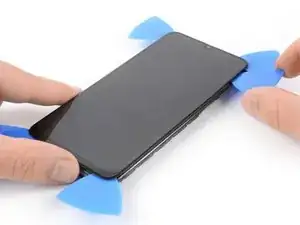
Insert a second opening pick and slide it to the bottom left corner of the screen to cut the adhesive.
-
Leave the picks in their place to prevent the adhesive from resealing.
-
-
-
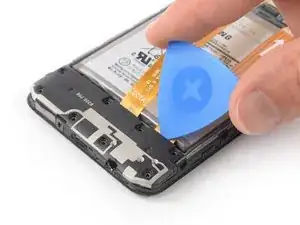
Insert a third opening pick under the bottom left corner of the phone.
-
Slide the opening pick up to the top left corner to cut the adhesive. Leave it there to prevent the adhesive from resealing.
-
-
-
Insert a fourth opening pick at the top left corner.
-
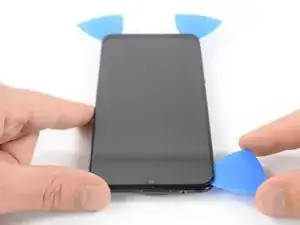
Slide the opening pick along the top edge of the phone to cut the adhesive. Leave the pick in the top right corner of the screen to prevent the adhesive from resealing.
-
-
-
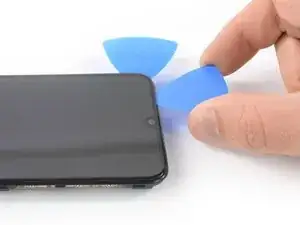
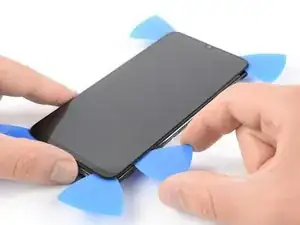
Insert a fifth opening pick and slide it along the right edge of the phone to cut the remaining adhesive.
-
Leave the opening picks in their place to prevent the adhesive from resealing.
-
-
-
Apply a heated iOpener to the screen to loosen the adhesive underneath its center. Apply the iOpener for at least two minutes.
-
-
-
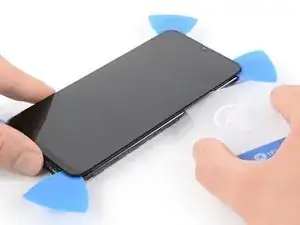
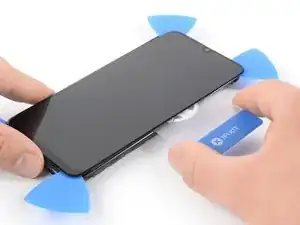
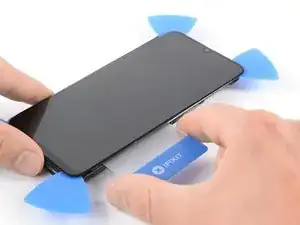
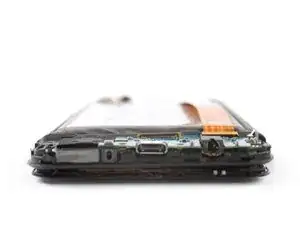
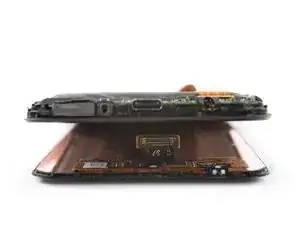
Slide a plastic card underneath the right edge of the screen.
-
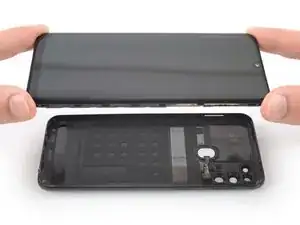
Use the plastic card to cut the adhesive beneath the center of the screen by sliding it to the bottom edge of the phone.
-
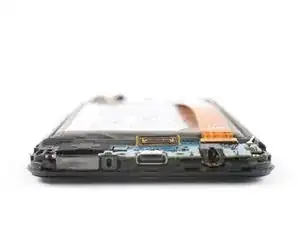
If possible, turn on your device and test your repair before installing new adhesive and resealing.
To reassemble your device, follow these instructions in reverse order. Apply new adhesive where necessary after cleaning the relevant areas with isopropyl alcohol (>90%).
The best way to secure the new screen is to apply a sheet of custom-cut double-sided tape to the back of the screen.
Take your e-waste to an R2 or e-Stewards certified recycler.
Repair didn’t go as planned? Try some basic troubleshooting, or ask our Answers community for help.
4 comments
My m30s mobile auto restart
And not switch on now pl give solution saisrinivas.chemicalweekly@gmail.com
هذا رائع وجميل
البرنس -
Very good guide. Thank you very much.
I found I needed to use a nail file to help get the back off at the start, done very carefully.
To heat the phone to make the glue soft, I sat it on a hot water bottle for a few minutes, that worked beautifully.










My phone is restarting alone automatically what can I do please
Oussama Laghezal -