Introduction

This guide will walk you through the process of replacing a not working back camera in a Samsung Galaxy J3V.

  1. oUx5A52YslSgMFkP
    oUx5A52YslSgMFkP
    2NVTBfeLqBg1JAir
    NWaGPtA2LJNoDVMo
    • Place your thumb on the top left corner and pry the tab open and lift off the back cover.

  2. quc2BGM2dXHQpCGl
    quc2BGM2dXHQpCGl
    GTCoS2Hi3JfMuaZP
    uZPXtkNADnFGMrIB
    • Remove the ten 2.0 mm screws with the Phillips #J000 screwdriver.

  3. kuYwudSdrS1RW2bd
    kuYwudSdrS1RW2bd
    OnbnX1TEUmjZqOhv
    vUbIFfoAGyQ5KAYo
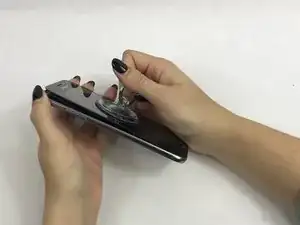
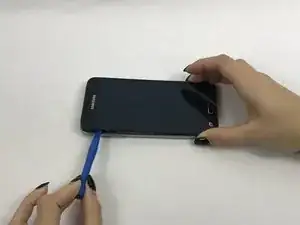
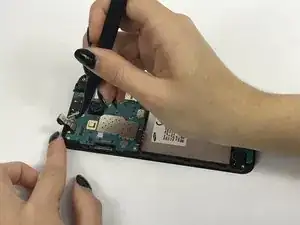
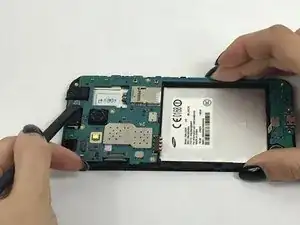
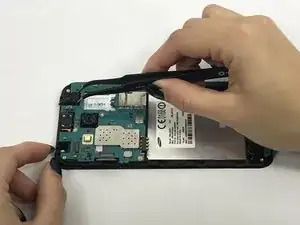
    • Use a small suction cup to pull the screen up. Then slip a small plastic opening tool under the screen to pry it upwards.

    • If this is the first time the screen is being removed then there will be adhesive around the edges of the screen. It may be difficult to remove the screen because of this adhesive seal and it is going to take a few tries and some force to pry the entire screen off.

  4. wiaiGGmFoWJUWfMC
    wiaiGGmFoWJUWfMC
    EcB55lnCBE3TDmTa
    SPrBW6D1iSDlsNF4
    • Use tweezers to flip tab of the front camera to remove it.

  5. MOPquUoUrCgUWJDO
    MOPquUoUrCgUWJDO
    LXEbjGmUwBRDQqjF
    Knq2GEMPpY6Jkhoa
    • Remove connector tab with spudger then carefully remove headphone jack with tweezers.

  6. O2LOxOuILrNHIvUR
    O2LOxOuILrNHIvUR
    gJFVIlUID41xCstN
    • Remove these connectors from the motherboard with spudger.

  7. Fs2cNiYAm2j4qhZF
    Fs2cNiYAm2j4qhZF
    6bhLyBwNNeL4nS3Y
    • Carefully use the spudger to pry the motherboard out of the plastic tabs.

  8. 4KRZJWhDwppRJRm3
    4KRZJWhDwppRJRm3
    mNUp5bNNLj4NXtuP
    vDQFeXHn54YCxWXL
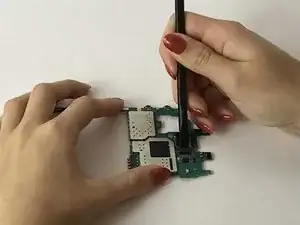
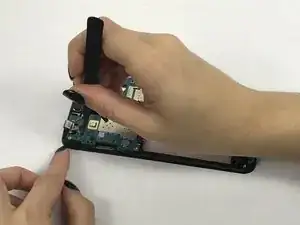
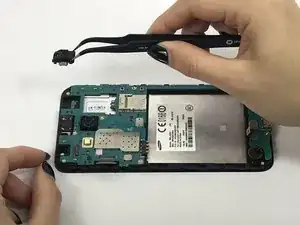
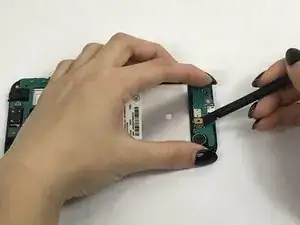
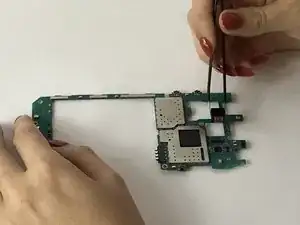
    • After removing the motherboard, locate and flip tab holding the rear camera's connector.

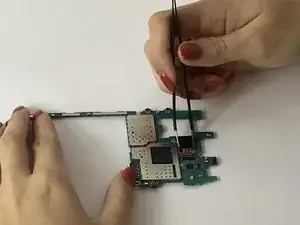
    • Carefully use the tweezer to remove the connector and the camera.

Conclusion

To reassemble your device, follow these instructions in reverse order.

Carry Corrales

Member since: 28/09/17

738 Reputation

One comment

Your &&^&^$^ trash and did not help me at all.

Harrington Kenneth -