Introduction

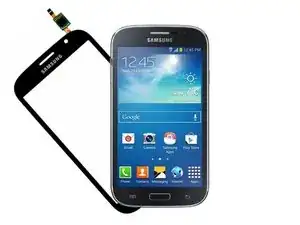
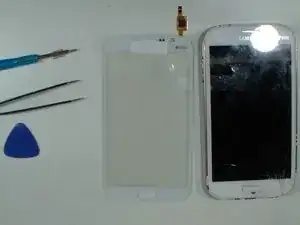
Samsung Galaxy Grand Neo Plus I9060i - How to disassemble and remove /replace broken touch screen glass dgitizer.

  1. nMRo4bfJoVHUqhsu
    nMRo4bfJoVHUqhsu
    2P3ctRkDASteDjgN
    LRbYdZCUCfMes22j
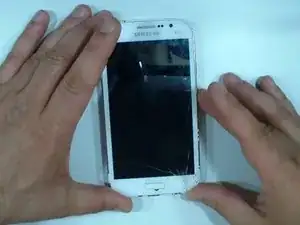
    • This is Samsung Galaxy Grand Neo Plus i9060i with broken screen.

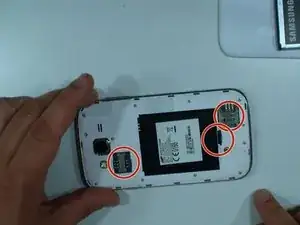
    • Remove the battery and any installed SIM and memory cards.

  2. 2AmOS16ggGYRZYtG
    2AmOS16ggGYRZYtG
    EGRwjUyaIGDQhREp
    4IXx1UR1WoxEFPSM
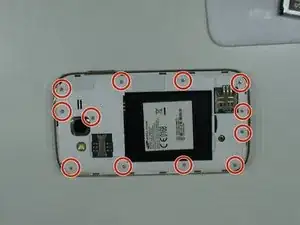
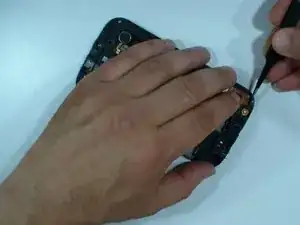
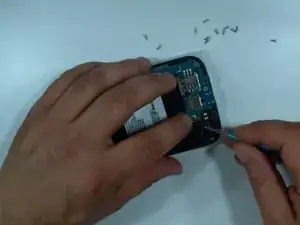
    • There are 12x small Phillips screws, remove them.

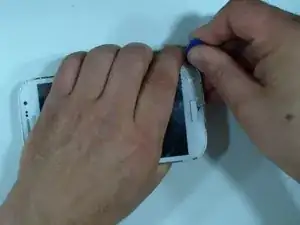
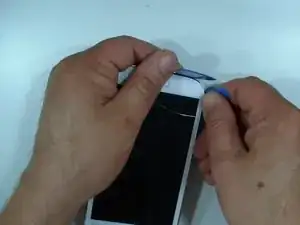
    • With a plastic tool start the disassembling from the bottom side.

    • You can use more then one plastic tool.

  3. sR2Raa1bPRODFTWc
    sR2Raa1bPRODFTWc
    KRVtch2MjKtIguCP
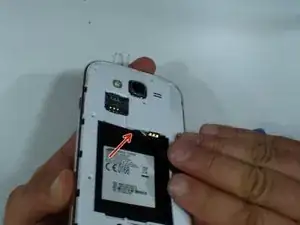
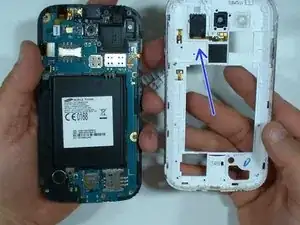
    • The rear bezel is locked to the frame near to the battery connector. Use a tool with a sharp tip and unhook it.

    • Now you can separate the rear bezel.

    • This is the Loudspeaker (in case if you want to change it).

  4. ijNnnwtDp1v4mtft
    ijNnnwtDp1v4mtft
    OXLYMBCPegEcUNEe
    EDNVxZIvQxOSdo4A
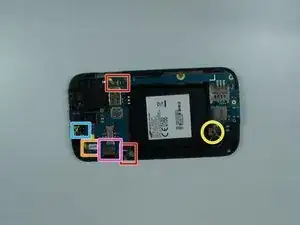
    • Remove one Phillips screw.

    • Disconnect:

    • Vloume UP/DWN buttons flex cable and Power ON button flex cable.

    • LCD flex cable

    • Front camera

    • Audio jack flex cable

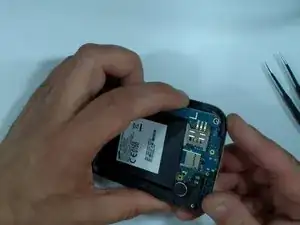
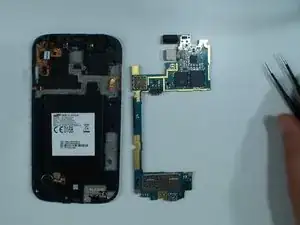
    • Now gently remove the logic board.

  5. w3qaCjoHnFv3gnPv
    w3qaCjoHnFv3gnPv
    jJv24tjVPlSBpjc6
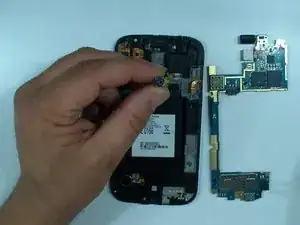
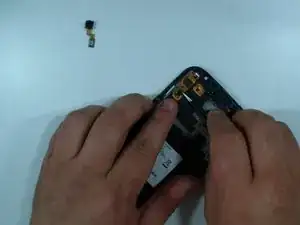
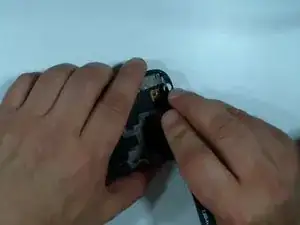
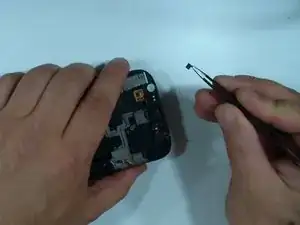
    • Remove the front camera.

    • Disconnect the touchscreen flex cable and unstuck it from the middle frame.

  6. ihVJDoHABGOYxGH6
    ihVJDoHABGOYxGH6
    Y2HdkmHXyAXCFV1R
    cpXyeeQLswndqWZD
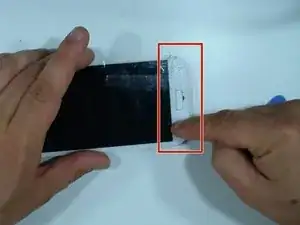
    • At the bottom side, under the touch screen glass is the menu buttons flex cable. Be careful for it when you separating the glass from the frame.

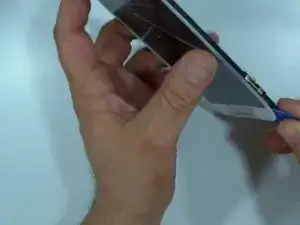
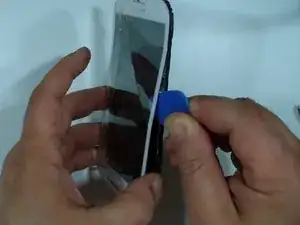
    • Warm the glass. This will soften the adhesive tape. You can use hot air gun or hair dryer.

    • With a plastic tool start the separation at the upper side.

  7. GrtEMHwZnmuHlLU6
    GrtEMHwZnmuHlLU6
    J44FoqsIAfgnY6rV
    mCpOJPfwBjoS6Xsp
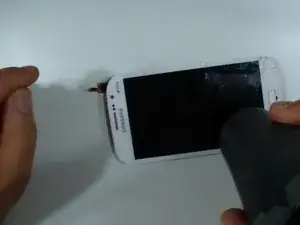
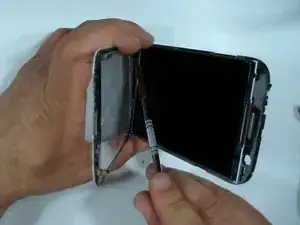
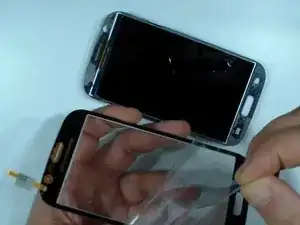
    • You can warm the glass again to separate the glass easier.

    • Gently unstuck the menu buttons flex cable and remove the glass.

  8. NKyGB2xCirHxL5fG
    NKyGB2xCirHxL5fG
    fVTf6BBoo4fUBW4T
    IScawUmQAJwuitK2
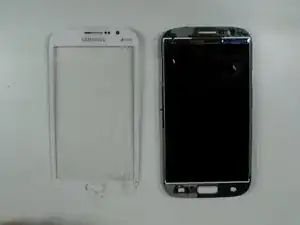
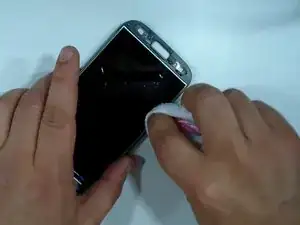
    • There is a small plate in the touch screen flex cable slot. Remove it to allow the flex cable of the new touch screen to pass.

    • Remove the remnants of the adhesive sticker and clean the LCD.

  9. lARPZh2osM3Dtt5j
    lARPZh2osM3Dtt5j
    layCNDSuFyHGPisp
    6OJx2tf5ZHBeGFN4
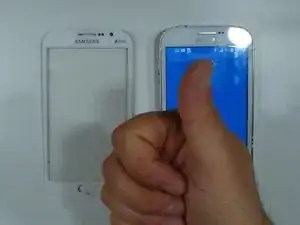
    • Install the new touch screen and start with the reassembling.

  10. tlTSfp1fqyGOgskg
    • That's all. Thanks!

    I have done all that but the swipe isn't working all the screen is normal colours but I don't know why its not working

    debbie metcalfe -

Conclusion

To reassemble your device, follow these instructions in reverse order.

ZFix

Member since: 09/12/13

191079 Reputation

One comment

very much helpful..this guide saved my repairing charge...this page is awesome..

Pravesh -