Introduction
Follow this guide to replace the entire motherboard in a Samsung Galaxy Core Plus.
Tools
-
-
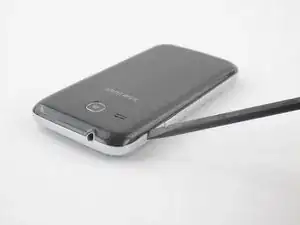
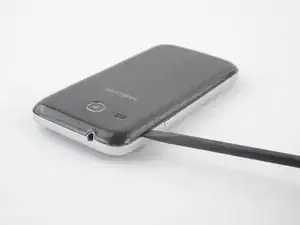
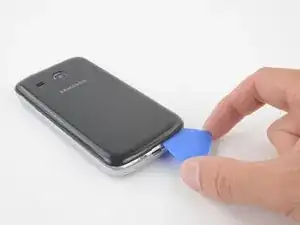
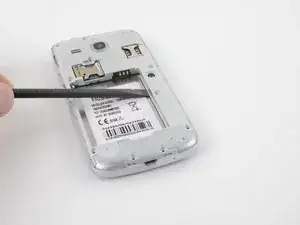
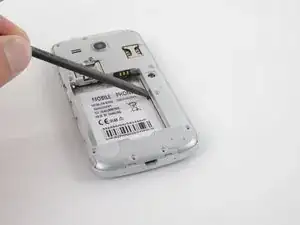
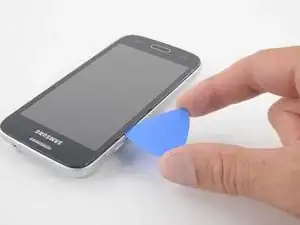
Insert the flat side of a spudger into the gap next to the power button.
-
The back cover is held by plastic clips. Pry the cover away from the phone until the clips release.
-
-
-
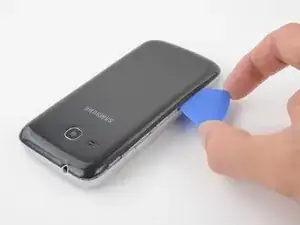
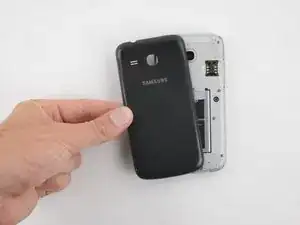
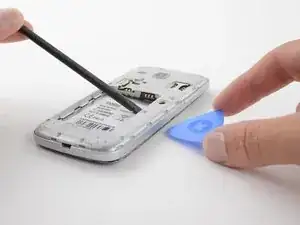
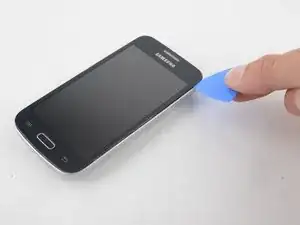
Insert an opening pick between the phone and the back cover.
-
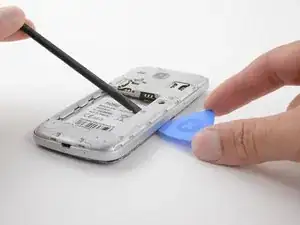
Slide the opening pick along the perimeter of the cover.
-
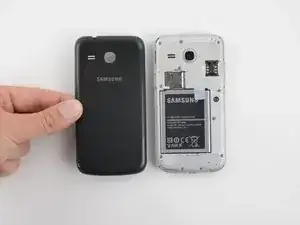
Continue to release the clips by prying away from the phone.
-
-
-
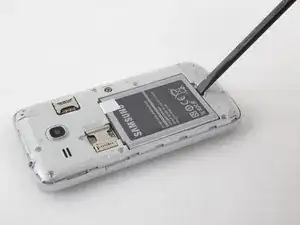
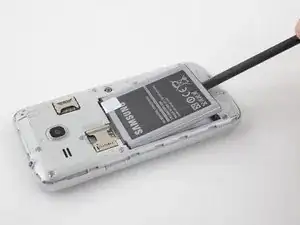
Insert the flat end of a spudger into the gap at the bottom of the battery.
-
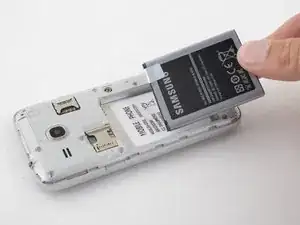
Pry the battery up and away from the phone.
-
Grab the battery and lift it out of the phone.
-
-
-
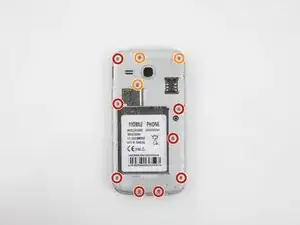
Use a Phillips #00 screwdriver to remove eleven T3 screws from the midframe.
-
There are eight 4mm screws on the left and bottom of the midframe.
-
There are three 3.9mm screws in the upper right of the midframe.
-
-
-
Heat an iOpener and apply it to the front of the device for two minutes. This will loosen the adhesive around the perimeter of the screen.
-
-
-
Insert a spudger under the midframe and pry upward.
-
You may pry along any side of the battery recess. The right side and top side will be the easiest.
-
-
-
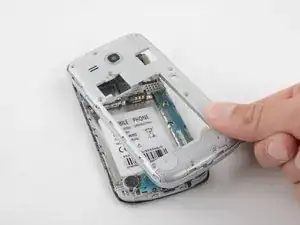
While prying the midframe away from the screen, insert an opening pick between the glass screen and midframe.
-
-
-
Slide the opening pick around the perimeter of the glass screen. This will cut the adhesive between the glass and the midframe.
-
-
-
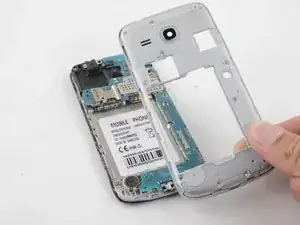
Once the adhesive between the midframe and screen has been cut, the midframe will be free.
-
Grab and pull the midframe away from the phone.
-
-
-
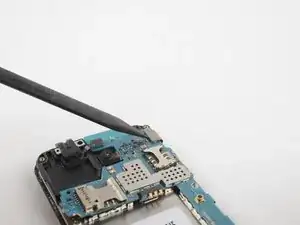
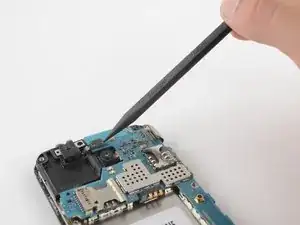
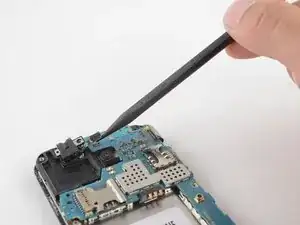
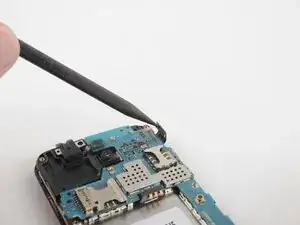
Use a spudger to flick open the press-fit connector located in the upper right of the phone.
-
-
-
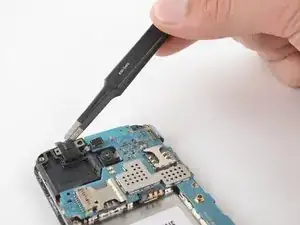
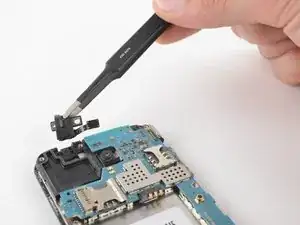
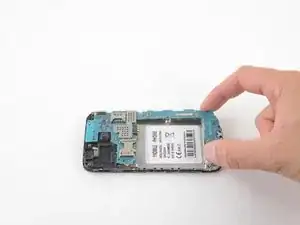
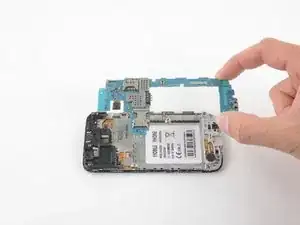
Simply grab and lift the motherboard from the phone. There are no screws or cables holding it in place.
-
To reassemble your device, follow these instructions in reverse order.
