Introduction
This guide will take you through the steps to replace the motherboard or the zoom lens. Both parts follow the same process until the very last step.
-
-
Gather your camera and tools. Also make sure that the battery is removed before proceeding.
-
Follow battery replacement guide through step three to remove the battery.
-
-
-
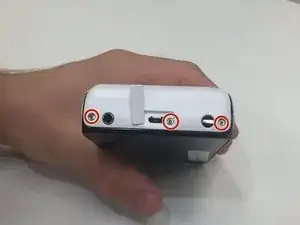
Open the battery compartment and remove the 2 screws. Also remove the screw from the bottom of the camera after pulling off the white sticker concealing it. Removing these screws releases the bottom of the display assembly.
-
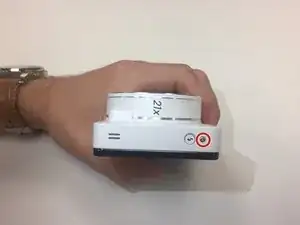
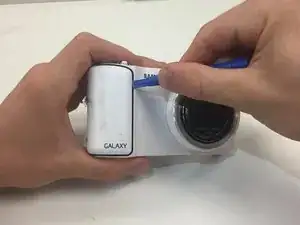
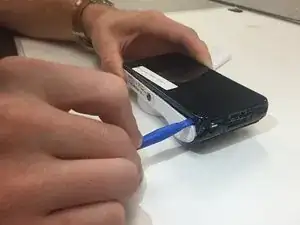
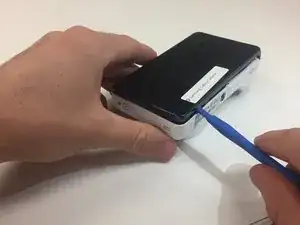
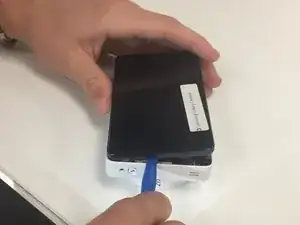
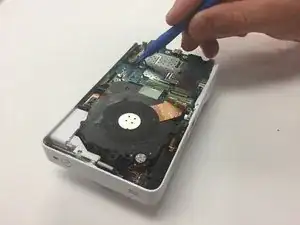
Starting at the non-lens side of the camera, use plastic opening tool to pry screen away from main housing on all sides.
-
-
-
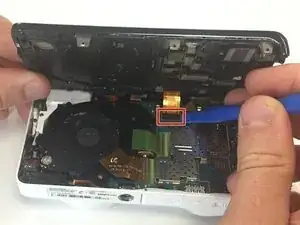
Use plastic opening tool to pull connector away from motherboard.
-
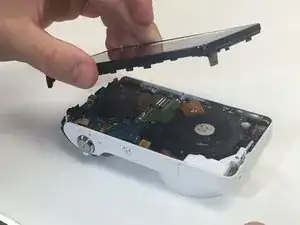
Remove screen completely and set aside.
-
-
-
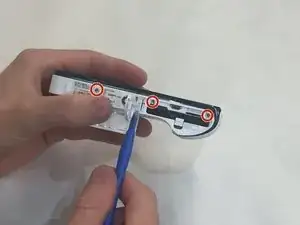
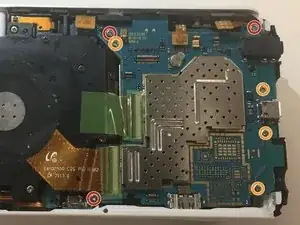
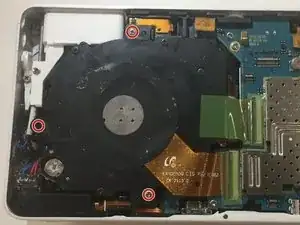
Remove the three 3.5 mm long screws (red circle markers) using the PH000 screwdriver bit.
-
Remove the four 2 mm long screws (orange circle markers) using the PH000 screwdriver bit.
-
-
-
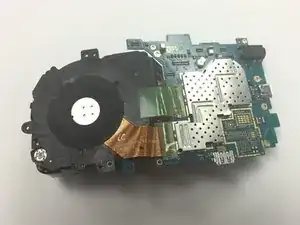
Remove the three 3 mm long screws connecting the lens unit to the main housing using the PH000 screwdriver bit.
-
Carefully remove the lens and motherboard from main housing.
-
-
-
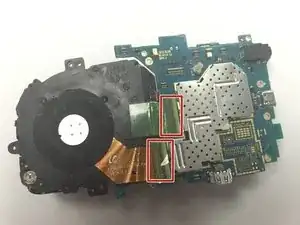
Remove stickers off of connectors.
-
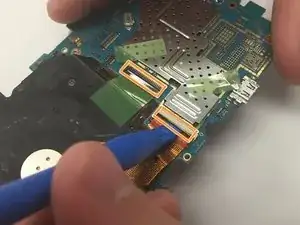
Open latch door on connectors.
-
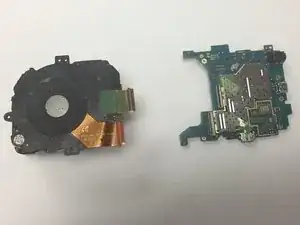
Separate lens from motherboard.
-
Now you may replace either motherboard or lens with new part.
-


To reassemble your device, follow these instructions in reverse order.
2 comments
Would love a video of this, as well.
Hey after you replace the motherboard do you just turn the camera on and it works?
Ive done it and some chinese characters show up in a dialog box...
Sam -