Introduction
When Using this Guide
Please note the circles on out pictures that indicate where screws are removed from, as most of the screw lengths are pertinent to reassembly.
Tools
-
-
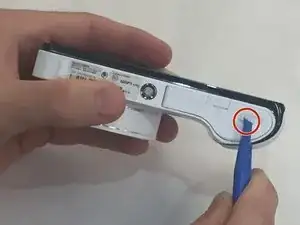
Lift aside the casing for the battery using a plastic opening tool. This compartment is on the bottom of the camera, not under the lens.
-
The casing is highlighted in the red markup circle.
-
-
-
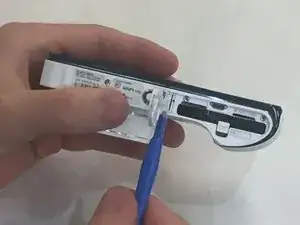
Using plastic opening tool, slide battery capture latch back and allow battery to fall out.
-
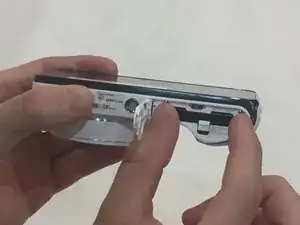
Insert your replacement battery.
-
-
-
After the battery has been replaced, close the battery casing.
-
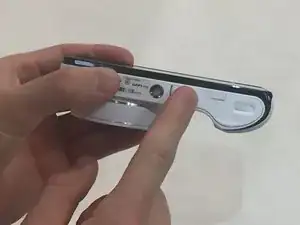
Now replace the casing from step one. Success, the battery has been replaced!
-


Conclusion
These steps follow completely: there is no need to reverse the order of steps to reassemble.