Introduction

S5830, S5830i - how to disassemble and change / replace the loudspeaker, earpiece, main camera, LCD Display, Touch screen Digitizer Glass, etc.


  1. LJMkcUZQoFFnNgNl
    LJMkcUZQoFFnNgNl
    c5XPHuZ2rxSLxGHP
    • Switch off the phone.

    • Remove the battery and any installed SIM and memory card.

  2. 3jG6ERp3djAwEGWR
    3jG6ERp3djAwEGWR
    21mBSEwCSQNU2XuS
    MW3csUpOVhZm1VyT
    • Remove the 7 Phillips screws.

    • Use a plastic tool to remove the back cover.

    • vibrating motor

  3. eqYPvt6slYuIHUkY
    eqYPvt6slYuIHUkY
    ctiewK3TGwbHCpXN
    tIaaeNdHXv2sROJn
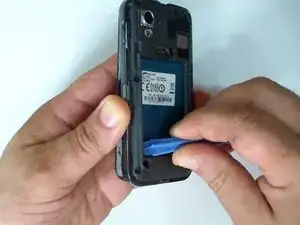
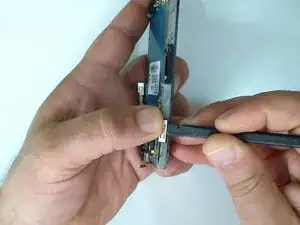
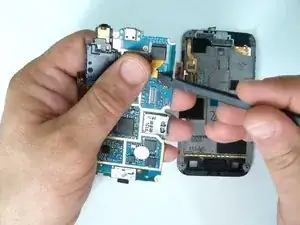
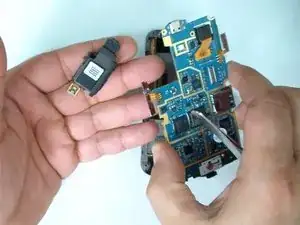
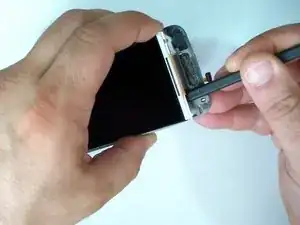
    • Disconnect the earpiece & light sensor flex cable.

    • Take off the Volume Up/Down buttons flex cable.

    • Do the same with the Power button flex cable.

    • Be careful don't brake the flex cables.

  4. NBdgDe1jIbrb3Amk
    NBdgDe1jIbrb3Amk
    RAqqckLCevSnQThb
    KqvMEufvGKl2QCkF
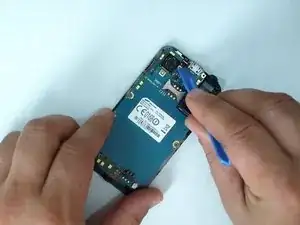
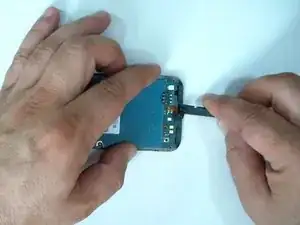
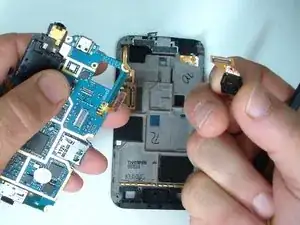
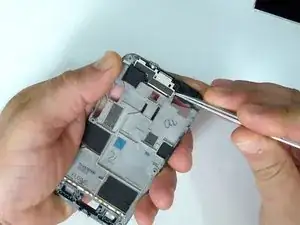
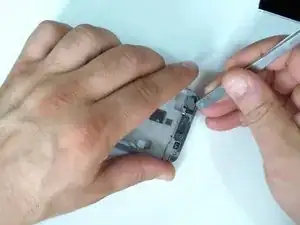
    • Lift the microphone.

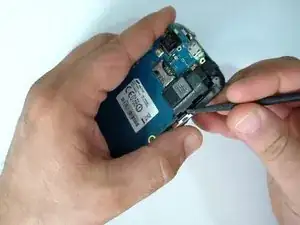
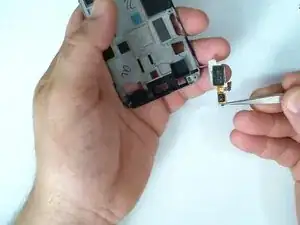
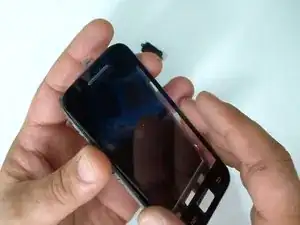
    • Lift the board from the right side and disconnect the LCD display flex cable.

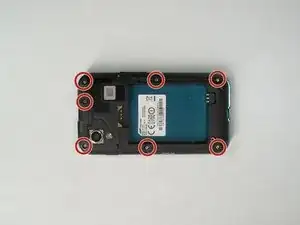
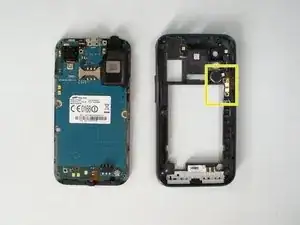
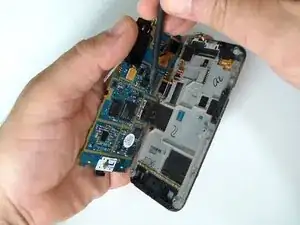
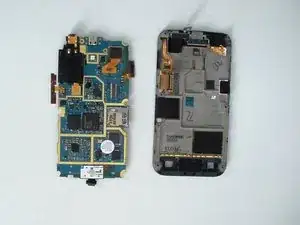
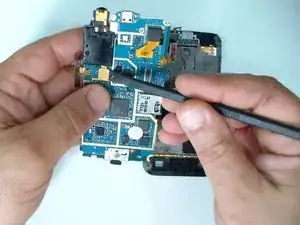
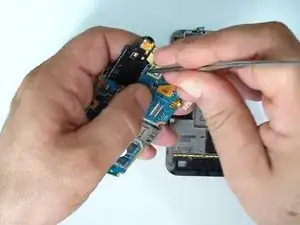
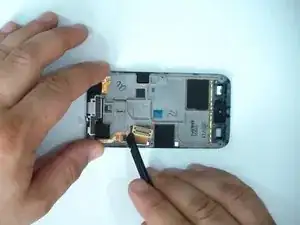
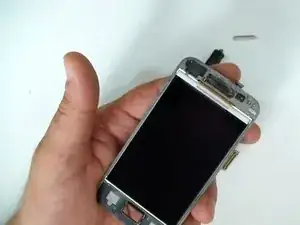
    • Remove the board from the middle frame.

  5. Ih4LJiRUtZyOZQHx
    Ih4LJiRUtZyOZQHx
    tZtXoAlxEhjL5AaI
    • This is the main camera.

  6. rgNMeJLGpIQV1kTF
    rgNMeJLGpIQV1kTF
    PfIT6VrMZsjDXIWy
    tUGOsjw3kwDZvK1B
    • This is the loudspeaker & audio jack connector module.

  7. 1uJYwX2YF3hybuAj
    1uJYwX2YF3hybuAj
    ODCNUNOHRAhhDadM
    • Loudspeaker and light sensor module,

  8. BAekOdWFoMTJtwse
    BAekOdWFoMTJtwse
    QyFxDXBQhOOTsjsi
    • Disconnect the touch screen flex cable.

  9. g66pIotXrRQWxmKh
    g66pIotXrRQWxmKh
    PWud4gMwWurHDkUF
    QMgUFKWqDFwqgXfx
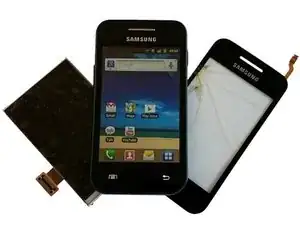
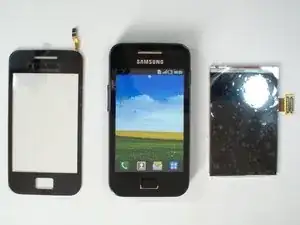
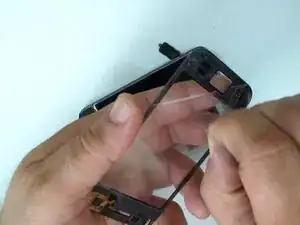
    • Use a hair dryer and warm the touch screen glass to make adhesive soften.

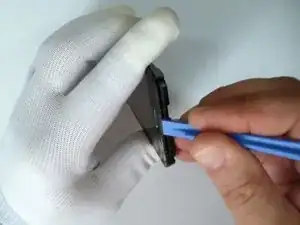
    • Use a plastic tool for separating the glass from the middle frame.

  10. NdjFXA1WeDnbKI3a
    NdjFXA1WeDnbKI3a
    YdPnLwT5IZorfhW3
    hNio3a3JxKhXnrA6
    • Again by using a plastic tool, separate the LCD display from the middle frame.

  11. XTMsmWgGqgRPorrc
    XTMsmWgGqgRPorrc
    nTT1LBdmrBe43VKL
    GYsH6SbKh5itO6HW
    • Clean the middle frame and install the LCD display.

  12. HoSPdKSCYybUXbPD
    HoSPdKSCYybUXbPD
    dFHeKNf1mXYbdLEC
    • Install the touch screen and start with reassembling.

  13. MWIAuZQAkFCSTVnh
    • That is all.

    • .

    • .

    • .

    • .

    • Did you do it successfully?

Conclusion

To reassemble your device, follow these instructions in reverse order.

ZFix

Member since: 09/12/13

191079 Reputation

One comment

Amar touch ta lagbe

nj nazmul -