Introduction
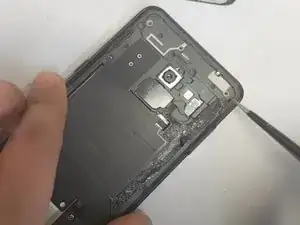
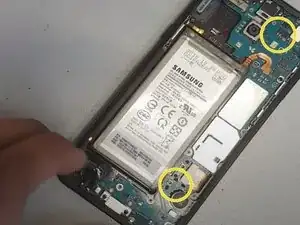
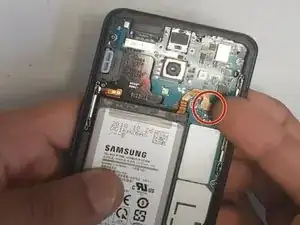
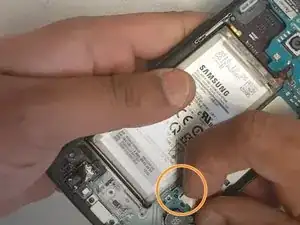
Follow this guide to replace the display on your Samsung Galaxy A8 (2018). For repairing broken or unresponsive touchscreens, this guide is useful. It takes you through all the necessary steps which will help you change your screen without tampering with the original panel, logic board or battery.
Before beginning the repair, please check that you have all the necessary tools required.
As a precaution, it is recommended that you make a full backup of your data before starting your Galaxy A8 (2018) screen replacement.
Tools
Parts
-
-
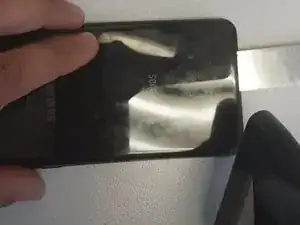
Before proceeding to change the screen of your Galaxy A8 (2018), press and hold the power button to turn off your device.
-
-
-
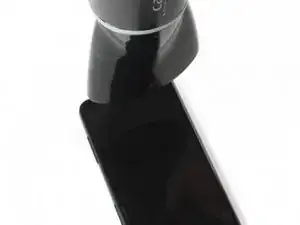
Using a hairdryer, heat up the back of the device to loosen the adhesive.
-
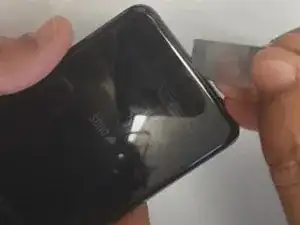
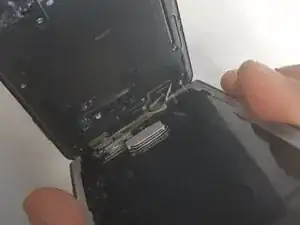
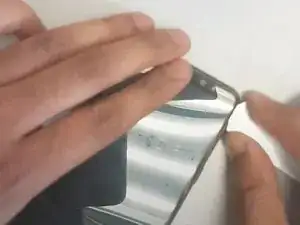
Gently insert a plastic card and opening pick between the glass and frame to create an opening. Carefully separate the rear glass from the rest of the device.
-
-
-
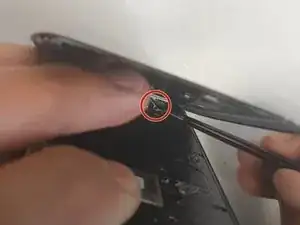
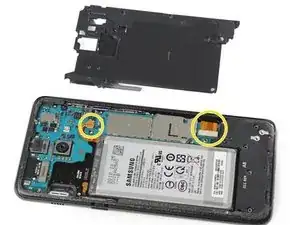
Using a pair of tweezers, disconnect the clip connecting camera and motherboard.
-
Lift the back panel off of the chassis of the device.
-
-
-
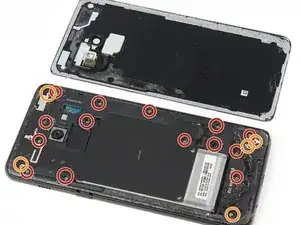
Use the P2 Pentalobe screwdriver to remove the 14 (0.8mm) screws.
-
Use the Phillips #0 screwdriver to remove the rest of the four 1.5mm screws.
-
Gently leverage with the spudger under the top antenna to lift it.
-
Continue with the spudger to lift and extract the NFC antenna.
-
-
-
Disconnect the battery using the spudger.
-
Gently lift the speaker and pull it out of the slot.
-
Disconnect the display cables from the device.
-
-
-
To soften the adhesive that binds the display panel to the chassis, heat the front panel with the hairdryer for a few seconds
-
To create an opening, insert the opening pick gently between the screen and the chassis
-
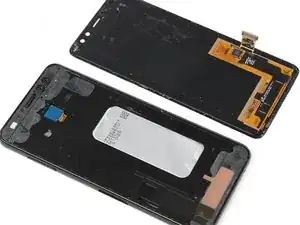
Gently slide the plastic card around the screen to take it off the chassis.
-
To reassemble your device, follow these instructions in reverse order.
One comment
My microphone isnt working please help
