Introduction

  1. UJTorK6OMInUAZC1
    UJTorK6OMInUAZC1
    LIsX5JXWycZItD5j
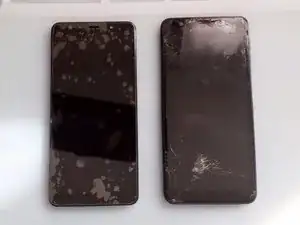
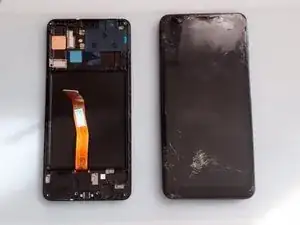
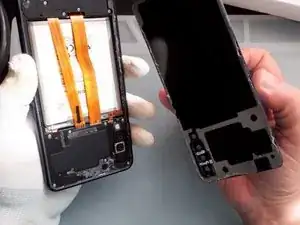
    • It's better to use Display Assembly (Screen With Frame) to fix your broken device.

  2. gpiDU2a3PIE16VlY
    gpiDU2a3PIE16VlY
    3DlpqVYEUJTJm3DY
    eV4Ujbsufas62TFI
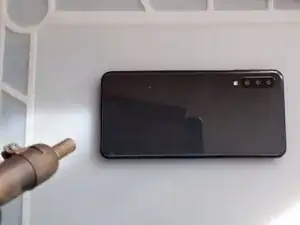
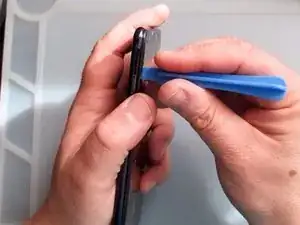
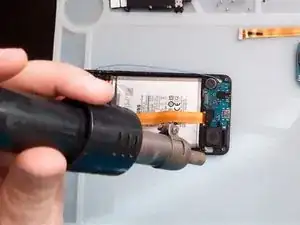
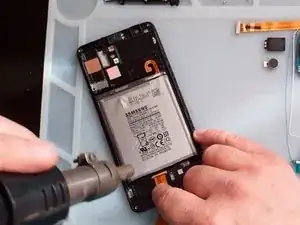
    • Use hot air to warm the device and soften the adhesive type.

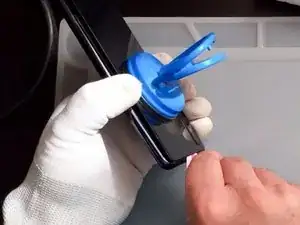
    • Gently separate the back cover.

    • Use Suction Cup and a plastic opening tool (Paying cart).

  3. XYZkWJ32IPFoMmQT
    XYZkWJ32IPFoMmQT
    EcLUDqeH5H4sCIk3
    AuhGsHEYxibQiBTR
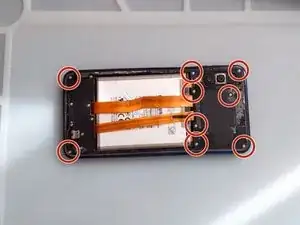
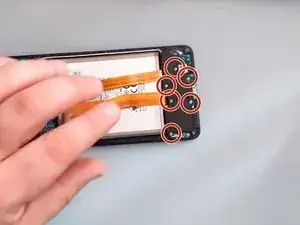
    • You need a screwdriver Phillips to remove all 9 screws.

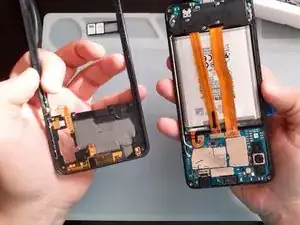
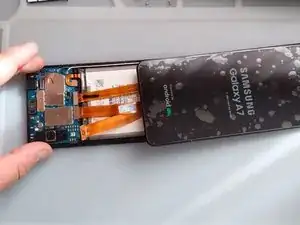
    • Again - using only Plastic tools remove the middle frame.

    I noticed screw's lenght are different. But following the guide I lost track of which goes where. Be careful!

    tanner85 -

  4. BdAlNH4eHPqoKgd5
    BdAlNH4eHPqoKgd5
    gUOJ2voKf36n1xSq
    j3tOLhgNDeGPFQPw
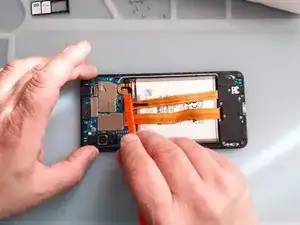
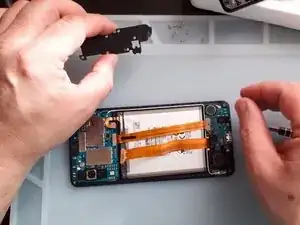
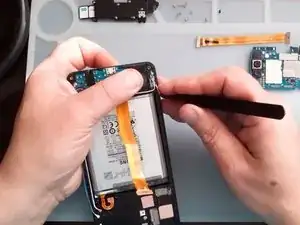
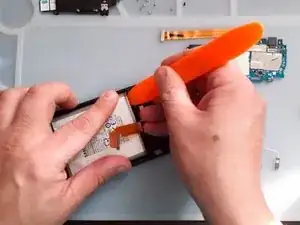
    • Once you have access to the battery, disconnect it.

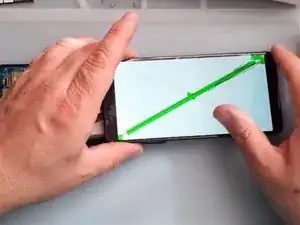
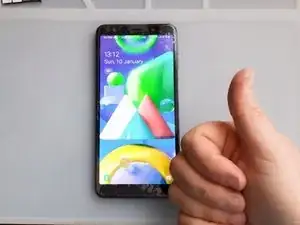
    • Test the new screen before installing it.

    There is missing also in the video a note for the pins, that you have to shorted for the switching on of the smartphone for the screen test.

    In the video is only shown that he uses a twizzer for shorting the pins, but also there is missing the info what pins.

    Klaus Zenger -

  5. f1tiCWTeAuFNX1rF
    f1tiCWTeAuFNX1rF
    UnDDiORW6mrkiWHk
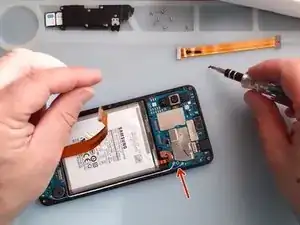
    • Use Phillips Screwdriver and plastic tool and remove the Sub board cover.

  6. XRYiBUbqWg5CEsrZ
    XRYiBUbqWg5CEsrZ
    RUmslFUbWfHJr2QD
    ZRZep4JTlwN2fV5o
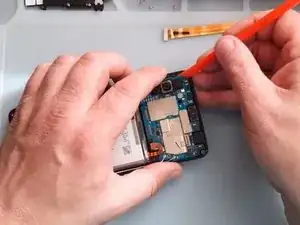
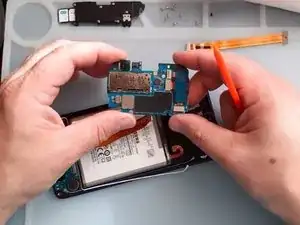
    • Remove the black Philips screw and gently take out the Mother board.

  7. 3wfBV6HeBKKrOrTa
    3wfBV6HeBKKrOrTa
    XW4KKDSGQZycbN3s
    LUM2wVkENw1EbT4C
    • Remove the Antenna Sub-PBA board.

    • It's easier to take out the sub board if you warm it a little.

  8. foYXlfMqNBK4VRB5
    foYXlfMqNBK4VRB5
    6oo1EwwKeRtX6J1I
    CQCHatdDsUbiYIPi
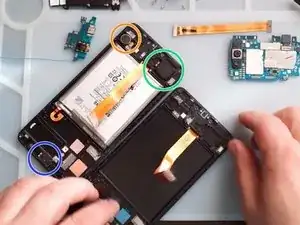
    • Transfer to the New Screen frame:

    • Vibrator motor

    • Loudspeacker

    • Receiver

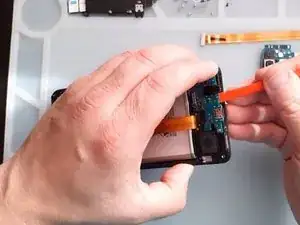
    • Use hot air and plastic tools to remove the battery.

  9. rOJGCeatHskPP4rI
    • That's all friends!

Conclusion

To reassemble your device, follow these instructions in reverse order.

ZFix

Member since: 09/12/13

191079 Reputation

2 comments

Hey!!!!!!. I’ve just recently fixed my A7 (2018) screen, and with this screen, you’ll have to remove the old one, and replace it. The adhesive what is on your old screen is very strong, So i advise to use isopropyl alcohol, and/or heat, also with suction, so that you can pry up the screen. Also, Do NOT bent the Flex Cable because it is very delicate, and it will tear easy. All in all, the repair was fun, for a repairman myself, and allowed me to use my talent!!. 10/10 Recommend

Marlion Russell -

I want buy the screen for samsung a7 ?

Zouhair Guermah -