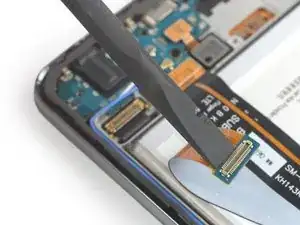
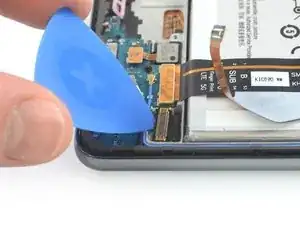
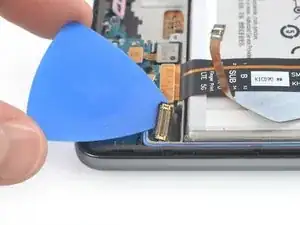
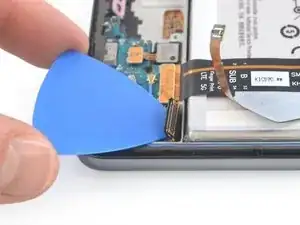
Introduction
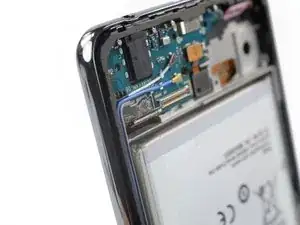
Use this guide to replace a cracked or broken screen on your Galaxy A52.
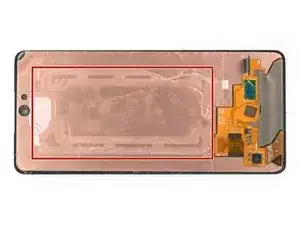
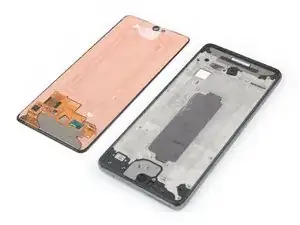
If the frame is deformed, it's important to replace it to make sure the new screen will mount correctly and won’t suffer damage from uneven pressure.
Before disassembling your device, discharge the battery below 25%. The battery can catch fire and/or explode if accidentally punctured, but the chances of that happening are much lower if discharged.
Note: This guide instructs you to replace only the screen while leaving the original frame and motherboard in place. However, some replacement screens come pre-installed in a new frame (a.k.a. chassis), which requires a very different procedure. Make sure you have the correct part before starting this guide.
You’ll need replacement adhesive to reattach components when reassembling the device. If you do not replace the adhesive seals when reassembling, your device will function normally, but will most likely lose its water protection.
Tools
Parts
-
-
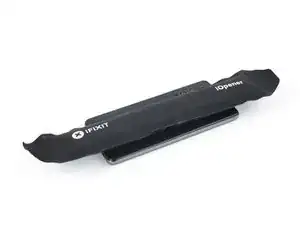
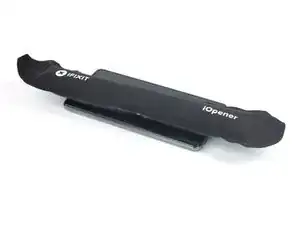
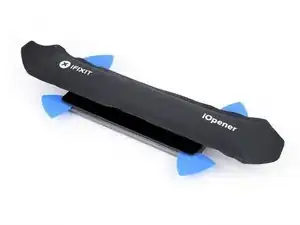
Prepare an iOpener and apply it to the back cover for at least two minutes to loosen the adhesive underneath.
-
-
-
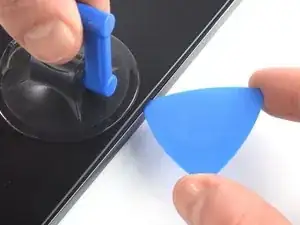
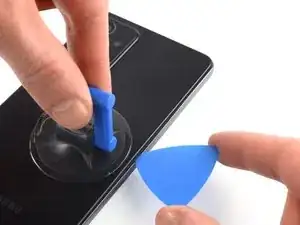
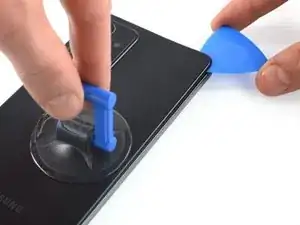
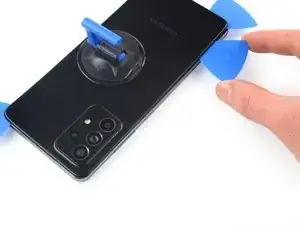
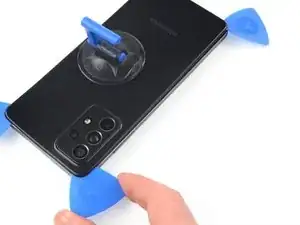
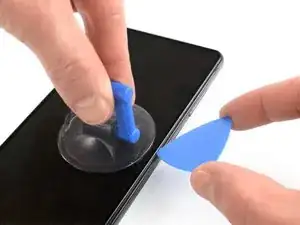
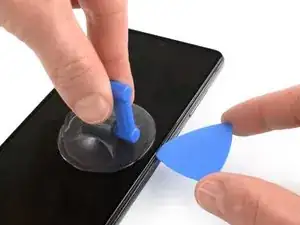
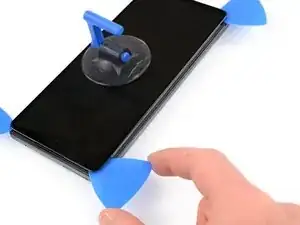
Secure a suction handle to the right edge of the back cover, as close to the edge as possible.
-
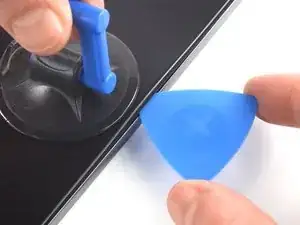
Lift the back cover with the suction handle to create a small gap between the back cover and the frame.
-
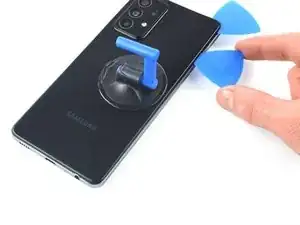
Insert an opening pick into the gap you created.
-
-
-
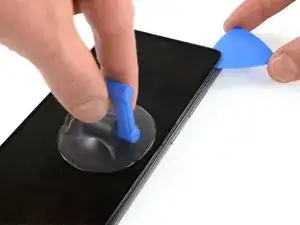
Slide the opening pick to the top right corner to slice the adhesive.
-
Leave the opening pick in its place to prevent the adhesive from resealing.
-
-
-
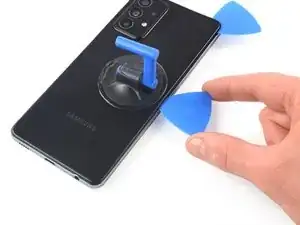
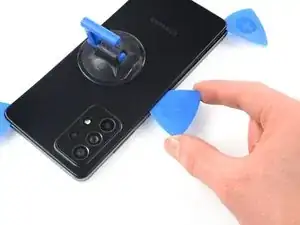
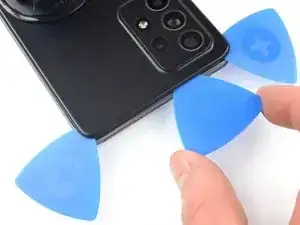
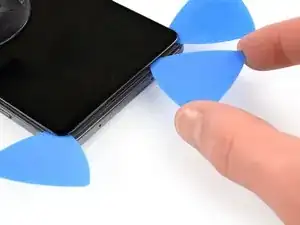
Insert a second opening pick underneath the top right edge of your phone.
-
Slide the opening pick to the bottom right corner to slice the adhesive.
-
Leave the opening pick in place to prevent the adhesive from resealing.
-
-
-
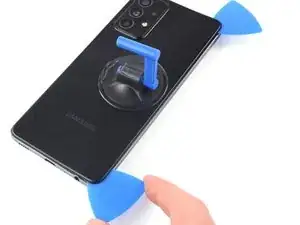
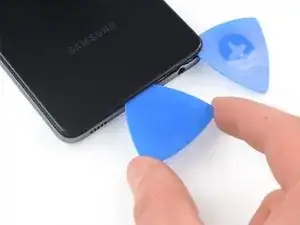
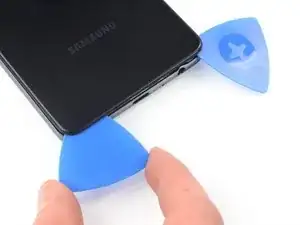
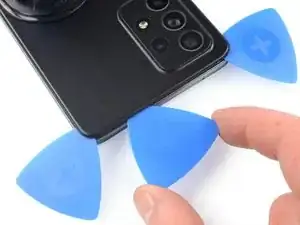
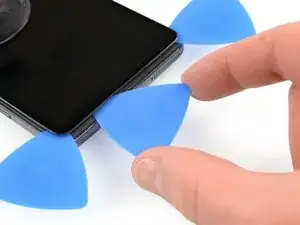
Insert a third opening pick at the bottom edge of your phone.
-
Slide the opening pick along the bottom edge of your phone to slice the adhesive.
-
Leave the opening pick in the bottom left corner to prevent the adhesive from resealing.
-
-
-
Insert a fourth opening pick underneath the bottom left corner of your phone.
-
Slide the opening pick along the left edge to slice the adhesive.
-
Leave the opening pick in the top left corner to prevent the adhesive from resealing.
-
-
-
Insert a fifth opening pick underneath the top left corner.
-
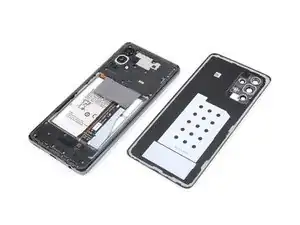
Slide the opening pick along the top edge of the back cover to slice the remaining adhesive.
-
-
-
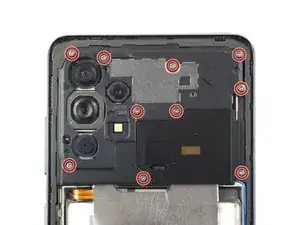
Use a Phillips screwdriver to remove the ten 4.4 mm-long screws securing the motherboard cover.
-
-
-
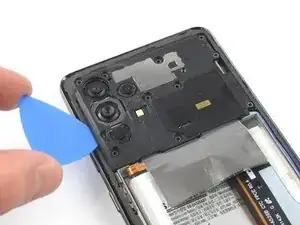
Insert an opening pick underneath the left edge of the motherboard cover.
-
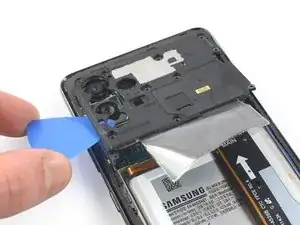
Use the opening pick to pry up the motherboard cover.
-
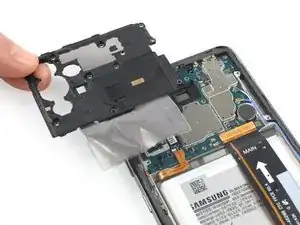
Remove the motherboard cover.
-
-
-
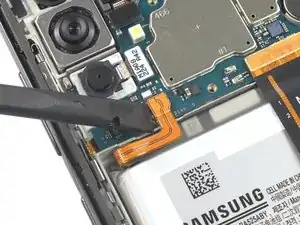
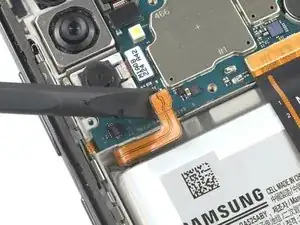
Use a spudger to disconnect the battery cable by prying the connector straight up from its socket.
-
-
-
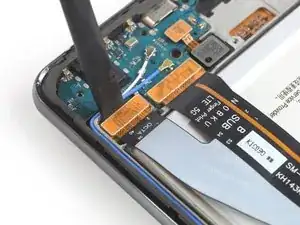
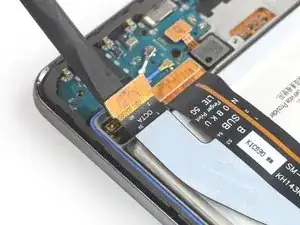
Use the flat end of a spudger to disconnect the right connector of the interconnect cable from the daugtherboard.
-
Carefully bend the cable to the top of the phone to get access to the screen connector socket.
-
-
-
Apply a heated iOpener or a heat gun to the screen to loosen the adhesive underneath. Apply the iOpener for at least two minutes.
-
-
-
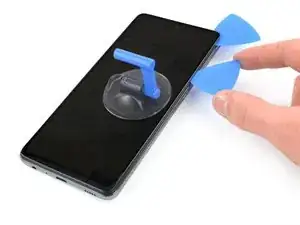
Apply a suction handle to the right edge of the screen.
-
Lift the screen with the suction handle to create a small gap between the screen and the frame.
-
Insert an opening pick into the gap between the midframe and the screen.
-
Slide the opening pick to the top right corner to slice the adhesive.
-
Leave the opening pick in its place to prevent the adhesive from resealing.
-
-
-
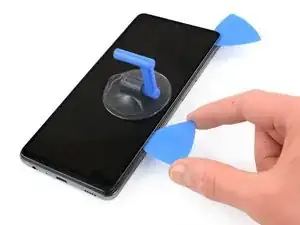
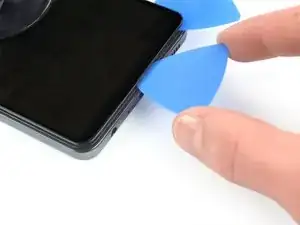
Insert a second opening pick underneath the top right corner and slide it along the right edge to the bottom right corner of the screen to cut the adhesive.
-
Leave the opening pick in place to prevent the adhesive from resealing.
-
-
-
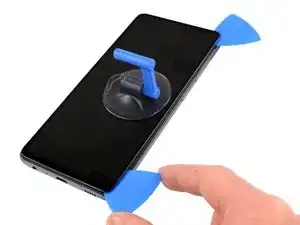
Insert a third opening underneath the bottom right corner.
-
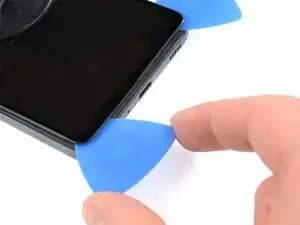
Slide the opening pick to the bottom left corner.
-
Leave the opening pick in its place to prevent the adhesive from resealing.
-
-
-
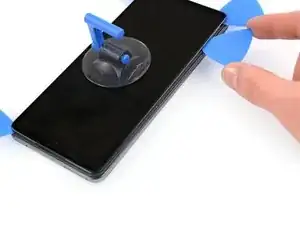
Insert a fourth opening pick underneath the bottom left corner and slide it along the left edge of the phone to the top left corner.
-
Leave the opening pick in its place to prevent the adhesive from resealing.
-
-
-
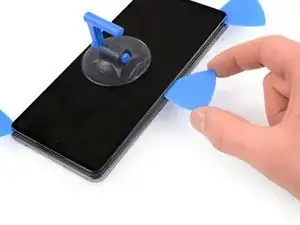
Insert a fifth opening pick underneath the top left corner and slide it along the top edge to cut the adhesive.
-
-
-
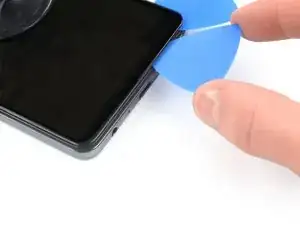
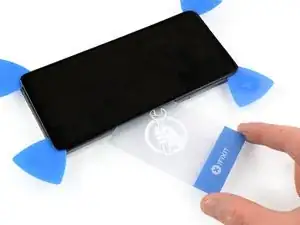
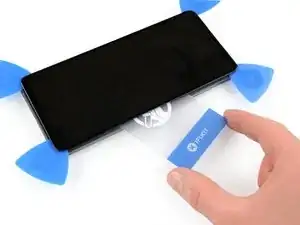
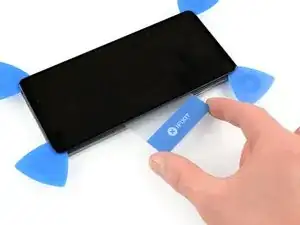
Insert a plastic card on the right edge into the gap between display and the phone assembly.
-
Press the plastic card in and slide it back and forth until you cut through the entire adhesive.
-
Once you are sure you cut through the adhesive, remove the four opening picks from the corners.
-
If possible, turn on your device and test your repair before installing new adhesive and resealing.
Compare your new replacement part to the original part—you may need to transfer remaining components or remove adhesive backings from the new part before installing.
To reassemble your device, follow these instructions in reverse order. Apply new adhesive where necessary after cleaning the relevant areas with isopropyl alcohol (>90%).
The best way to secure the new screen is to apply a sheet of custom-cut double-sided tape to the back of the screen.
Take your e-waste to an R2 or e-Stewards certified recycler.
Repair didn’t go as planned? Try some basic troubleshooting, or ask our Answers community for help.
4 comments
I can't get the screen removed has anyone tips on how to do this
My replacement display did not come with adhesive backing. Other than that everything worked out great. Just waiting on some adhesive strips to arrive before I get my Samsung back into service
This guide is good but don't use a card use something thinner like a thin piece of metal. The thing that says "follow this guide for reassembly" shows a screen with a new frame replacement. I pulled the LCD LIKE THIS GUIDE SAID....Now idk what to do so I guess ill wing it...this guide needs work, Adriana Zwink.

