Introduction
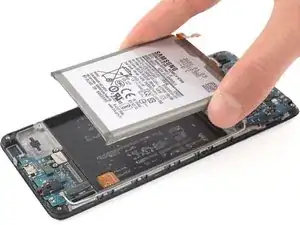
Use this guide to replace a worn-out or dead battery in your Galaxy A51.
If your battery is swollen, take appropriate precautions. For your safety, discharge your battery below 25% before disassembling your phone. This reduces the risk of a dangerous thermal event if the battery is accidentally damaged during the repair.
You’ll need replacement adhesive to reattach components when reassembling the device.
Tools
Parts
-
-
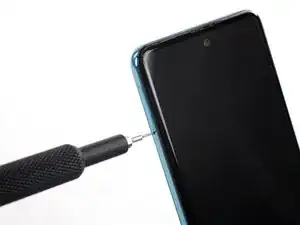
Insert a SIM card eject tool, a SIM eject bit or a straightened paper clip into the hole on the SIM tray located at the left side of the phone.
-
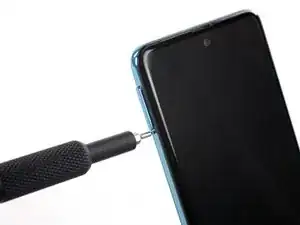
Press firmly to eject the tray.
-
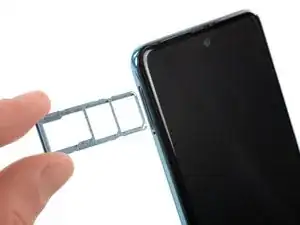
Remove the SIM card tray.
-
-
-
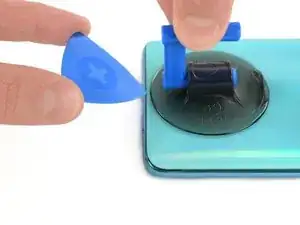
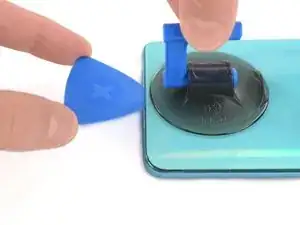
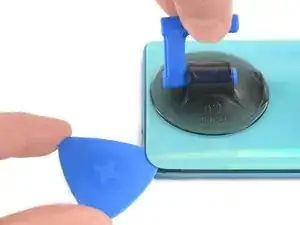
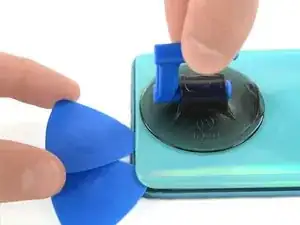
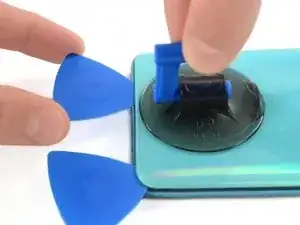
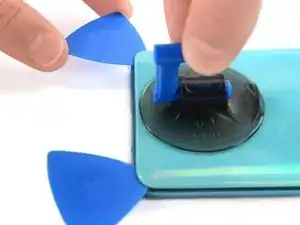
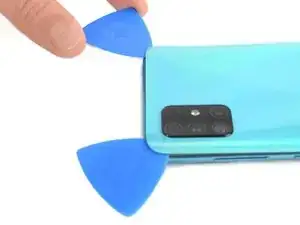
Insert the tip of an opening pick between the frame and the back cover at the bottom of the phone near the USB-C port.
-
If you can't get between the back cover and midframe with your opening pick, you can use a suction handle or strong tape to pull up the back cover to create a gap.
-
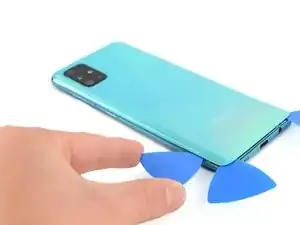
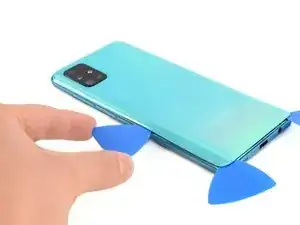
Slide the opening pick to the bottom right corner and leave it there.
-
-
-
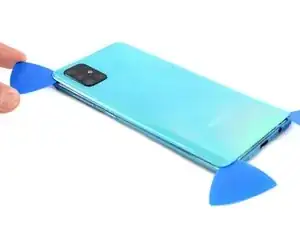
Insert a second opening pick and slide it from the bottom right corner to the bottom left corner to cut the adhesive.
-
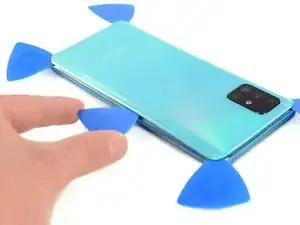
Leave the opening picks in place to prevent the adhesive from resealing.
-
-
-
Insert a third opening pick under the bottom left corner of the back cover.
-
Slide the opening pick along the left edge of the phone.
-
Leave the opening pick in the top left corner to prevent the adhesive from resealing.
-
-
-
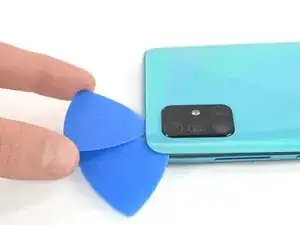
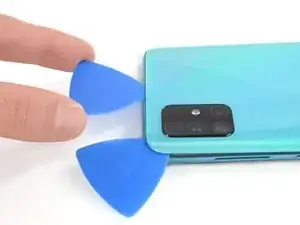
Insert a fourth opening pick under the top left corner of the back cover near the camera.
-
Slide the tip of the opening pick along the top edge of the phone to the right corner to cut the adhesive.
-
Leave the opening pick in the top right corner to prevent the adhesive from resealing.
-
-
-
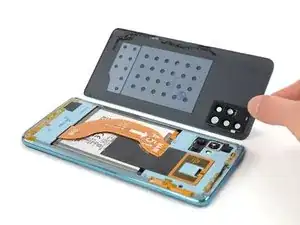
With opening picks in all four corners, insert a fifth and final opening pick under the top right corner of the back cover.
-
Slide the tip of the opening pick along the right edge of the phone to the bottom right corner to cut the remaining adhesive.
-
-
-
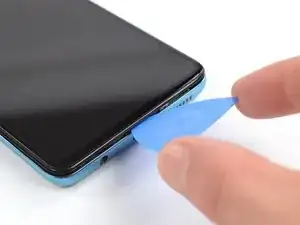
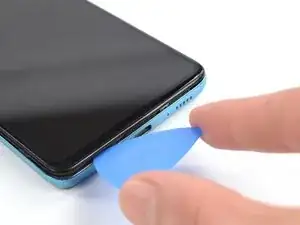
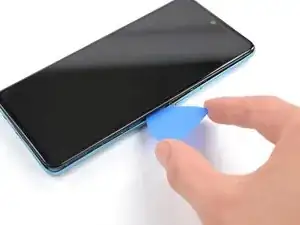
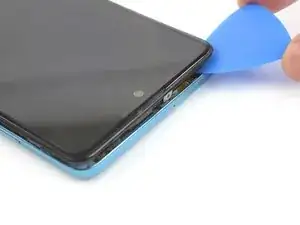
Insert an opening pick between the midframe and front panel assembly on the bottom of the phone near the charge port.
-
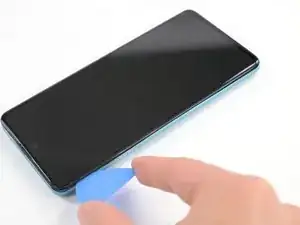
Slide the opening pick to the left bottom corner to release the plastic clips.
-
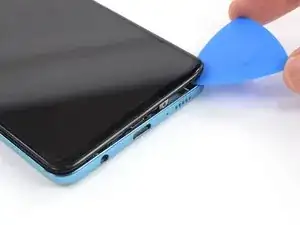
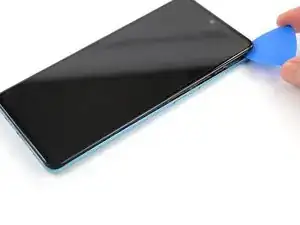
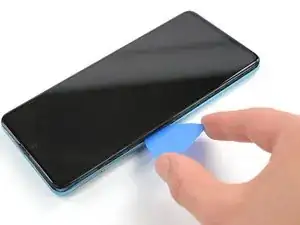
Slide the opening pick to the bottom right corner to release the rest of the bottom plastic clips.
-
-
-
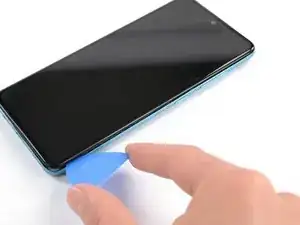
Continue sliding the opening pick on the right side of your phone until all plastic clips on the right side are released.
-
-
-
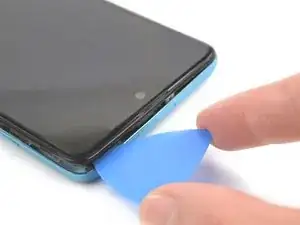
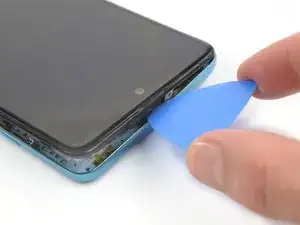
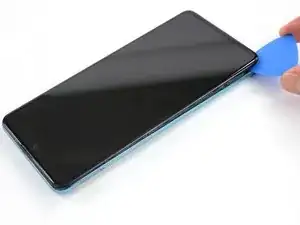
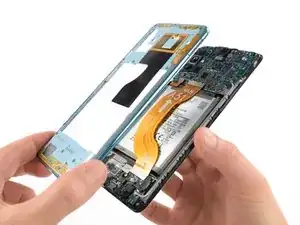
Slide the opening pick from the top left corner to the bottom left corner to release the left side's plastic clips.
-
-
-
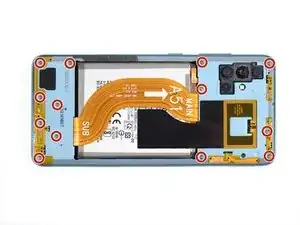
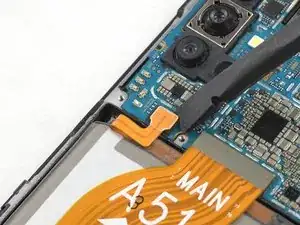
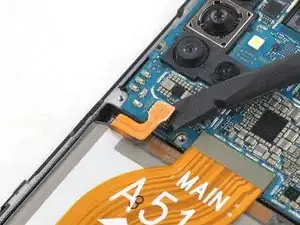
Use the flat end of a spudger to disconnect the battery by prying the connector straight up from its socket.
-
-
-
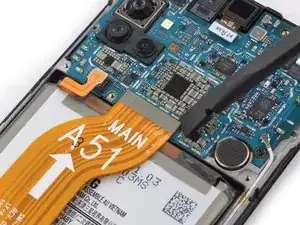
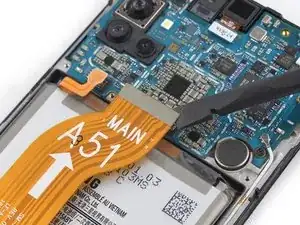
Use the flat end of a spudger to pry up and disconnect the interconnect cable from the motherboard.
-
-
-
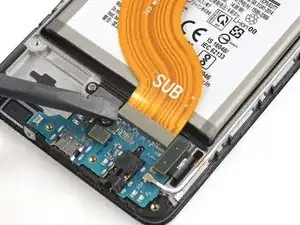
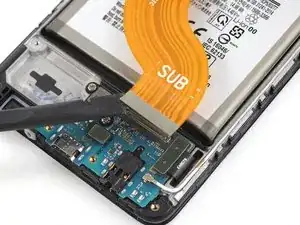
Use the flat end of a spudger to pry up and disconnect the interconnect cable from the daughterboard.
-
Remove the interconnect cable.
-
-
-
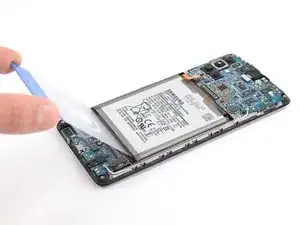
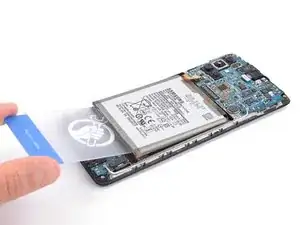
Insert a plastic card underneath the bottom edge of the battery.
-
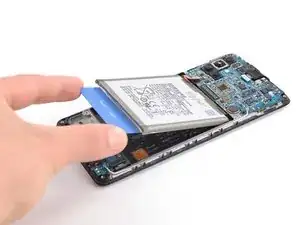
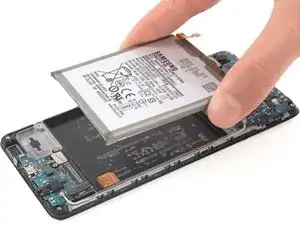
Carefully slide it underneath the battery to loosen the adhesive.
-
If possible, turn on your device and test your repair before installing new adhesive and resealing.
Secure the new battery with pre-cut adhesive or double-sided adhesive tape. In order to position it correctly, apply the new adhesive into the device at the places where the old adhesive was located, not directly onto the battery. Press the new battery firmly into place.
To reassemble your device, follow these instructions in reverse order. Apply new adhesive where necessary after cleaning the relevant areas with isopropyl alcohol (>90%).
For optimal performance, calibrate your newly installed battery: Charge it to 100% and keep charging it for at least 2 more hours. Then use your device until it shuts off due to low battery. Finally, charge it uninterrupted to 100%.
Take your e-waste to an R2 or e-Stewards certified recycler.
Repair didn’t go as planned? Try some basic troubleshooting, or ask our Answers community for help.
3 comments
C'est vraiment génial
A51 5g smartphone?
Creo que entre los utiles que hacen falta más el precio de la batería, casi sale más conveniente llevarlo a un servicio técnico autorizado, que además te dan garantia de la reparación. Al menos esa es mi opinión después de hacer cuentas.
De todas formas una gran explicación y muy bien traducido al español.
Muchísimasgracias.
5 estrellas para la descripción del trabajo.
Lástima que debería cambiar tambien el vibrador que no me funciona y no he encontrado como hacerlo.



Kijk uit voor de vingerafdruk scanner. Er zit een kleine flat cable aan die kapot gaat als je de behuizing er in 1 keer vanaf haalt
Arno van Duijn -