Introduction
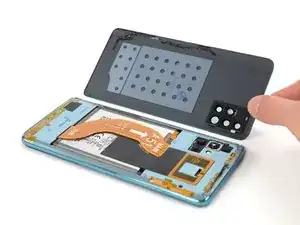
Use this guide to remove the back cover on your Samsung Galaxy A51.
You’ll need replacement adhesive to reattach the back cover when reassembling the device.
-
-
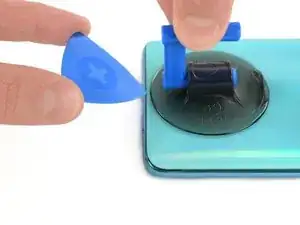
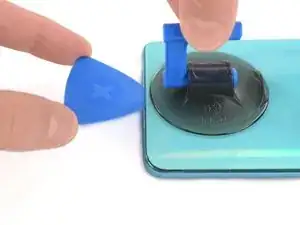
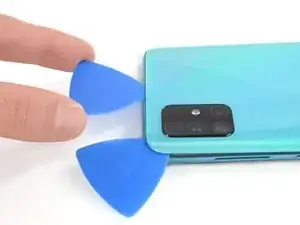
Insert the tip of an opening pick between the frame and the back cover at the bottom of the phone near the USB-C port.
-
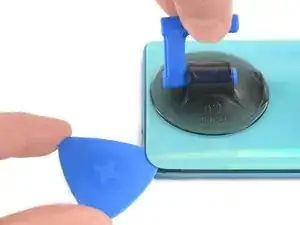
If you can't get between the back cover and midframe with your opening pick, you can use a suction handle or strong tape to pull up the back cover to create a gap.
-
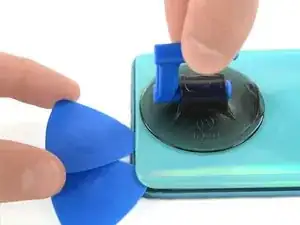
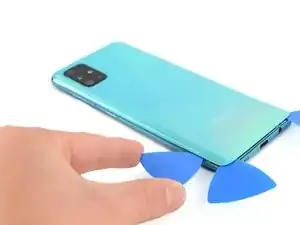
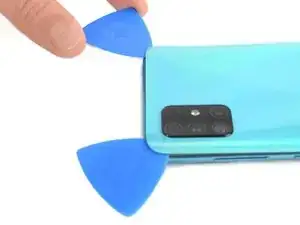
Slide the opening pick to the bottom right corner and leave it there.
-
-
-
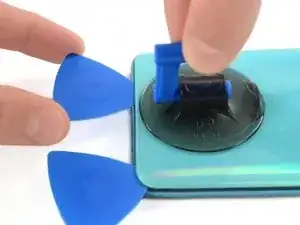
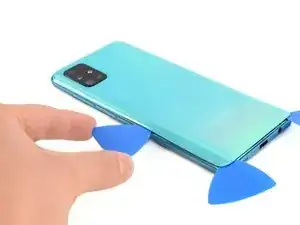
Insert a second opening pick and slide it from the bottom right corner to the bottom left corner to cut the adhesive.
-
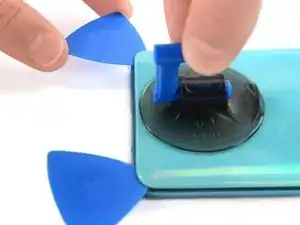
Leave the opening picks in place to prevent the adhesive from resealing.
-
-
-
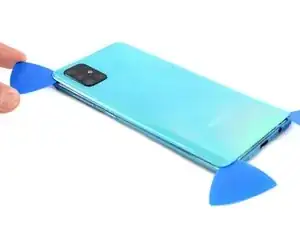
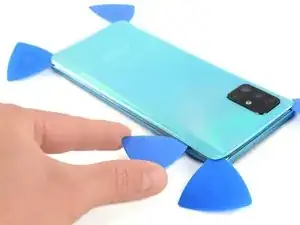
Insert a third opening pick under the bottom left corner of the back cover.
-
Slide the opening pick along the left edge of the phone.
-
Leave the opening pick in the top left corner to prevent the adhesive from resealing.
-
-
-
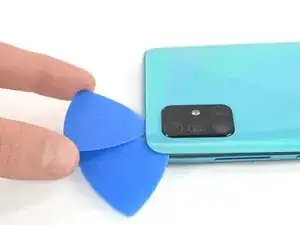
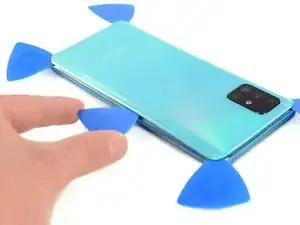
Insert a fourth opening pick under the top left corner of the back cover near the camera.
-
Slide the tip of the opening pick along the top edge of the phone to the right corner to cut the adhesive.
-
Leave the opening pick in the top right corner to prevent the adhesive from resealing.
-
-
-
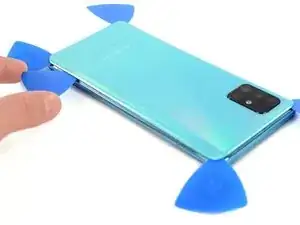
With opening picks in all four corners, insert a fifth and final opening pick under the top right corner of the back cover.
-
Slide the tip of the opening pick along the right edge of the phone to the bottom right corner to cut the remaining adhesive.
-

Secure the new back cover with pre-cut adhesive or double-sided adhesive tape.
To reassemble your device, follow these instructions in reverse order. Apply new adhesive where necessary after cleaning the relevant areas with isopropyl alcohol (>90%).
Repair didn’t go as planned? Try some basic troubleshooting, or ask our Answers community for help.