Introduction
Use this guide to replace the front camera of your Samsung Galaxy A50.
You’ll need replacement adhesive to reattach components when reassembling the device.
Tools
-
-
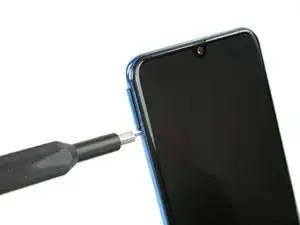
Insert a SIM card eject tool, a SIM eject bit or a straightened paper clip into the hole on the SIM tray located at the left side of the phone.
-
Press firmly to eject the tray.
-
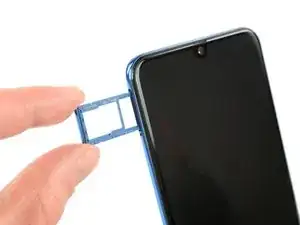
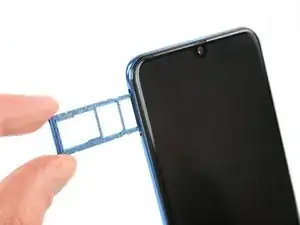
Remove the SIM card tray.
-
-
-
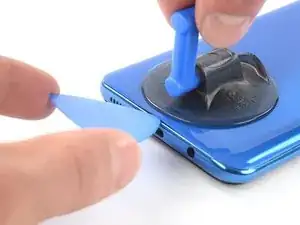
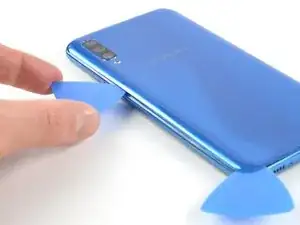
Insert an opening pick at the bottom of your phone near the USB-C port.
-
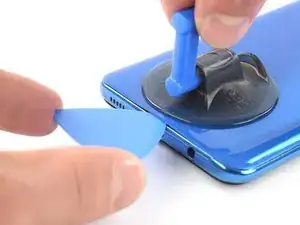
Slide the opening pick to the bottom left corner.
-
-
-
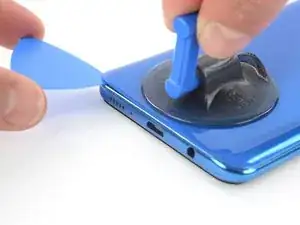
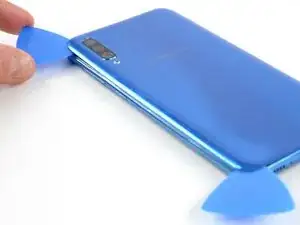
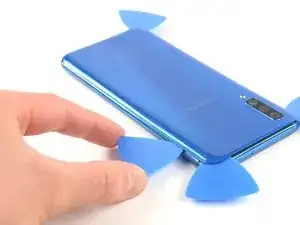
Insert a second opening pick and slide it from the bottom to the top left corner to cut the adhesive.
-
Leave the opening picks in place to prevent the adhesive from resealing.
-
-
-
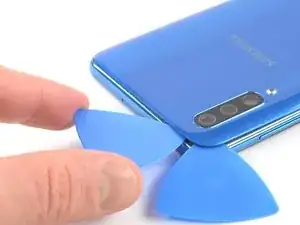
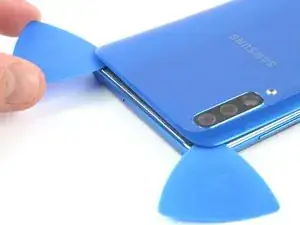
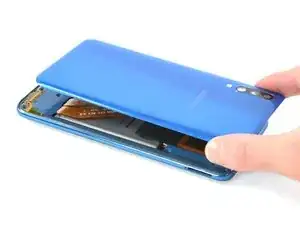
Insert a third opening pick under the top left corner of the back cover.
-
Slide the opening pick along the top edge of the phone.
-
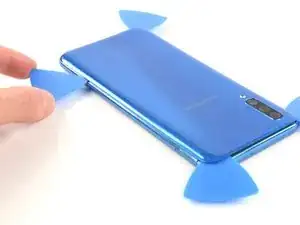
Leave the opening pick in the top right corner to prevent the adhesive from resealing.
-
-
-
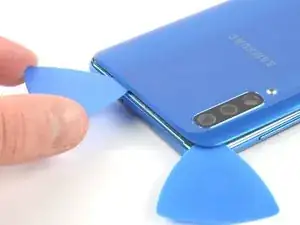
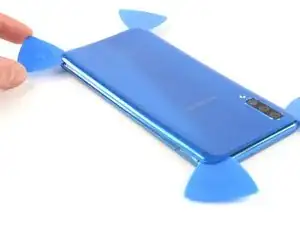
Insert a fourth opening pick under the top right corner of the back cover.
-
Slide the tip of the opening pick along the side of the phone to the bottom right corner to cut the adhesive.
-
Leave the opening pick in the bottom right corner to prevent the adhesive from resealing.
-
-
-
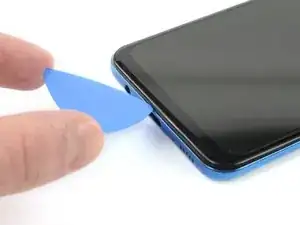
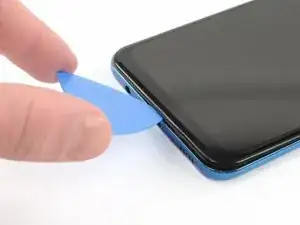
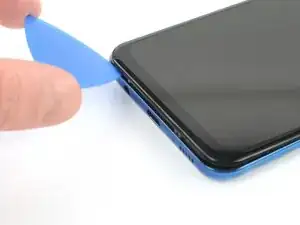
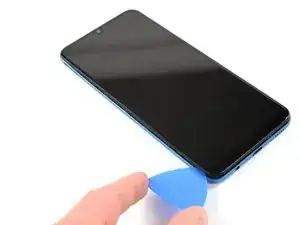
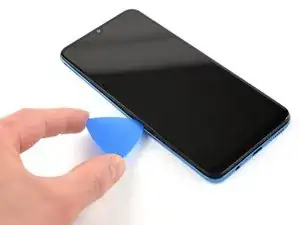
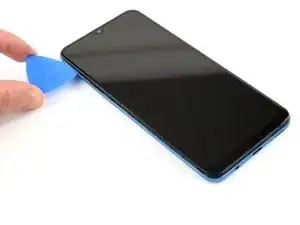
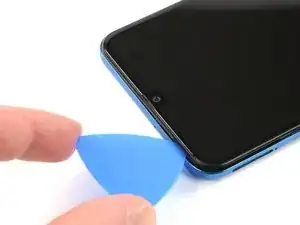
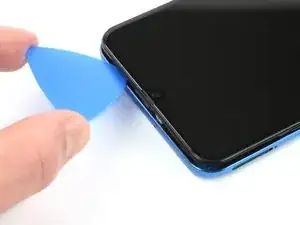
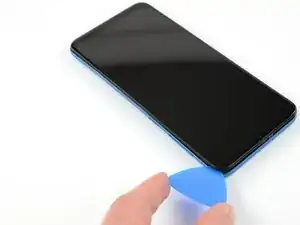
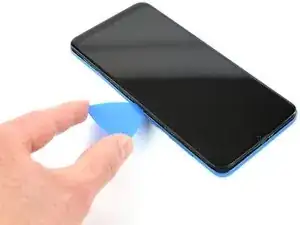
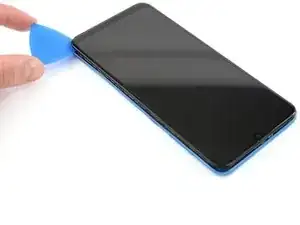
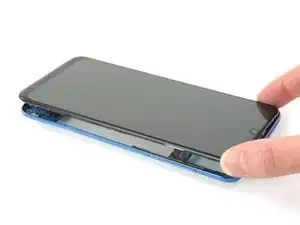
Insert an opening pick between the display and the midframe at the bottom of your phone above the USB-C port.
-
Slide the pick along the bottom edge to release the clips.
-
-
-
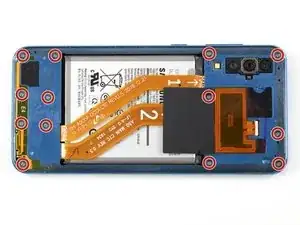
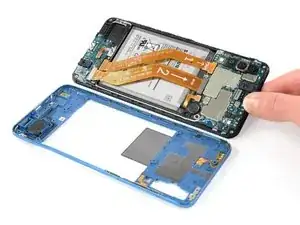
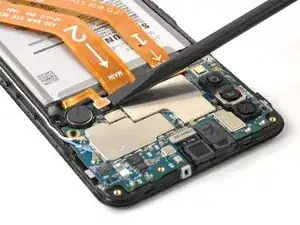
Use a spudger to disconnect the battery by prying the connector straight up from its socket.
-
-
-
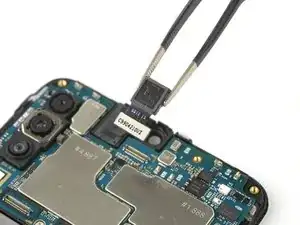
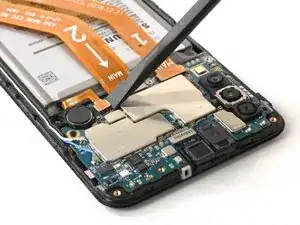
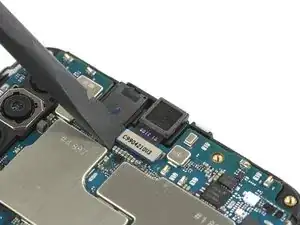
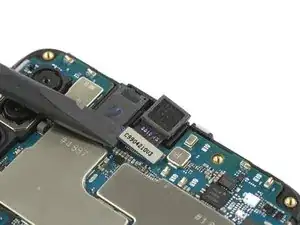
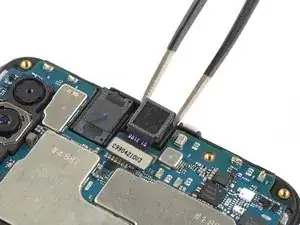
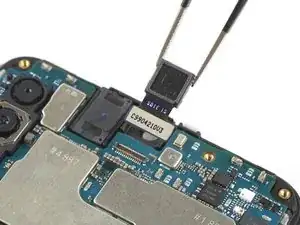
Use a spudger to disconnect the front camera by prying the connector straight up from its socket.
-
If possible, turn on your device and test your repair before installing new adhesive and resealing.
To reassemble your device, follow these instructions in reverse order. Apply new adhesive where necessary after cleaning the relevant areas with isopropyl alcohol (>90%).
Take your e-waste to an R2 or e-Stewards certified recycler.
Repair didn’t go as planned? Try some basic troubleshooting, or ask our Answers community for help.

Nur ein kleiner Tippfehler-Hinweis: (Überhitze das Gerät nicht)
Jonas Hahn -
OK, korrigiert. Das kann übrigens jeder machen, iFixit ist ein Wiki.
VauWeh -