Introduction
This guide will show you how to get access to the motherboard of the Samsung Galaxy S so that you can remove and/or replace it.
Tools
-
-
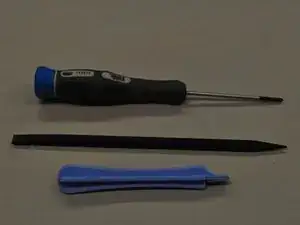
To remove the back case of the Samsung Galaxy S, you may need a spudger.
-
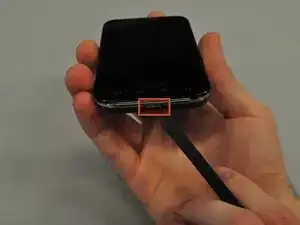
Identify the slit which is at the bottom edge of the phone.
-
-
-
Insert the edge of the spudger into the slit and use it to pry the back case off of the phone.
-
-
-
Insert the spudger into the space between the battery and the phone and pry the battery out as you slide it along the underside the battery.
-
-
-
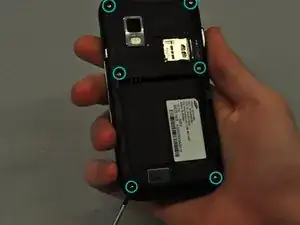
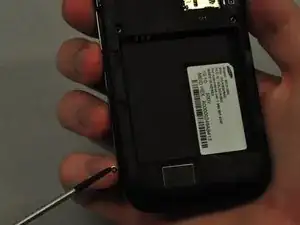
Use the screwdriver to unscrew each of the 6 silver screws holding the main case to the LCD touchscreen.
-
If the screws are stuck, use the spudger to pry them out.
-
-
-
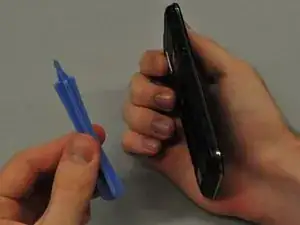
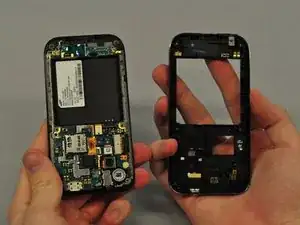
Use the plastic opening tool to pry the main case from the LCD touchscreen.
-
Insert the thin edge of the plastic opening tool into the groove between the silver edge and black edge.
-
Run the tool all the way around the edge of the phone until you hear each of the clips detach.
-
-
-
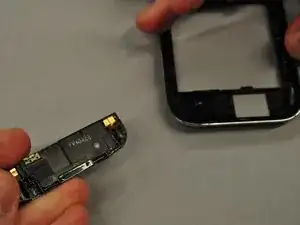
Use the spudger to pry along the groove between the speaker and the main case.
-
Once the speaker is unclipped it should pop out easily.
-
-
-
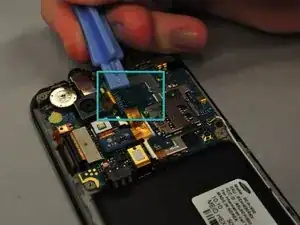
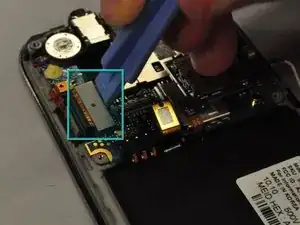
Using the plastic opening tool, you will need to detach the black square component which is boxed in blue.
-
Pry camera unit attached to it off the motherboard.
-
-
-
Use the plastic opening tool to disconnect the white wire boxed in red.
-
Carefully disconnect the green and golden boxed components from the motherboard.
-
-
-
Use the screwdriver to remove the black screw circled in blue.
-
Lift the motherboard off of the touchscreen.
-
-
-
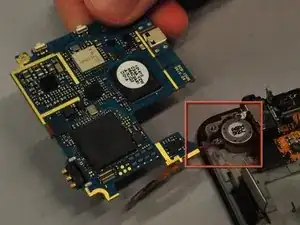
Using the plastic opening tool, gently pry the silver cylinder out of its housing.
-
The cylinder is held in place by a weak adhesive and shouldn't be too difficult to remove.
-
To reassemble your device, follow these instructions in reverse order.


