Introduction
After getting my teenagers Samsung Eternity SGH-A867 cellphone I noticed that her acrylic nails had done some severe damage to the digitizer. I was at first thinking of tossing it out, but took on the challenge in trying to repair the digitizer.
Tools
-
-
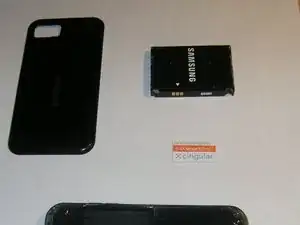
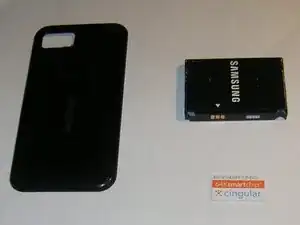
First you must remove the battery cover, the battery and the Sim card. I also had an additional 2GB storage card that I removed as well.
-
-
-
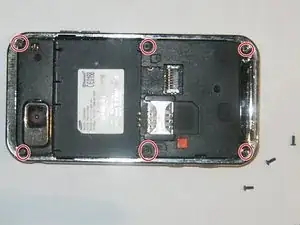
Next remove the 6 small Phillips screws as shown. They all have the same length so it is okay if you mix them up.
-
-
-
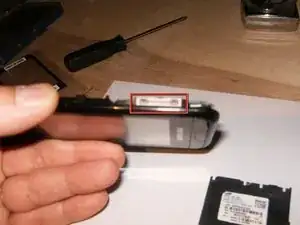
Next I used a small plastic tool that I had from a previous Ipod repair and placed it between the silver and the black back frame. Your fingernails or a guitar pick might accomplish the same task. Move it all around the frame to separate the two halves.
-
Once you separate the frame be careful that you do not loose the hold button on top and the volume button. Both are set loosely in the frame.
-
-
-
You also must remove the camera shutter and extra media buttons cable. It is glued to the side of the frame and the plactice tool with a slight tuck will loosen the adhesive strip underneath.
-
-
-
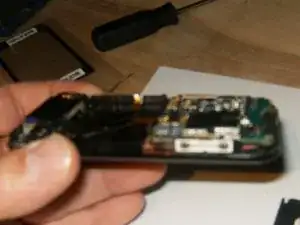
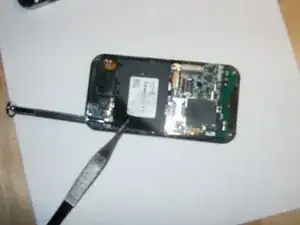
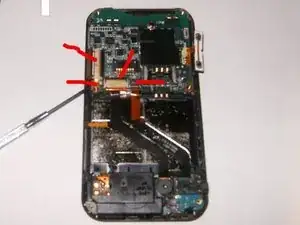
You will now see 4 connectors on the motherboard that need to be removed. You unhook these by carefully lifting up the latch lock (the black bar on the connector) and then slide the cable out. The antenna cable does not have a latch, you remove it by just lifting it up.
-
-
-
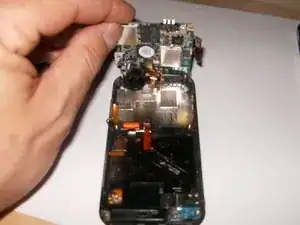
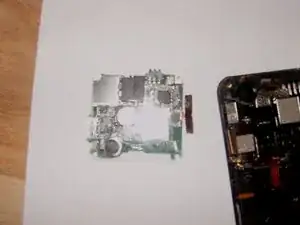
Once the cables on top of the motherboard have been disconnected, tilt the mother board gently up and to the back. Be careful, there are 2 more ribbon cables connected on the underside.The broader cable is for the LCD and the smaller one is the digitizer cable.
-
-
-
Remove both of these wires. The LCD one is a push-on connector and the Digitizer has a small retaining clip. Be careful that you do not break it while trying to open it. This is where patience will pay off. Gently remove the motherboard ensuring that all the connections are loose.
-
-
-
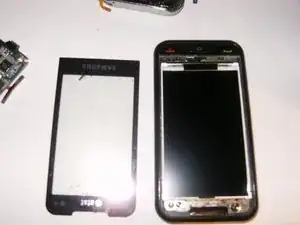
Turn the phone over so that the LCD is facing upwards. I used a small plastic tool to loosen the digitizer from the frame. This will take patience and plenty of repetitious scraping around the outline of the digitizer. Do not force it since it might break your old digitizer. Of course, if it is already going to be replaced it might not matter.
-
-
-
Once the digitizer is loose insert a tool by the speaker end and slowly lift the digitizer out by following with a plastic tool between the digitizer and the frame. The digitizer should now be free of the frame and you can gently move it away from the fame. You will see that the bottom part of the digitizer has the small ribbon cable attached, and you will see a corresponding opening in the frame.
-
-
-
I used a polyester swab to clean the LCD and the frame of any dust and debris before placing the new digitizer. I also used small dabs of silicone adhesive on all four corners of the new digitizer where it sits in the frame. This should ensure that it will not come loose during daily use but will let me still change it again if I have to. The whole procedure is relatively straight forward. Just take your time and watch the ribbon cable retainer. I found those to be the trickiest part.Good luck
-
To reassemble your device, follow these instructions in reverse order.
One comment
Oldturkey03 quit stalking me around iFixit. You don't have to be an *** just cause you think you are better than everyone.
