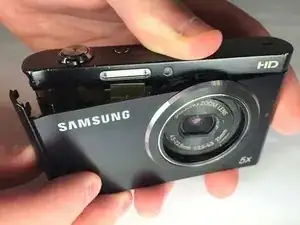
Introduction
This guide will show how to remove the camera's lens.
Tools
-
-
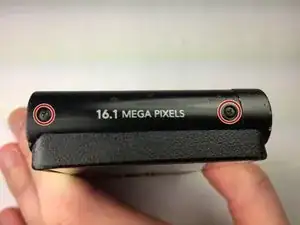
Remove the two black 4.2 mm screws on the right side of the camera using a Phillips #0 screwdriver.
-
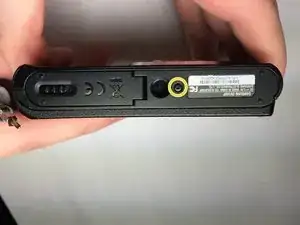
Remove the two black 4.2 mm screws on the left side of the camera using a Phillips #0 screwdriver.
-
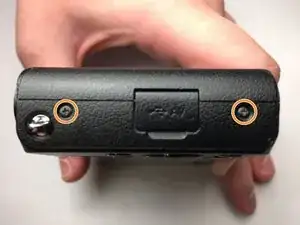
Remove the two black 4.2 mm screws on the bottom of the camera using a Phillips #0 screwdriver.
-
-
-
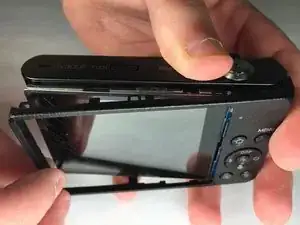
Remove the front case of the camera.
-
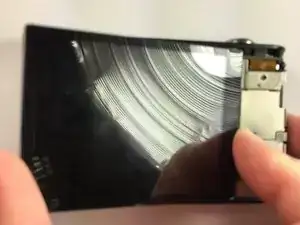
Remove the front LCD screen from the front case next to the lens.
-
-
-
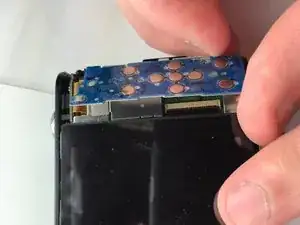
Remove the blue button control from its position next to the LCD screen.
-
Pull the ribbon cable to disconnect the blue button control from the camera.
-
-
-
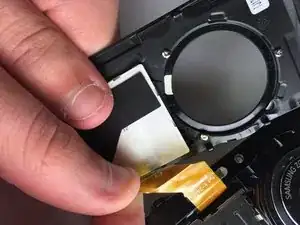
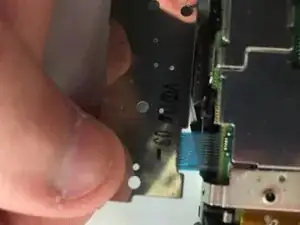
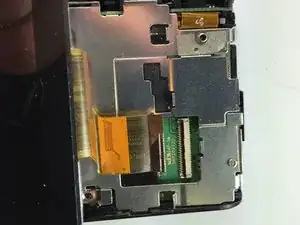
Flip the black tab where the back LCD screen connects to the circuit board.
-
Pull the tape connection to disconnect the back LCD screen from the circuit board.
-
-
-
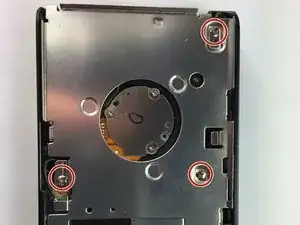
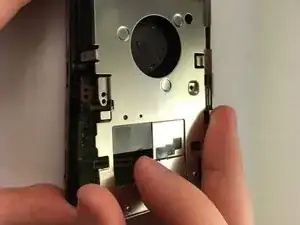
Unscrew the 3 silver #0 Phillips 4.45mm screws from the circuit board cover
-
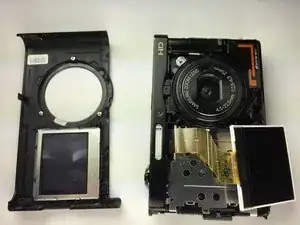
Remove the circuit board cover
-
-
-
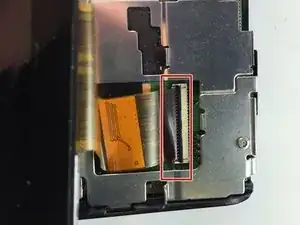
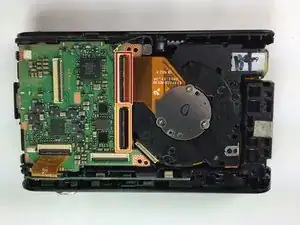
Flip the first black tab connecting the lens to the circuit board
-
Flip the second black tab connecting the lens to the circuit board
-
Push the lens out from the front to remove it from the camera
-


To reassemble your device, follow these instructions in reverse order.
One comment
pourquoi ne pas aussi montrer comment demonter le lens de samsung dv300f
nouzalek -
Only one screw on bottom of camera
John Petralito -