Introduction

This guide will help you replace your RAM in your Chromebook by showing you step-by-step on how to remove it.

  1. DKIvXONWOPrTkWH4
    DKIvXONWOPrTkWH4
    mJu2J3MidDTGwZpS
    xWNaLkxlHxCVwt4E
    • Turn the power off before beginning this step.

    • Most Chromebooks contain rubber circle pads on each of the four corners to cover the screws. In order to remove the rubber pads, simply use any opening tool.

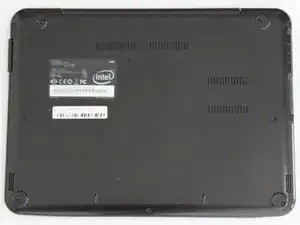
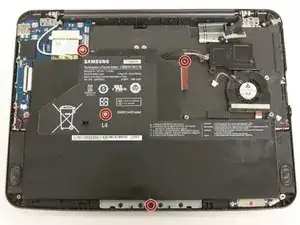
    • Lay the Chromebook down so that the bottom cover is facing upward.

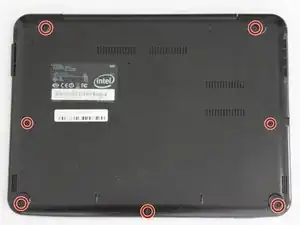
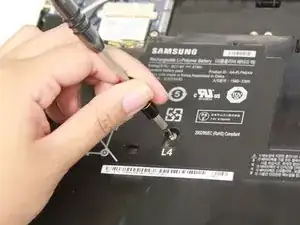
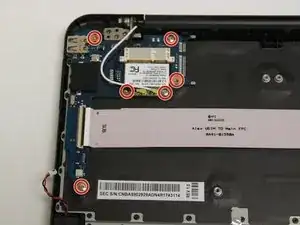
    • Using a Phillips #00 screwdriver, remove all seven 5.5 mm screws from the back cover.

  2. bKiVKEpPYOFeaTVi
    bKiVKEpPYOFeaTVi
    URyyYQVc14qvmKf5
    HgPpY2RMwqM4dnGA
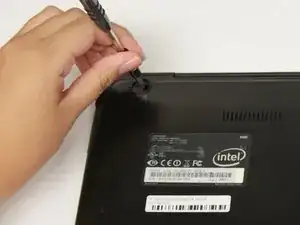
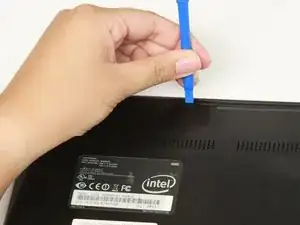
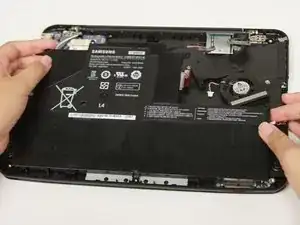
    • Place the opening tool in the divot between the spine of the Chromebook and the back cover.

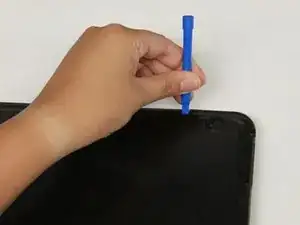
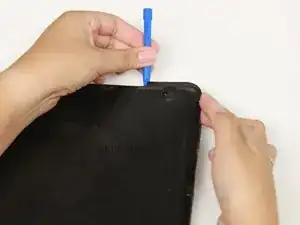
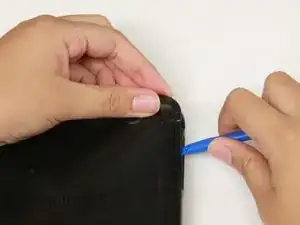
    • Slowly glide and push down the end of the opening tool along all sides of the Chromebook to detach the brackets. You will hear the brackets detach.

  3. cmMZHsYWd2EIOtv4
    cmMZHsYWd2EIOtv4
    kOCVcNCdwND1mnoc
    • Using the opening tool, pry off the back cover of the Chromebook

    • Be gentle while prying to avoid breaking the back cover.

  4. txmrU54fWqYYO5kZ
    txmrU54fWqYYO5kZ
    cA4EmJBGO6vStXvb
    • Remove the four 3 mm screws using a Phillips #000 screwdriver.

  5. 4oPXLgMDshkVTOkL
    4oPXLgMDshkVTOkL
    hgdSA5OGchhSQHeR
    • Carefully lift the top of the battery then pull it away from you to remove it.

    • Some batteries may be attached via a battery connector. Disconnect the battery connector by simply pulling straight up at its base.

  6. hNPtRJJKPSKV1Hvf
    hNPtRJJKPSKV1Hvf
    aMghyAbF4FI1i2KN
    • Use a blunt precision tweezer to remove the speaker cord from the RAM

  7. oStnL5CfodADcBMB
    oStnL5CfodADcBMB
    4rWe3OuLgqjwlfPH
    • Using a Phillips #00 screwdriver, remove all six 2.5 mm screws .

    • Start removing the screws from the wifi card.

  8. eDKOIRoBvABdCQ3i
    eDKOIRoBvABdCQ3i
    kmsIGDdLfTJcuMXl
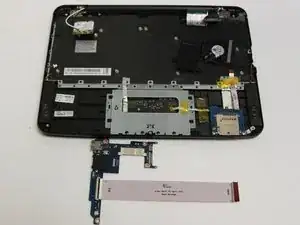
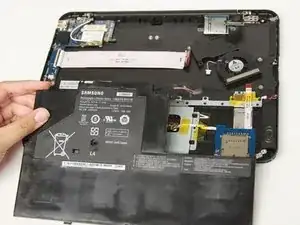
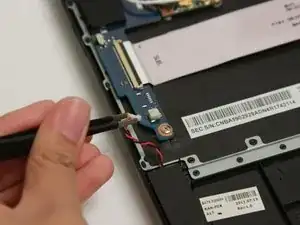
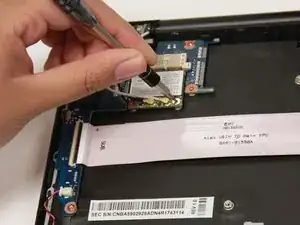
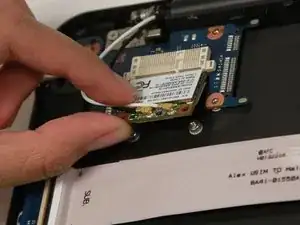
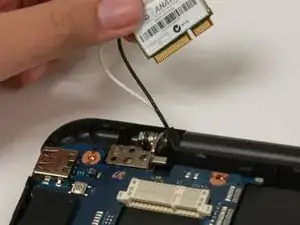
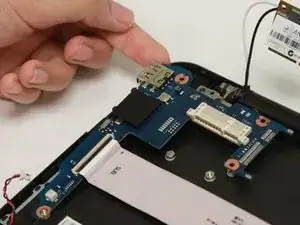
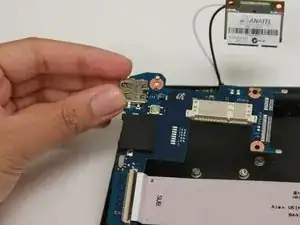
    • Gently lift the bottom of the wifi card then pull it towards you to disconnect it from the socket.

    • Our Chromebook does not have a circuit board. Remove all units connected to the circuit board if necessary.

  9. GtOaaPAGxccYXVGD
    GtOaaPAGxccYXVGD
    MdDnLODojevCq2UN
    WIKJly1FEcoOqcuO
    • Gently lift the top left corner of the RAM and pull upward to remove it from the Chromebook.

Conclusion

To reassemble your device, follow these instructions in reverse order.

huy

Member since: 11/09/17

337 Reputation

0 comments