Introduction

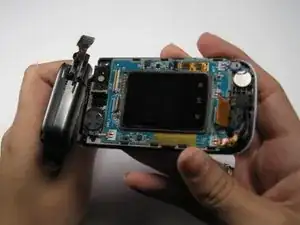
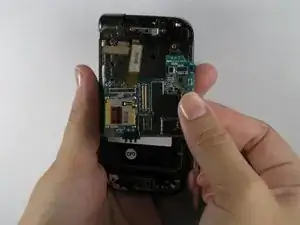
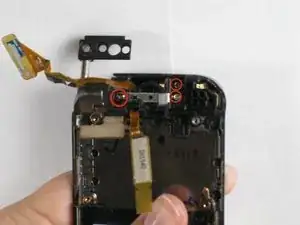
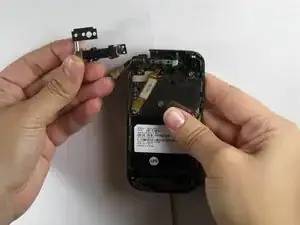
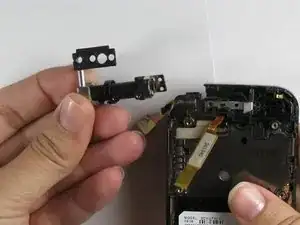
This guide provides an outline of how to remove and replace the hinge in the Samsung Alias 2. The hinge holds the phone together and allows the spring action of the flip phone. This repair would need to happen if the phone is unable to close or if it is in 2 seperate pieces.

  1. 5wHZpTCNwjrE6m5L
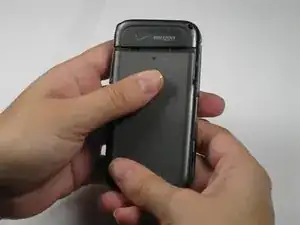
    • Push down on the back cover of the phone, then remove the back cover.

  2. mdXxO6XDxlguhcHl
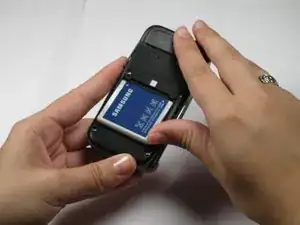
    • Remove the battery.

  3. wZPh2yRpJgdOOnHJ
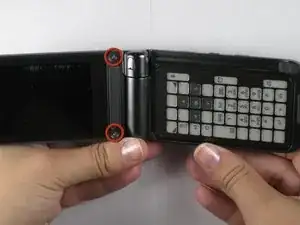
    • Use a Phillips #00 screwdriver to remove the two 4 mm screws on screen.

  4. UD6mQHb1L2hmVOaP
    UD6mQHb1L2hmVOaP
    wGQGEuA4uKWbWEVR
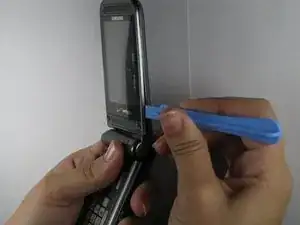
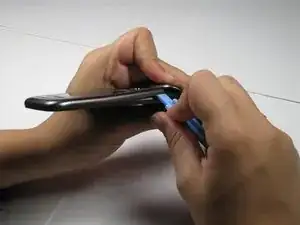
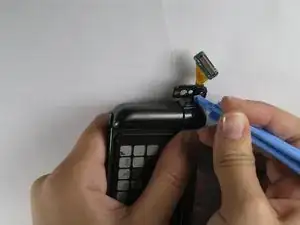
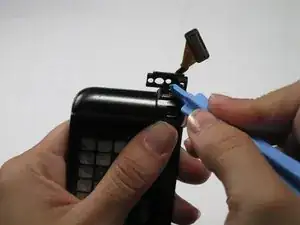
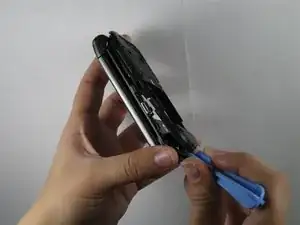
    • Use the opening tool to remove the front outside casing.

  5. aJLGJJ33yttXcUV1
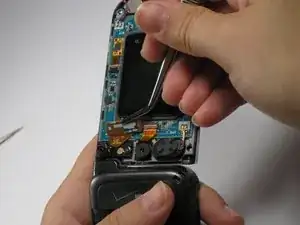
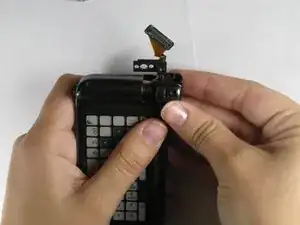
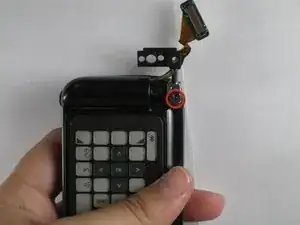
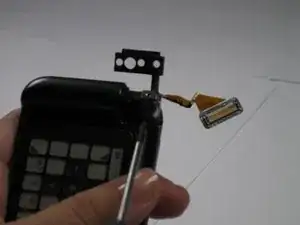
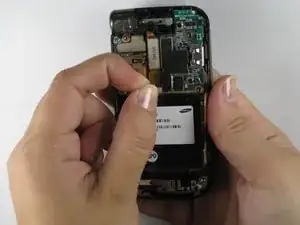
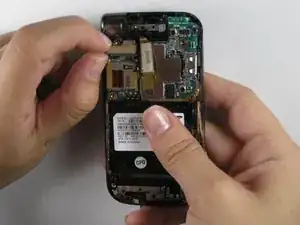
    • Remove ribbon connector next to camera using tweezers.

  6. aa2QaYL23bJdKFVl
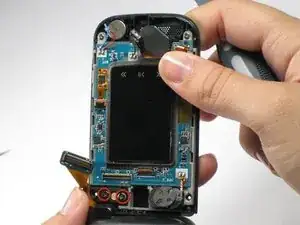
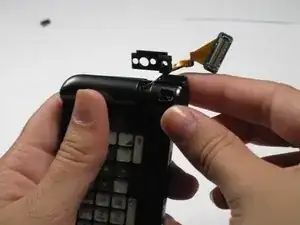
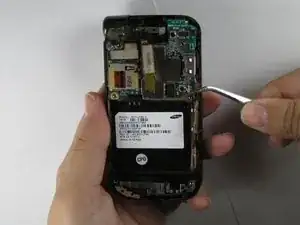
    • Unscrew and remove the two 3.95 mm screws underneath that ribbon connector.

    • Be careful not to lose their accompanying plastic washers.

  7. H1U4Ky5WWTfJGWYc
    H1U4Ky5WWTfJGWYc
    U3WjUweHYwT3j3GZ
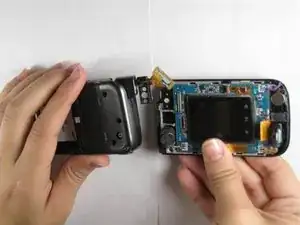
    • Pull the two halves of the phone apart.

    • The phone will not slide straight apart. You have to angle the back half up a little.

    • Do not force it. Jiggle it a little if it doesn't come apart.

  8. jVUFXsiRLOOP2DCB
    • Remove the plastic panel cover from the hinge.

  9. FC2ihhgIWxRLCgZf
    FC2ihhgIWxRLCgZf
    hnkRQuZhBJdsqPCU
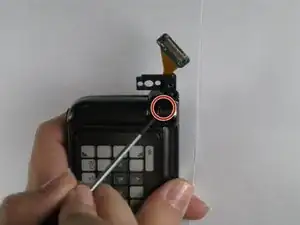
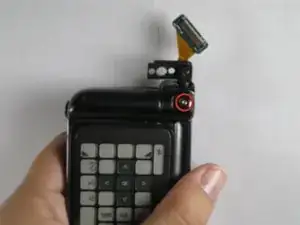
    • Remove the 3.41 mm screw out from underneath plastic cover.

  10. RS4vM4mqpOjhh4SN
    RS4vM4mqpOjhh4SN
    sioiiZixOg1AEXDD
    • Pop out the top half of the hinge with the plastic opening tool. This will release the hinge cover for removal.

  11. XBegFpFdxlHBmSVR
    XBegFpFdxlHBmSVR
    6P34VCQCPxgXSwMW
    • Pull off the hinge cover.

  12. QSKCTB1vxxgZoSDZ
    QSKCTB1vxxgZoSDZ
    DngLESdm2POxDyvF
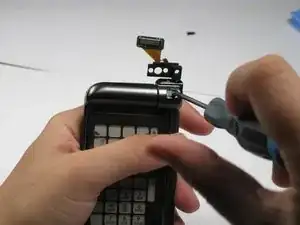
    • Remove the two 2.71 mm screws on the hinge using screwdriver.

    • Under these screws will be a washer, spring, and small metal disc. Make sure you don't lose these.

  13. 12ZKuksitMWDHRHq
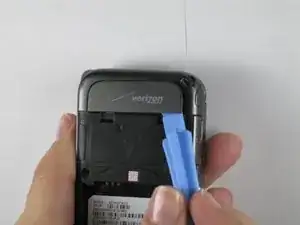
    • Remove the Verizon logo from the back of phone using the plastic opening tool.

    • The logo is attached with glue. It will be sticky, but it just pulls off.

  14. KLZOVyAsoVaviIhM
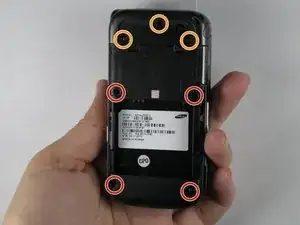
    • Remove the four 4.44 mm screws from the back.

    • Remove the three 4.35mm screws from under the Verizon logo.

    • Make sure you don't mix the screws together.

  15. t3RhYhvblTcQNgPA
    • Pull the back off by using the plastic opening tool.

    • Do not lose the buttons on the side of the phone, as they will come off of the phone when you remove the back outside casing.

  16. Nr6IOnsUvmBhjwa1
    • Pull up on the yellow tab.

  17. 2xbflnrMaWNcDsGa
    • Disconnect the connecting cord using tweezers.

  18. oplmDcodpqVROjJZ
    • Disconnect the rectangular ribbon.

  19. AuW1xdBoty3iTQiQ
    • Remove the logic board.

  20. sbCxEGpNPyx5vL56
    • Remove the three 3.95 mm screws.

    • The two rightmost screws must be pulled out with tweezers after unscrewed.

  21. DgSIYTkODrL4qgWB
    • Pull the hinge out.

Conclusion

To reassemble your device, follow these instructions in reverse order.
Chris

Member since: 17/04/11

133 Reputation

0 comments