Introduction
Tools
-
-
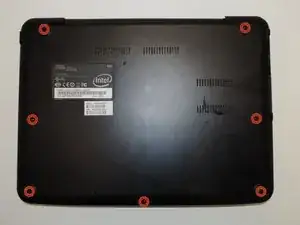
Remove the back panel of the device by taking out the seven screws on the back panel of the device.
-
Four of the screws are under the rubber feet so they will need to be removed. To remove the feet, pry them off with the spudger.
-
-
-
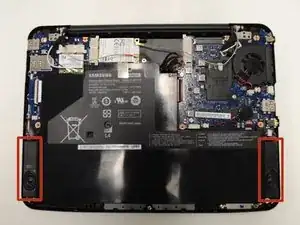
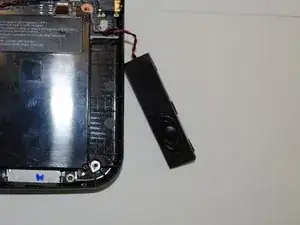
Note: The Speaker is held in with an adhesive back so some force will be needed to remove it.
-
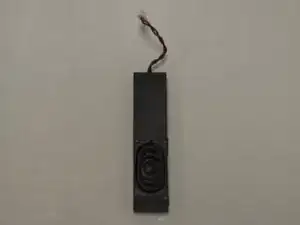
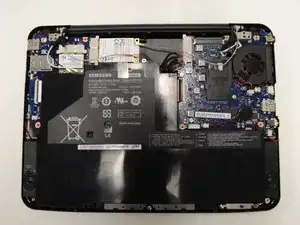
Remove the speaker using a spudger and detach the cord connected to it from the laptop. The speaker location is seen highlighted in picture 1.
-
Attach the cord of your replacement speaker and reassemble the device.
-
Conclusion
To reassemble your device, follow these instructions in reverse order.
