Introduction

Has the motor in your Ryobi VC120 vacuum reached the end of its life? Try replacing it with this guide!

  1. NxIV4iRwY4ZERKLI
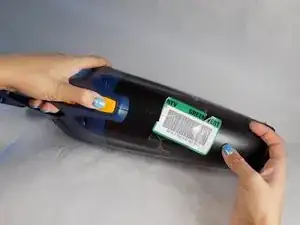
    • Pull the black nose off of the body of the vacuum, by pushing in the orange button closest to the nose.

  2. B3RGyQxjTHeNyN6n
    B3RGyQxjTHeNyN6n
    uyJYktJjalBlYQFG
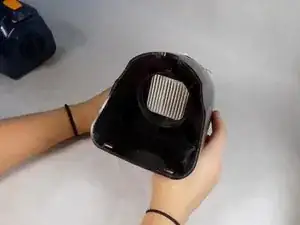
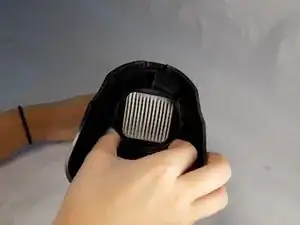
    • Grab the filter with two fingers and slide it out.

  3. qMgrC2Q6TYIgFBYG
    qMgrC2Q6TYIgFBYG
    EEW1QqRWQmMStEsV
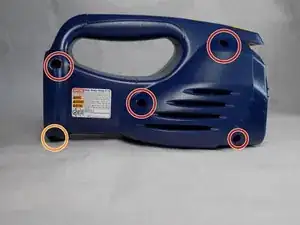
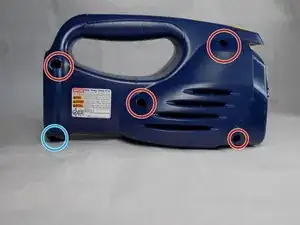
    • Using a Philips head screwdriver, remove the four screws located on the side panel of the vacuum.

    • There are two types of screws on this device. You may want to use a magnetic screw pad to organize your screws to be sure they return to their designated holes.

    • 4x 19.1mm

    • 1x 14.3mm

    • Once the screws are removed, you should be able to separate the side panel from the rest of the device.

  4. ZdGkfpgat3CyHh2O
    ZdGkfpgat3CyHh2O
    KMLaDk2PBwy3q2Wc
    TsMEuYaPlD3bvUZE
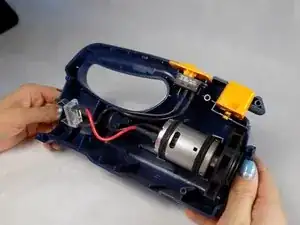
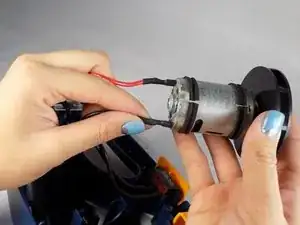
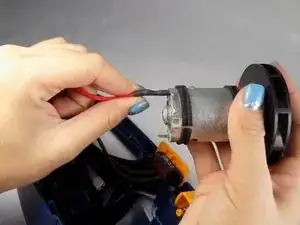
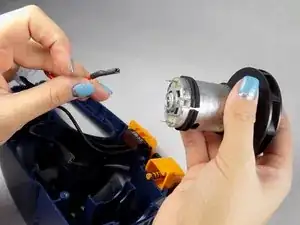
    • Pull your motor out, and remove the black and red cables from the motor by hand.

Conclusion

To reassemble your device, follow these instructions in reverse order.
Allison Schoch

Member since: 16/09/15

689 Reputation

0 comments