Introduction
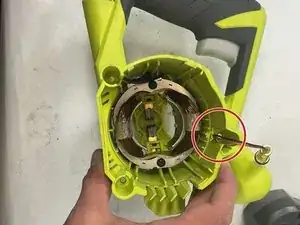
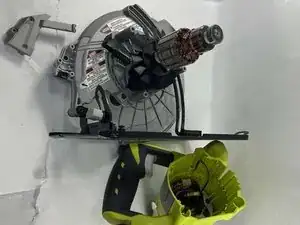
This guide will show you how to properly replace the guiding laser in the Ryobi CSB135L. If the symptoms in our troubleshooting page for a malfunctioning laser align with the symptoms your Ryobi CSB135L are experiencing your laser is most likely damaged.
Tools
-
-
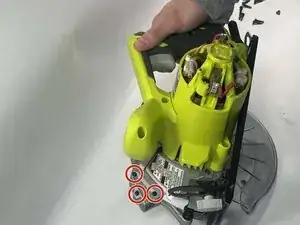
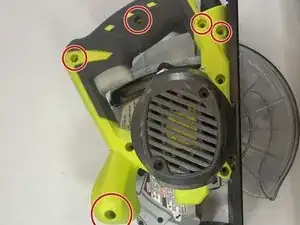
Remove the three M4.5 x 35mm screws that hold the motor housing to the blade housing using a Phillips screwdriver.
-
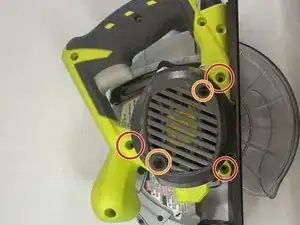
Although not required for motor housing removal, the two M4 x 16 mm Phillips head screws must be removed for access to the top of the motor.
-
-
-
Remove the three M3.5 x 16 mm screws that hold on the laser cover using a Phillips screwdriver.
-
-
-
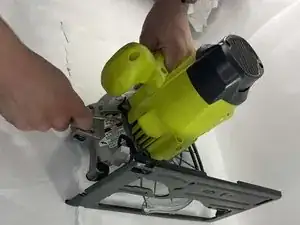
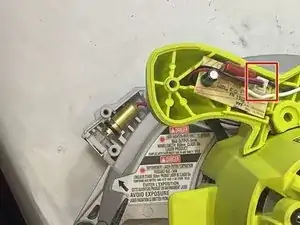
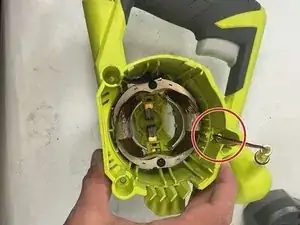
Pry the motor housing (green plastic) from the blade housing (gray plastic) using a metal spudger or any small pry bar.
-
-
-
Regardless of the assembly state of the saw, remove the M4 x 16 mm screws that hold the two pieces of the handle together using a Phillips screwdriver.
-
To reassemble your device, follow these instructions in reverse order.
