Introduction

This guide will demonstrate how to remove and replace the A/C power port. Be sure to check out the Soldering Technique Guide to learn ore about soldering before completing this repair.

  1. Z42dmvySjNZfbRpW
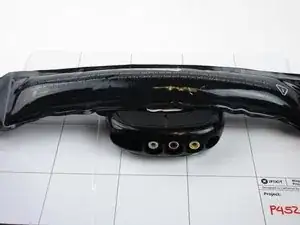
    • Heat up the iOpener for 30 seconds in the microwave and place across rubber pads on the back of the device.

    • It may take multiple heats, left for a minute at a time, to properly loosen the glue.

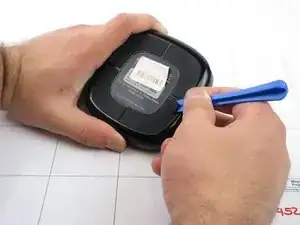
  2. IKPJpPOdOFfpBWFY
    • Gently use the plastic opening tool to pry the rubber pads off.

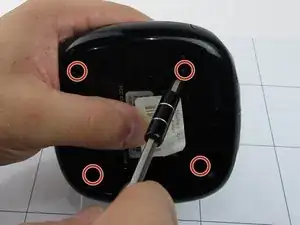
  3. ukyGhaTmiZxGxQQL
    • Remove the four Phillips #000 screws from the bottom of the case.

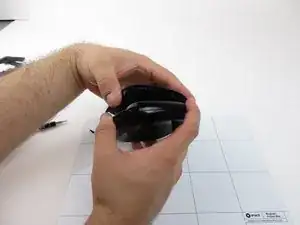
  4. BVmGoF2fXJlMLUVH
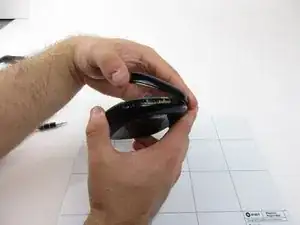
    • Gently remove the under side of the device.

  5. kZGtV4vifhOobLqT
    • Remove the middle component that is held in place by the top and bottom of the device.

  6. yLuVhBkisdHqUBLw
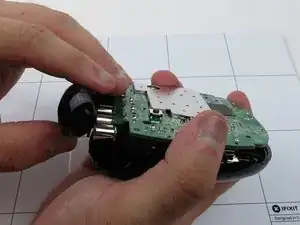
    • Remove the cover over the A/V ports on the front of the device.

    How does one replace a HDMI port on a Roku 2, and is the hdmi port freely available.

    Carlo Schroeder -

    I have a Roku 3, and it powers up, but their is not signal reaching my TV, it appears that all other functions are working, like WiFi transmission, I can hear the control sounds when pressing the buttons on control.

    Carlo Schroeder -

  7. SUwFJdAyFmFQxmQv
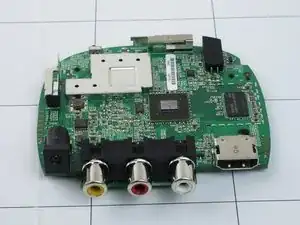
    • Remove the board from the plastic enclosure.

  8. y5I5bMJrtGuF2TmJ
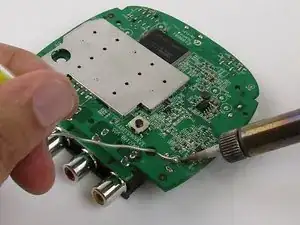
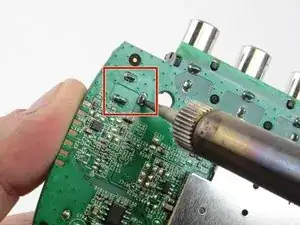
    • Heat the 3 solder leads on the bottom side of the motherboard opposite of the A/C Port until the point you can pull the port away from the board.

    • To learn more about soldering check out the Soldering Technique Guide.

  9. Q2NYScMhqLwjdLig
    • Insert the new A/C power port where the old one was. Gently apply solder to the 3 pins on the bottom side of the mother board to connect it.

Conclusion

To reassemble your device, follow these instructions in reverse order.
david quintana

Member since: 27/08/15

101 Reputation

0 comments