Introduction

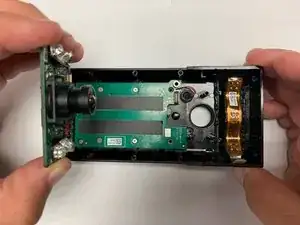
In this guide, we will show you how to replace the microphone in a Ring Stick Up Cam. You will need a Phillips #00 screwdriver and a plastic opening tool.

  1. rRPZqRWiMrlUlioC
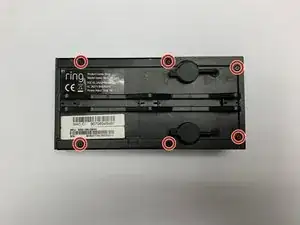
    • Remove the six 6mm Phillips #00 screws from the back of the device.

  2. P1W33rQQqwMmdKee
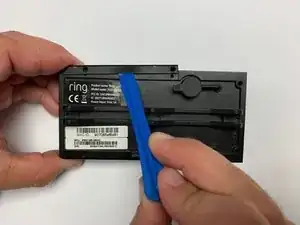
    • Pry off the aluminum plate using a plastic opening tool.

  3. aVQdIJEIl2iyaGRL
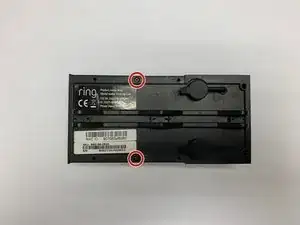
    • Remove the two 6mm Phillips #00 screws that were under the aluminum plate.

  4. hPc1kEcMdZJORgWY
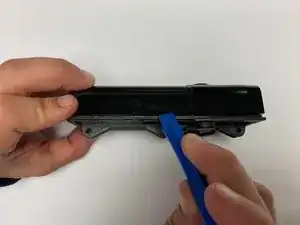
    • Pry off the back cover using a plastic opening tool.

  5. MKPyqxKyJEoDToNY
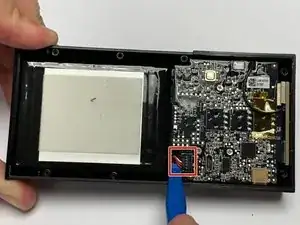
    • Disconnect the battery power leads using a plastic opening tool.

  6. MnCcwXCSdIgQHQuF
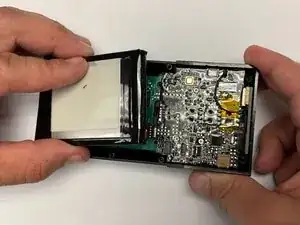
    • Use a plastic opening tool to loosen the adhesive holding the battery in place and remove the battery by hand.

    Where do we buy a new battery from?

    lessonsinflight -

    Battery specs would be great in this tear down so one can know what battery to get and have everything they need for the repair.

    Edward Clark -

    I have these available if you would like one. The specs are 3.75 volt, 5000 mAh nominal. The ones I sell are OEM, used pulls from overstock or upgraded units.

    Solarescycle -

  7. 2LPgRQTZJwOPTuNK
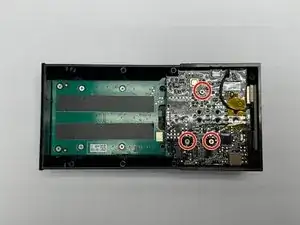
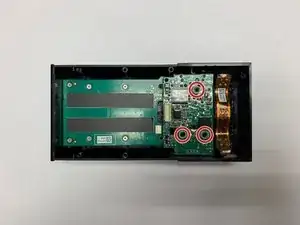
    • Remove the three silver 6mm Phillips #00 screws holding the motherboard in the device.

  8. ErpB51CsaQThkeoV
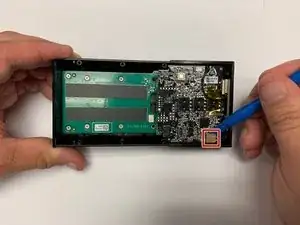
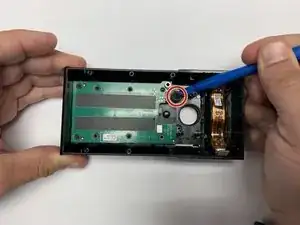
    • Disconnect the ribbon connector shown in the photo.

  9. byxTFlvecRwDpAZR
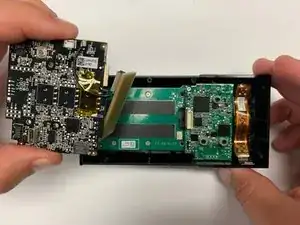
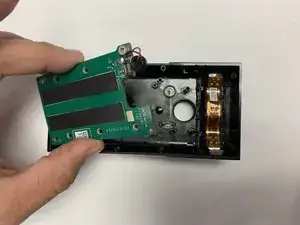
    • Remove the motherboard from the device by hand.

  10. jCt4W4JhHLWkxKEi
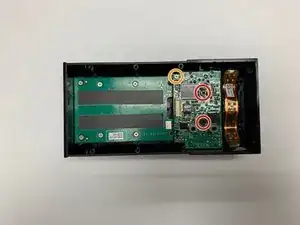
    • Remove the two black 5mm Phillips #00 screws holding the camera board into the device.

    • Remove the single silver 10mm Phillips #00 screw holding the camera board into the device.

  11. vDosCorkxdhvTxhm
    • Remove the three plastic spacers shown in the photo by hand.

  12. 35mVajPaUaYtIpWt
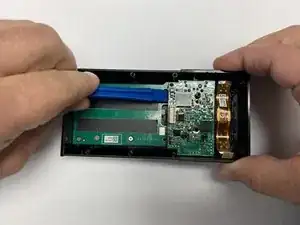
    • Carefully disconnect the camera board from the daughterboard by sliding a plastic opening tool between the camera board and the daughterboard.

  13. So2dIBCsISOn4rCy
    • Lift the camera board out of the housing using your hand.

  14. oJvaKYVk3vlXRxss
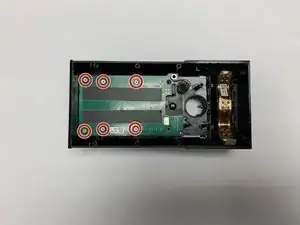
    • Remove the six silver 4.5mm Phillips #00 screws holding the daughterboard into the device.

  15. X1yrnLclZnx6LnLU
    • Use a plastic opening tool to carefully pry the microphone from the housing.

  16. ZJGcbRkIHjuc5PAB
    • Use your hands to remove the daughterboard containing the microphone from the housing.

Conclusion

To reassemble your device, follow these instructions in reverse order.
Chunyue Liu

Member since: 06/02/19

273 Reputation

0 comments