Introduction
This guide demonstrates how to replace a Ring Outdoor Security Cam microphone. Like many microphones, a common issue with the Ring Camera's microphone is it can become damaged, resulting in poor audio quality over time. This fix has no safety hazards, and the difficulty level is difficult due to sodering. The main procedure is to open up the camera and take off layer by layer until getting to the microphone. From there you will detach the microphone from the board and solder on the new microphone.
-
-
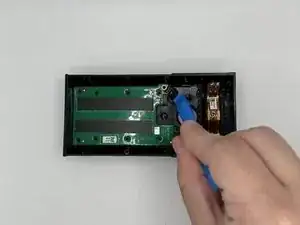
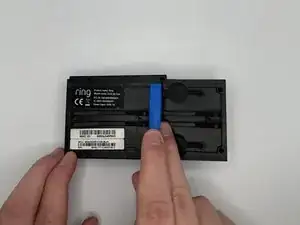
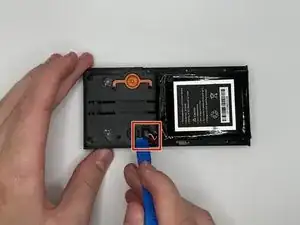
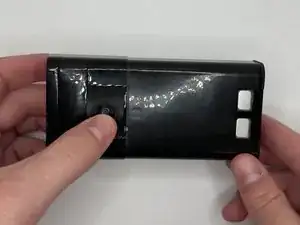
Use a plastic opening tool to loosen the adhesive holding the battery in place and remove the battery by hand.
-
-
-
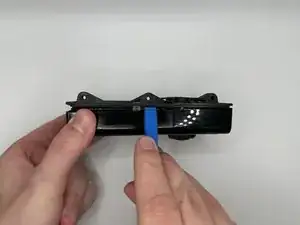
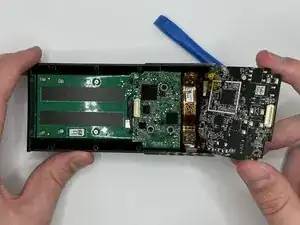
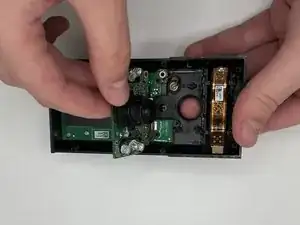
Disconnect the ribbon cable carefully at the bottom of the device.
-
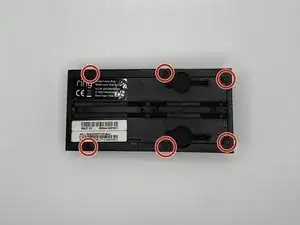
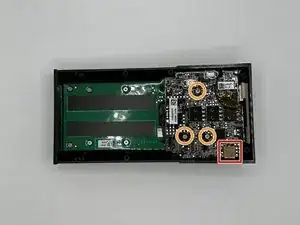
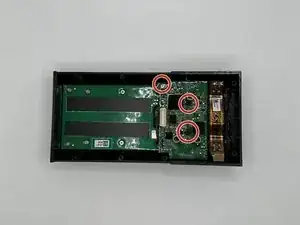
Remove the 3 silver 6 mm Phillips #00 screws from the motherboard.
-
-
-
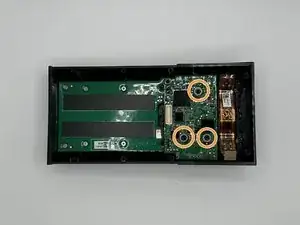
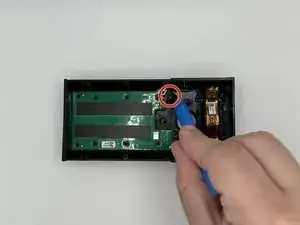
Remove the silver 5 mm Phillips #00 screw, and the two 10 mm Phillips #00 from the next motherboard.
-
Remove the 3 plastic spacers on the device.
-
-
-
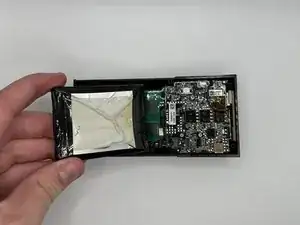
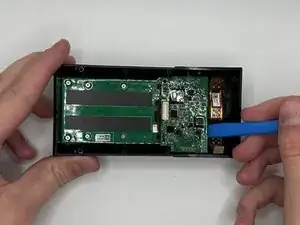
Pry the motherboard out with a plastic opening tool
-
Flip the device over and then carefully press on the camera lens to remove the camera and the attached mother board from the device.
-
To reassemble your device, follow these instructions in reverse order.
