
Introduction
This guide is for a motor repair on the Ridgid JobMax R2851 Series B. This guide would be helpful if you have been noticing slowing motor speeds when using your device or if your device has stopped turning completely and you suspect that you need to do a full motor replacement.
This repair requires minimal tools listed in the guide, and can be done in a short amount of time. Additionally you should remember to unplug your device before starting any repairs to avoid risk of being electrocuted.
-
-
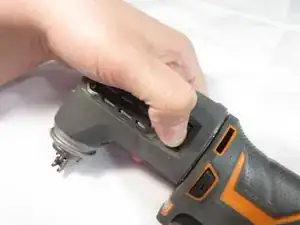
Orient the device so that the trigger is facing downwards.
-
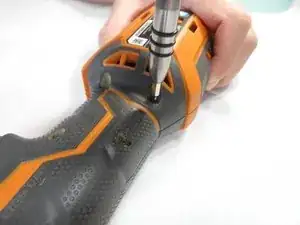
Place your thumb and index finger on the two buttons located on the head of the tool.
-
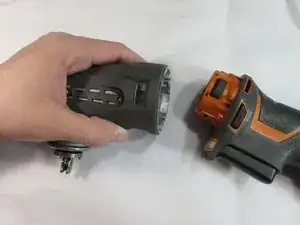
Press the two buttons in and pull the head of the tool off.
-
-
-
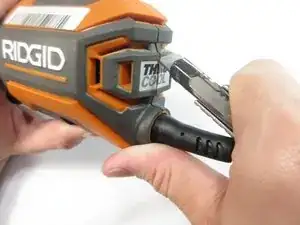
Orient the device so that the cord end is facing upwards.
-
Take a small cutting tool, and cut down the seam in the back, ensuring that you only cut the sticker.
-
-
-
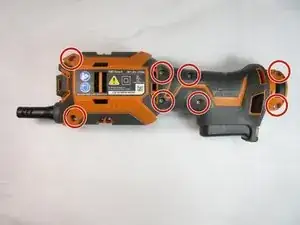
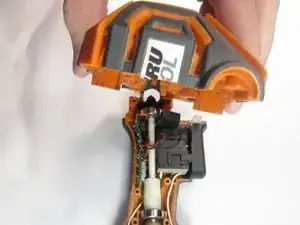
Pull the device case off, gripping at the back of the case and rotating it towards the front of the device.
-
Once the device has been separated gently pull on the trigger assembly to remove it from one side of the case.
-
-
-
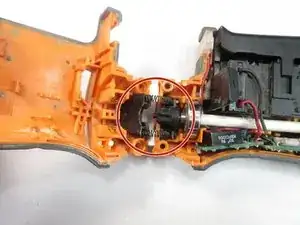
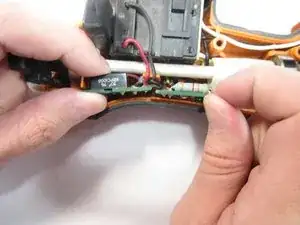
Grip each of the sides of the two green circuit boards and slide them up.
-
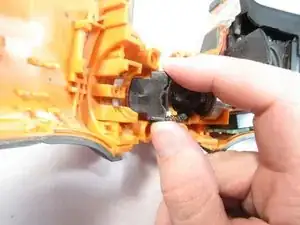
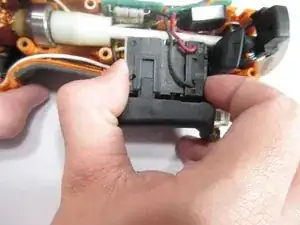
Grip each side of the device trigger, and slide it up.
-
-
-
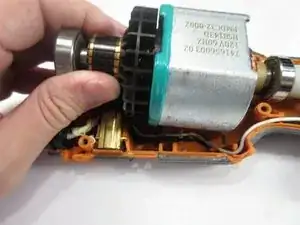
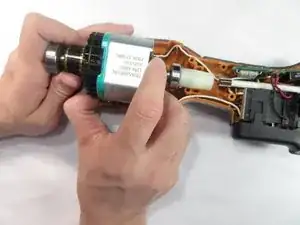
Grip the motor firmly and pull towards the back of the tool, rotating back forth until the motor is free.
-

To reassemble your device, follow these instructions in reverse order.
What about if my buttons are missing ?
Ronald S Sasaki -